Overview
In the project, we are manipulating the trianglar mesh to create geometric modeling. Throughout the project, we explore Bezier curves and the half edge data structure.
Section I: Bezier Curves and Surfaces
Part 1: Bezier curves with 1D de Casteljau subdivision
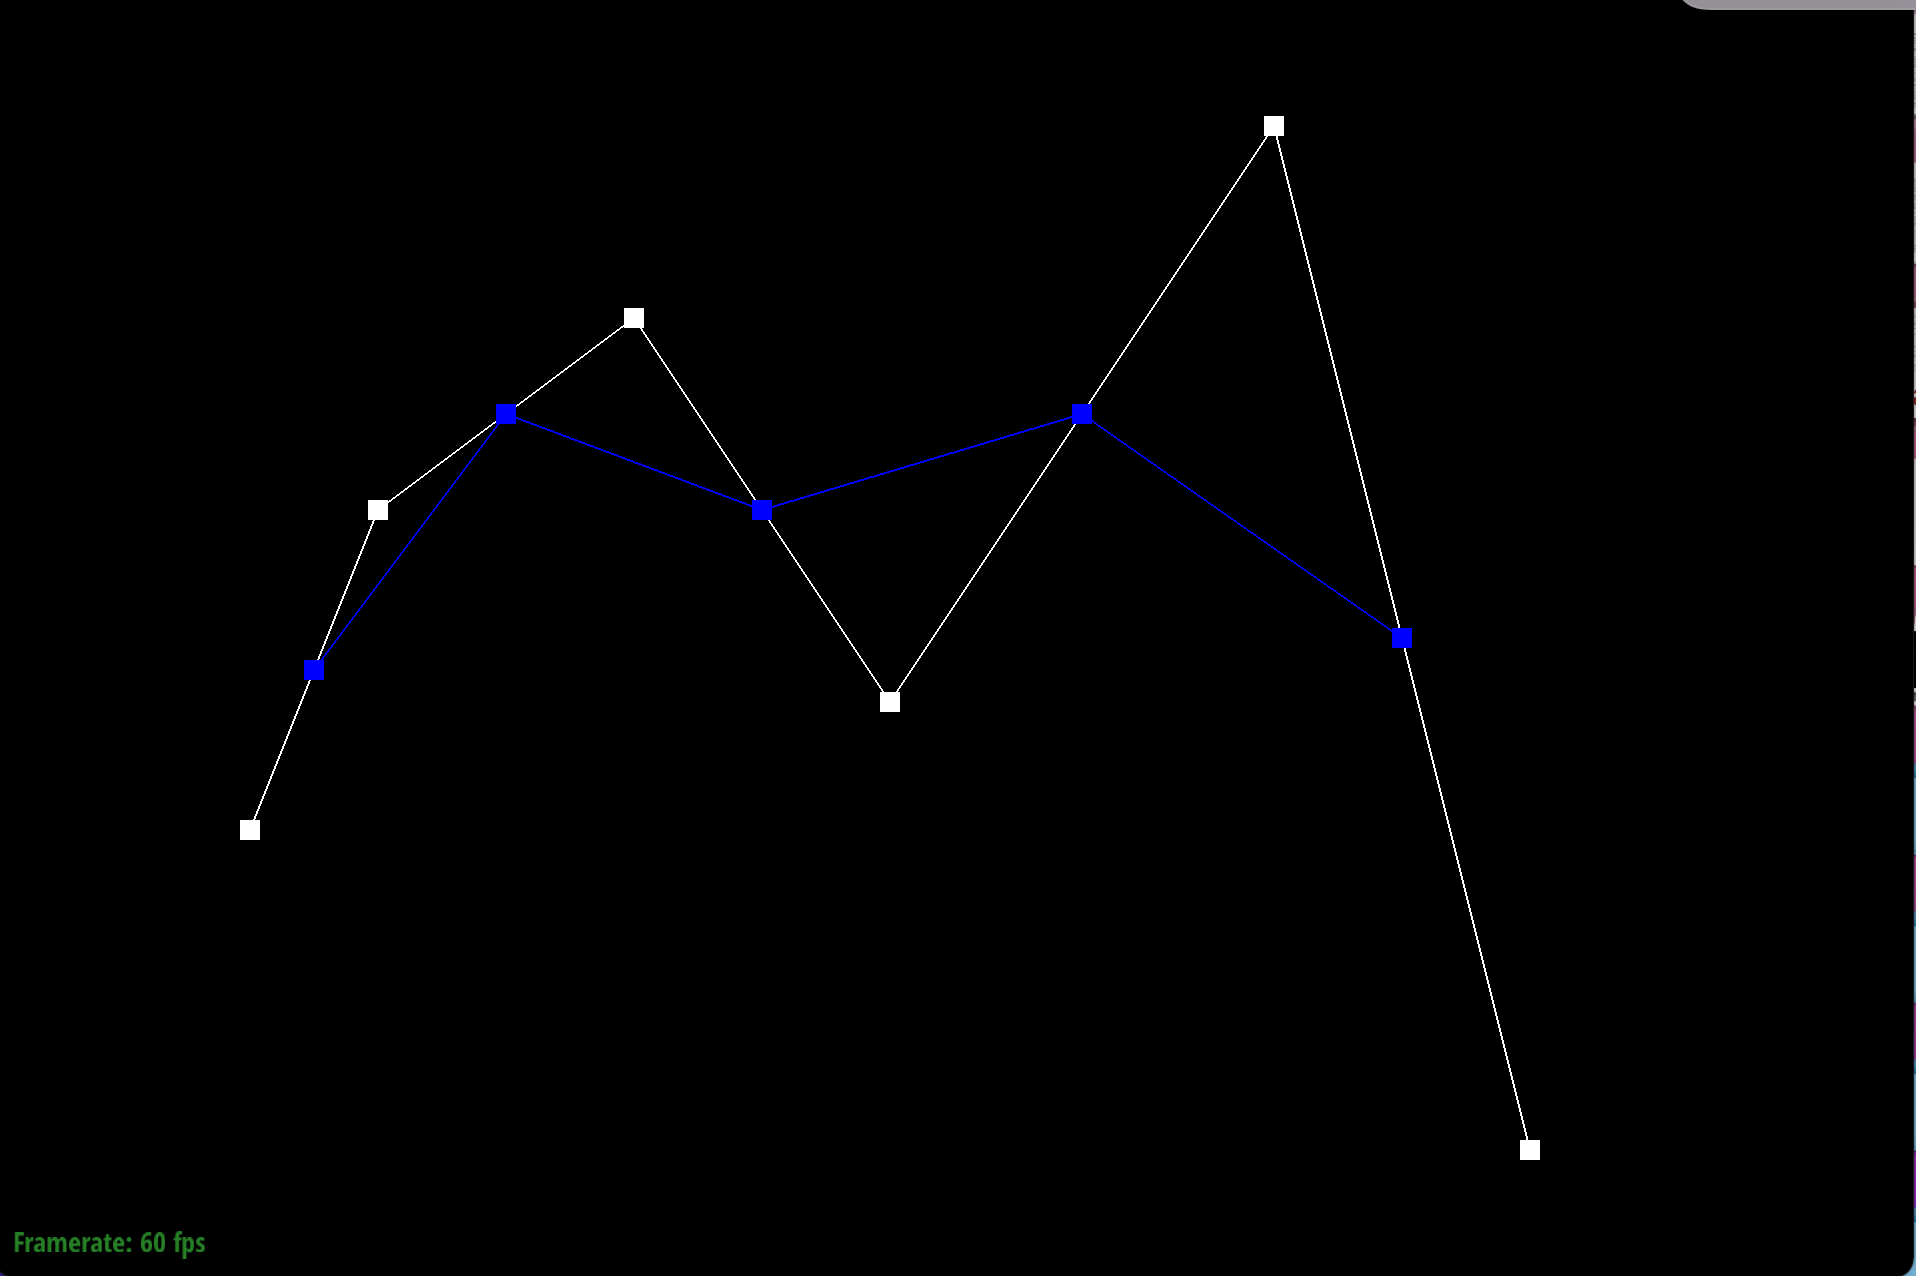
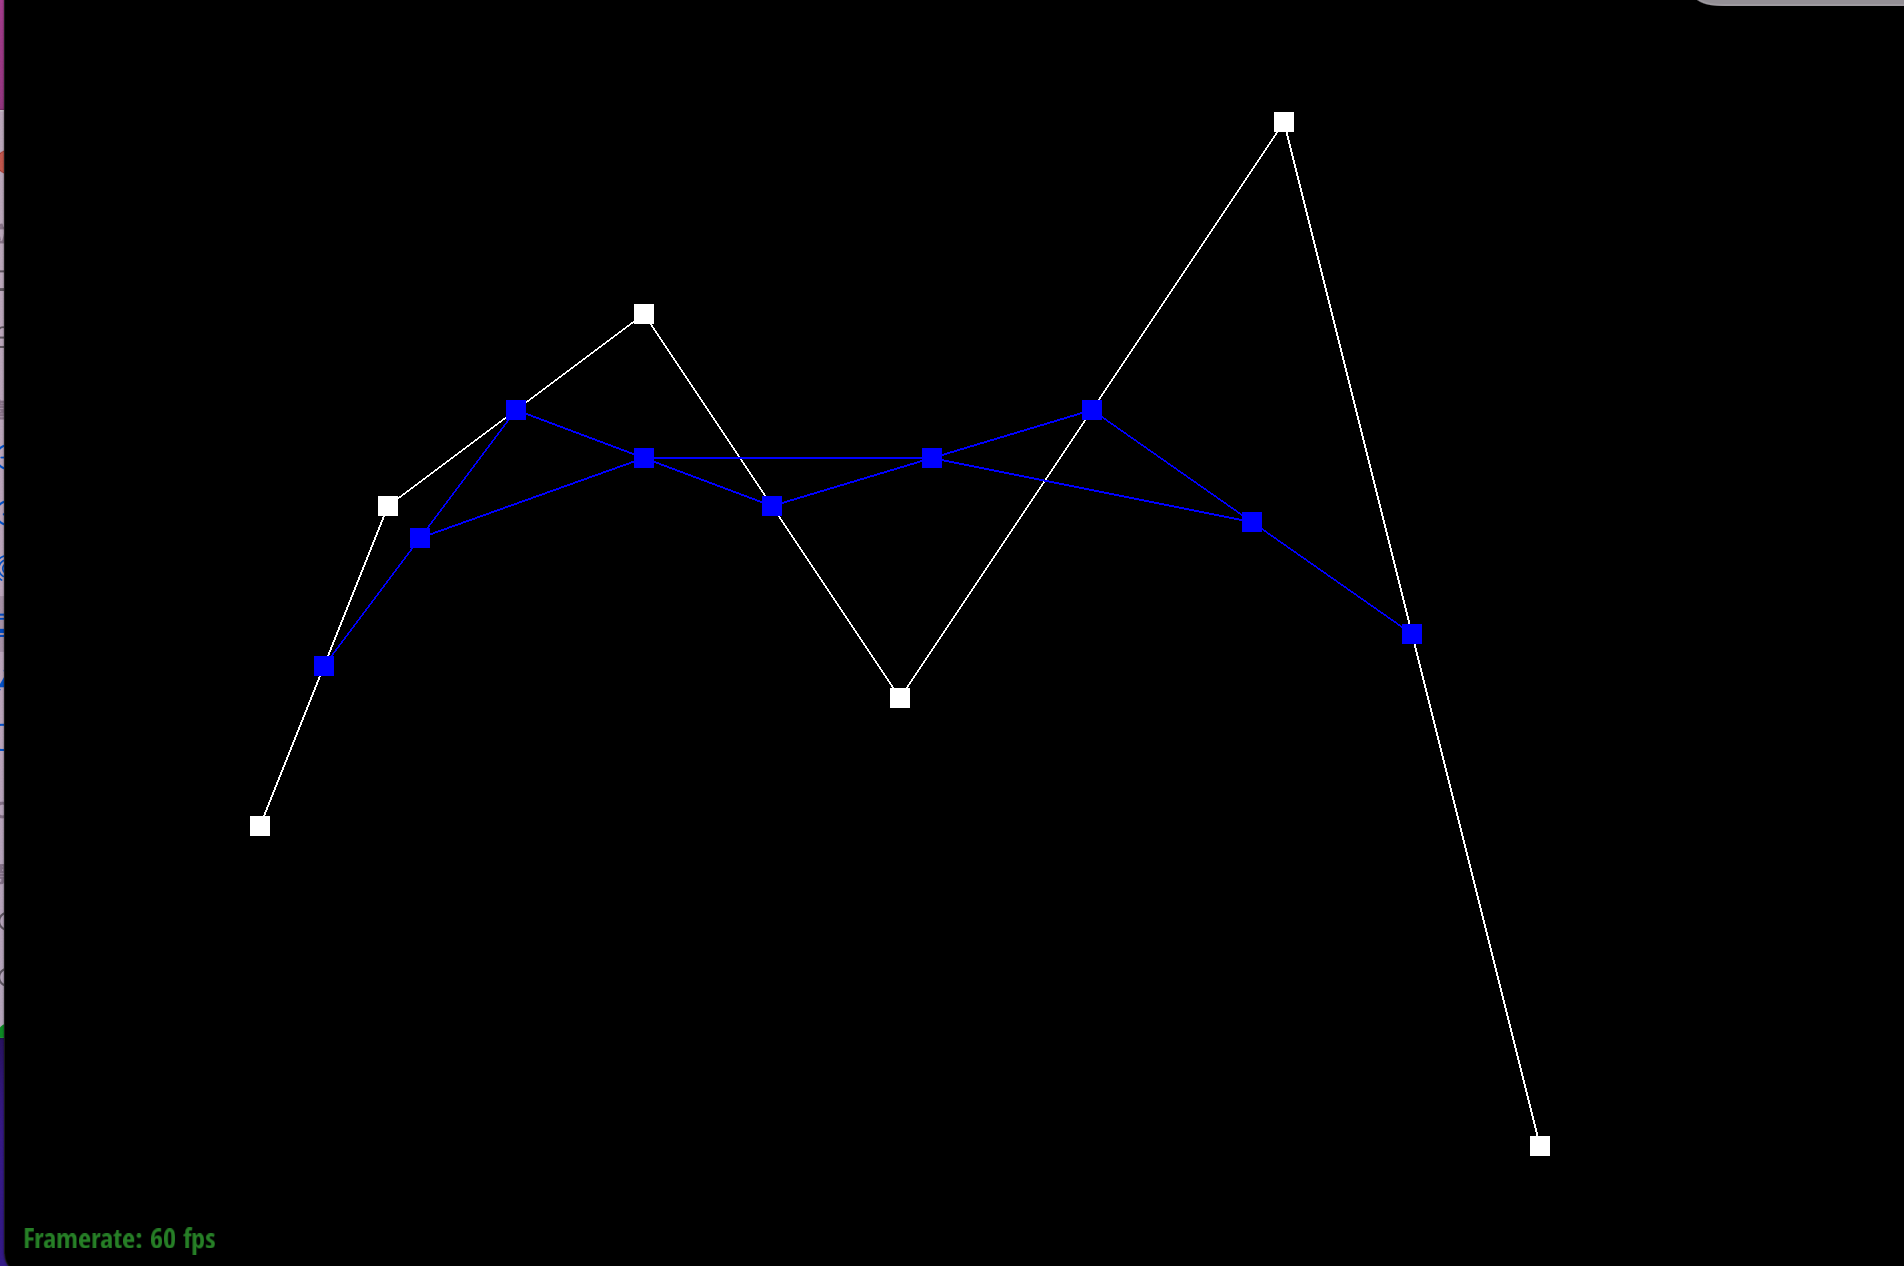
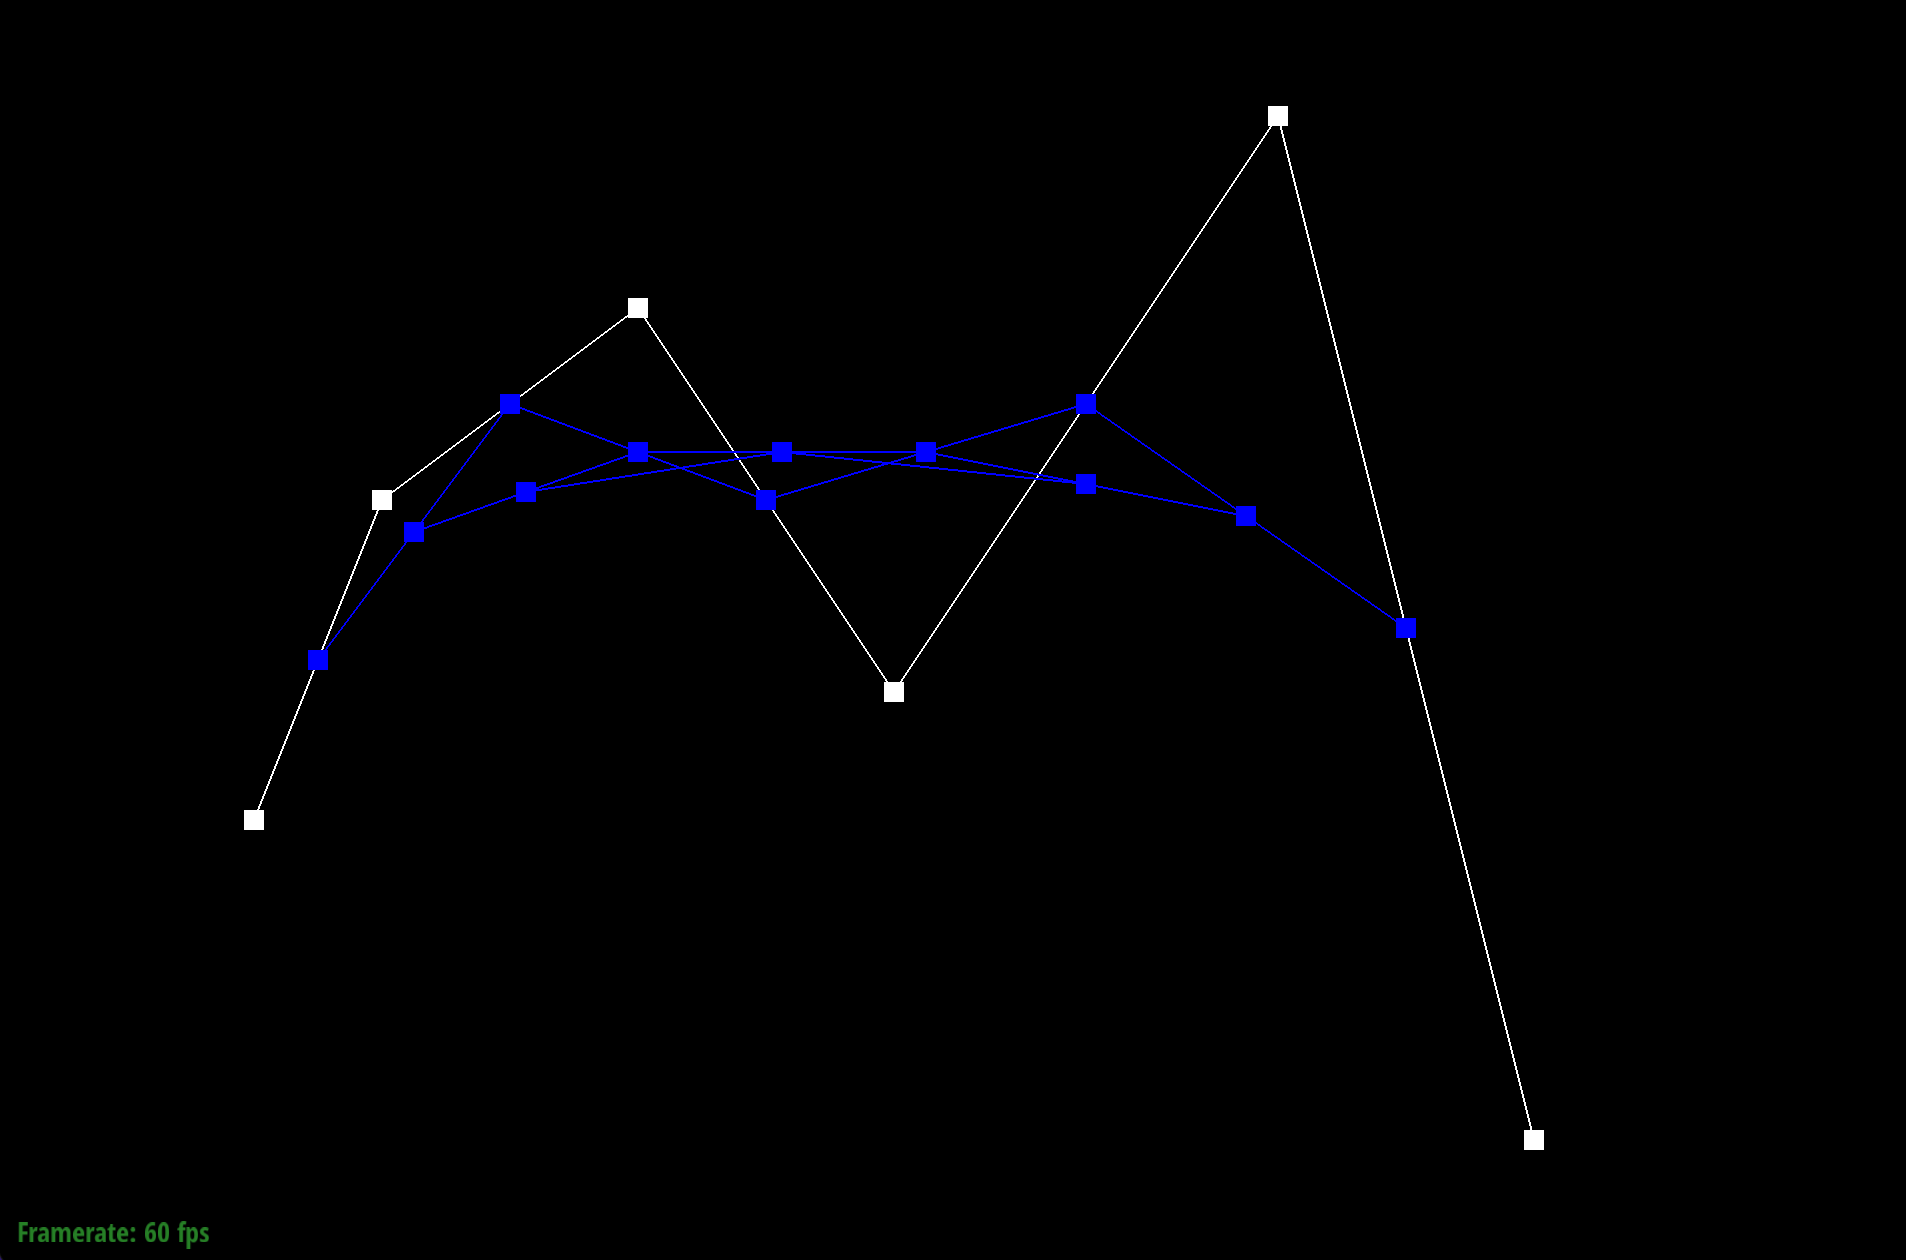
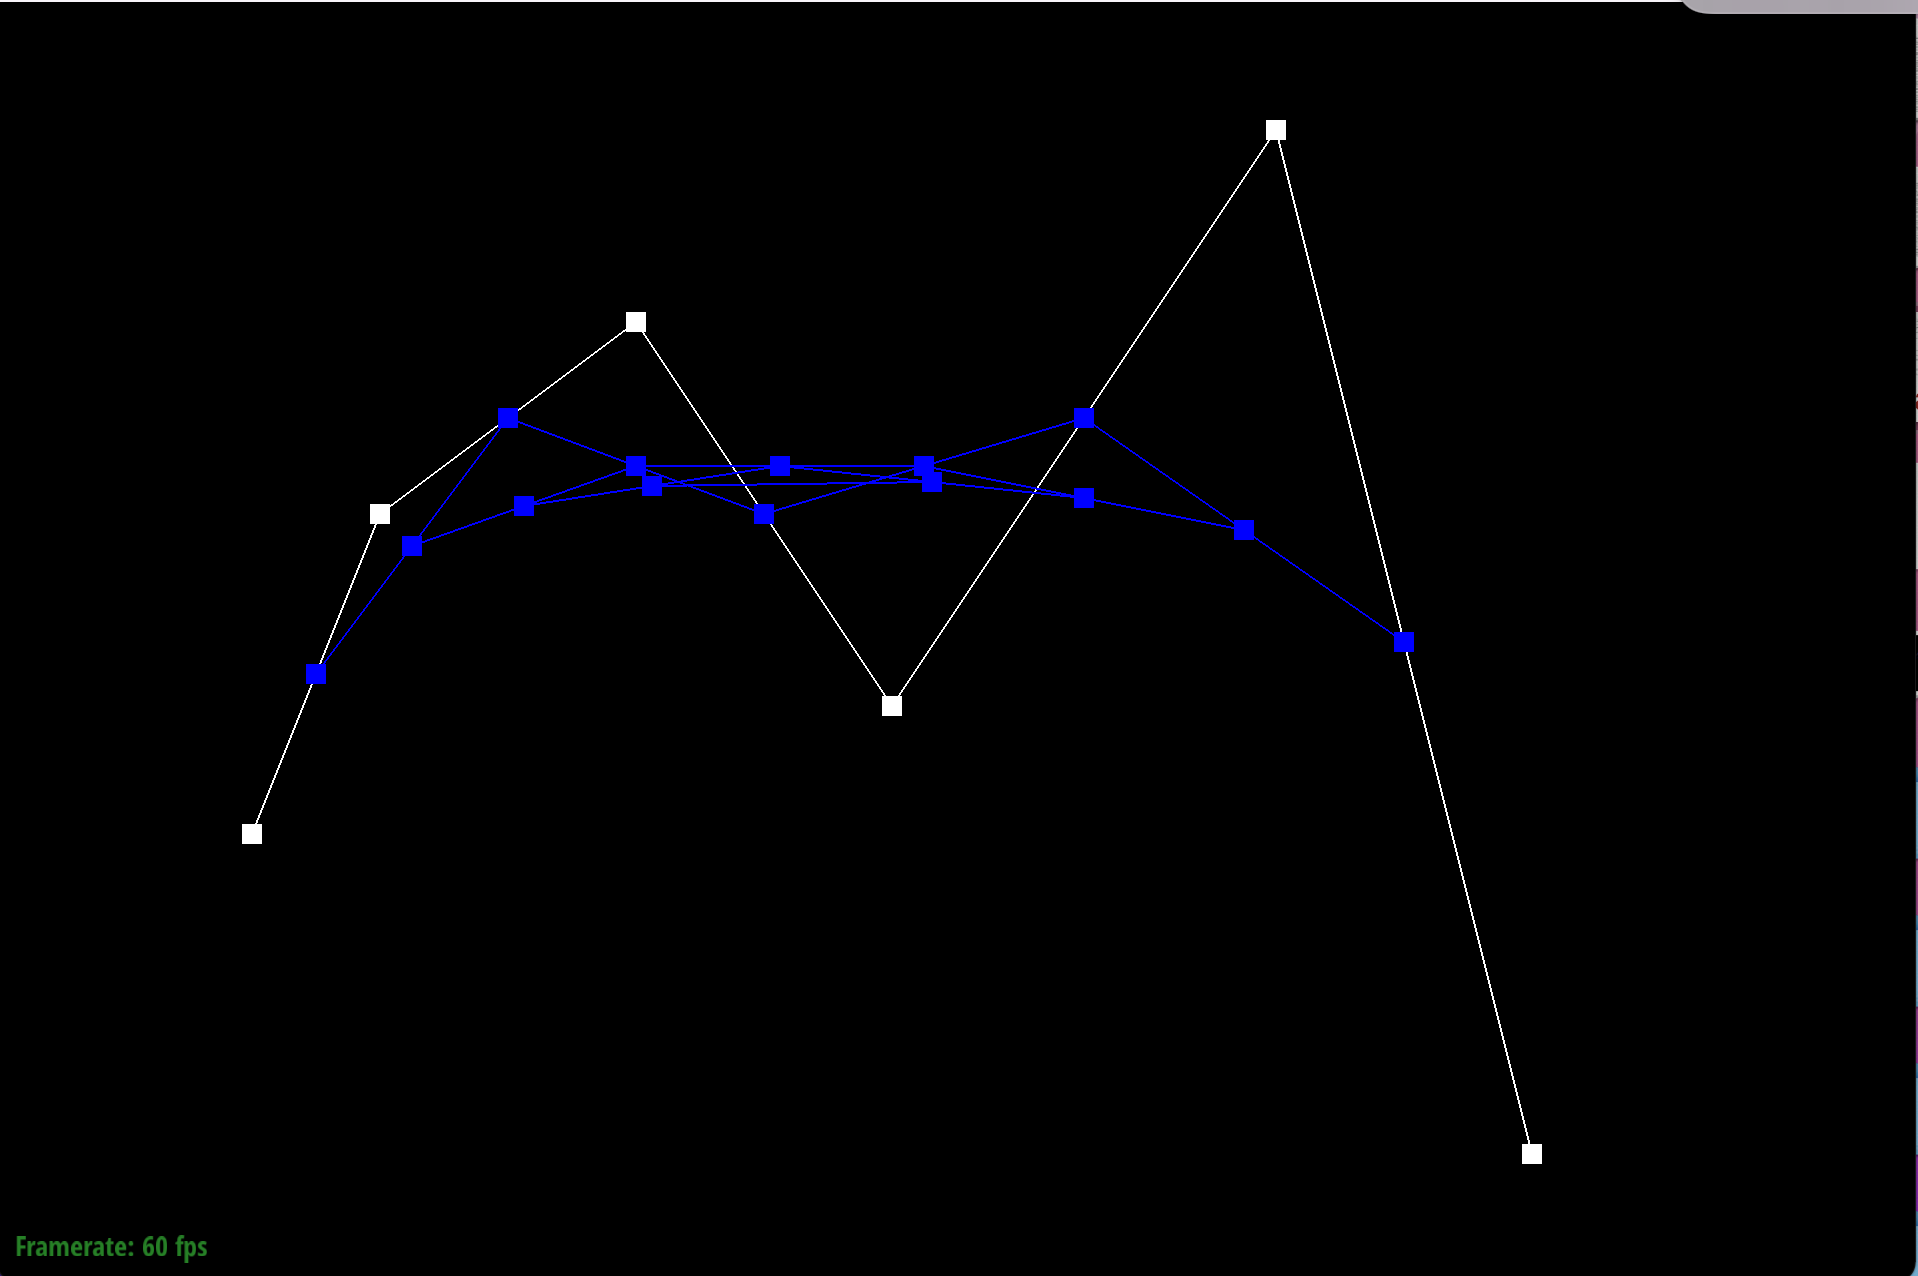
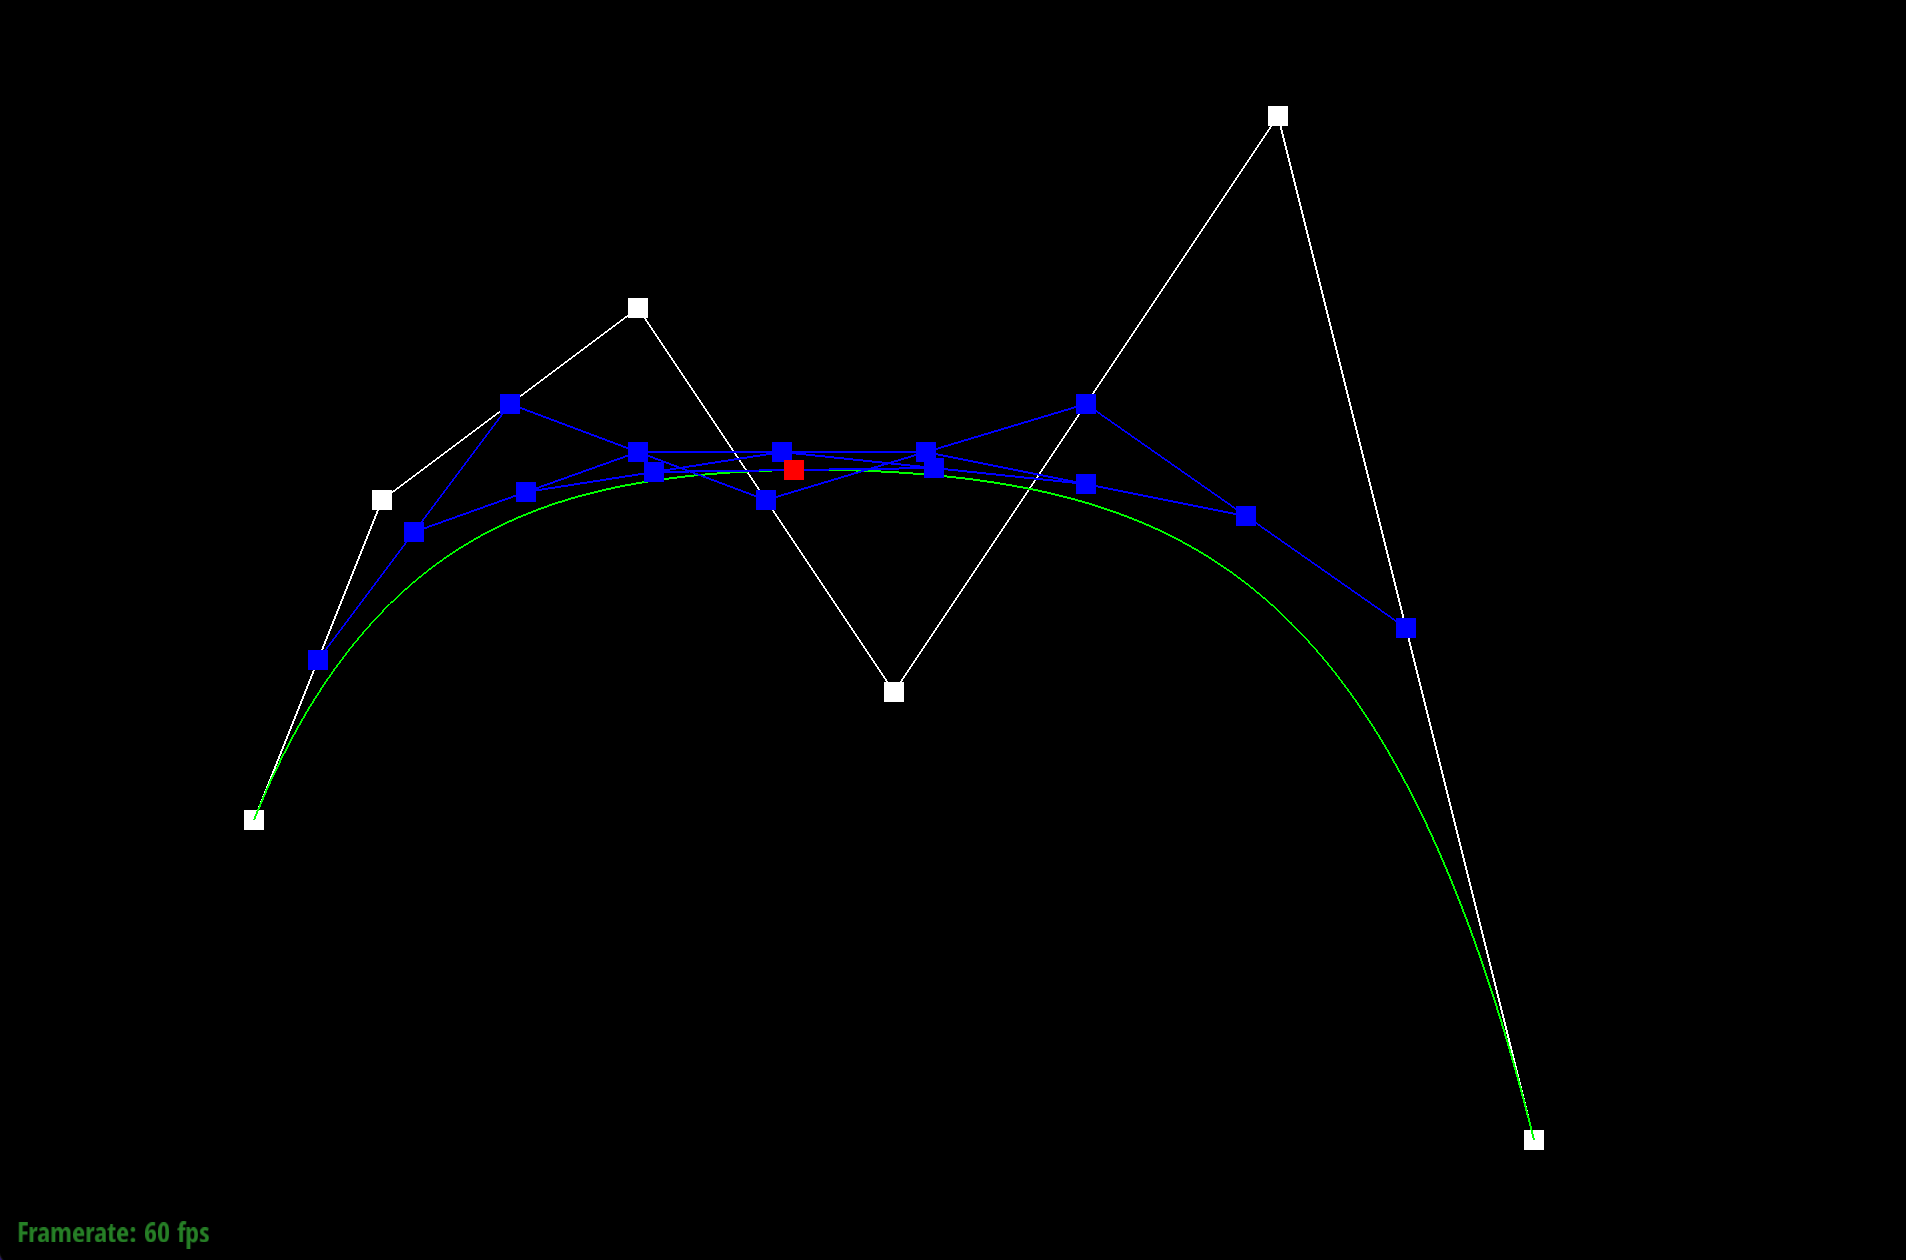
De Casteljau's algorithm is a numerical method that takes in a set of points and recursively linear interpolate points for Bézier curves, I implement the algorithm by traversing through all the points and lerp each adjacent points for (n - 1) times and return the (n - 1) points for each recursion. The base case will be when there is only one point.

|
|
|
|
|
|
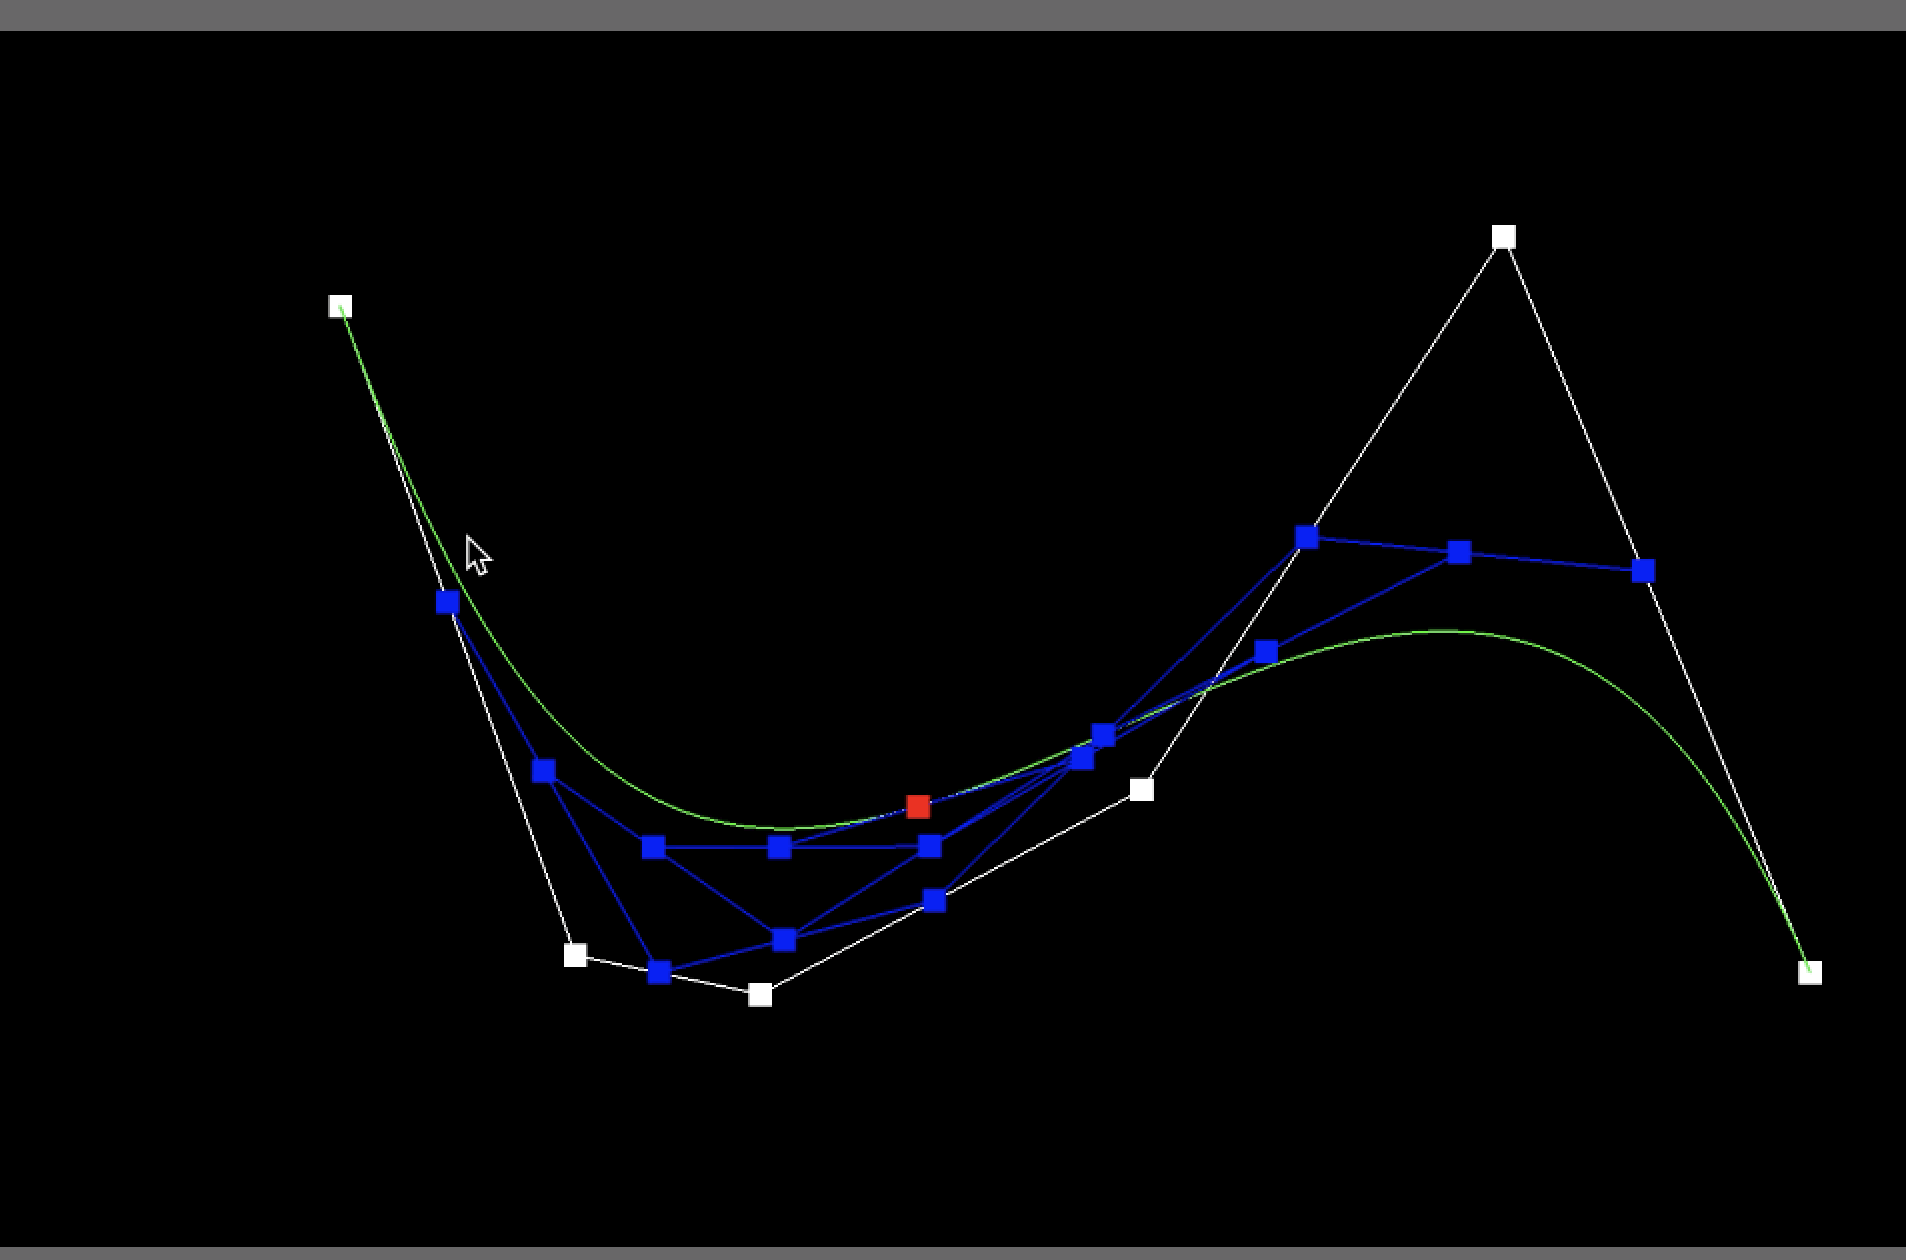
Here are the screenshot and recording of readjusting the points and t value:
|

|

|
|
Part 2: Bezier surfaces with separable 1D de Casteljau subdivision
For each control point in the vector, there are 4 subpoints. We first traverse through all the control points and perform De Casteljau Algorithm using parameter u on each control point which will output an interpolated point. We then store the interpolated points in a vector. Lastly, we return the result of performing De Casteljau Algorithm again on the new vector with parameter v.

|
Section II: Sampling
Part 3: Average normals for half-edge meshes
We calculate the Average normals by traversing through all the neighbour of halfedge. For each halfedge we encounter, we find the three vertices of the triangle and calculate the area. Then we add the area times the normal vector of the face to the average normal. Ultimately, we return the unit vector of the weighted normal.
|

|
Part 4: Half-edge flip
In order to implement edge flip, I create a labeled graph before and after the edge flip for reference when trying to code. I first list out all the halfedges,vertices,edges,faces the two adjacent triangles can have and label them. Then for each hafledges we use setneighbor to reassign all the connected edges,vertices, and faces after the flip according to the graph we make. Finally, For all the vertices, edges, and faces variables, we reassign the corresponding halfedge after the flip.
|

|
Initially, I did not create a before-and-after edge flip graph so I don't remember which hafledges correspond to which vertices so I have to restart and map it out first. It takes a while to draw the graph but it makes coding much easier.
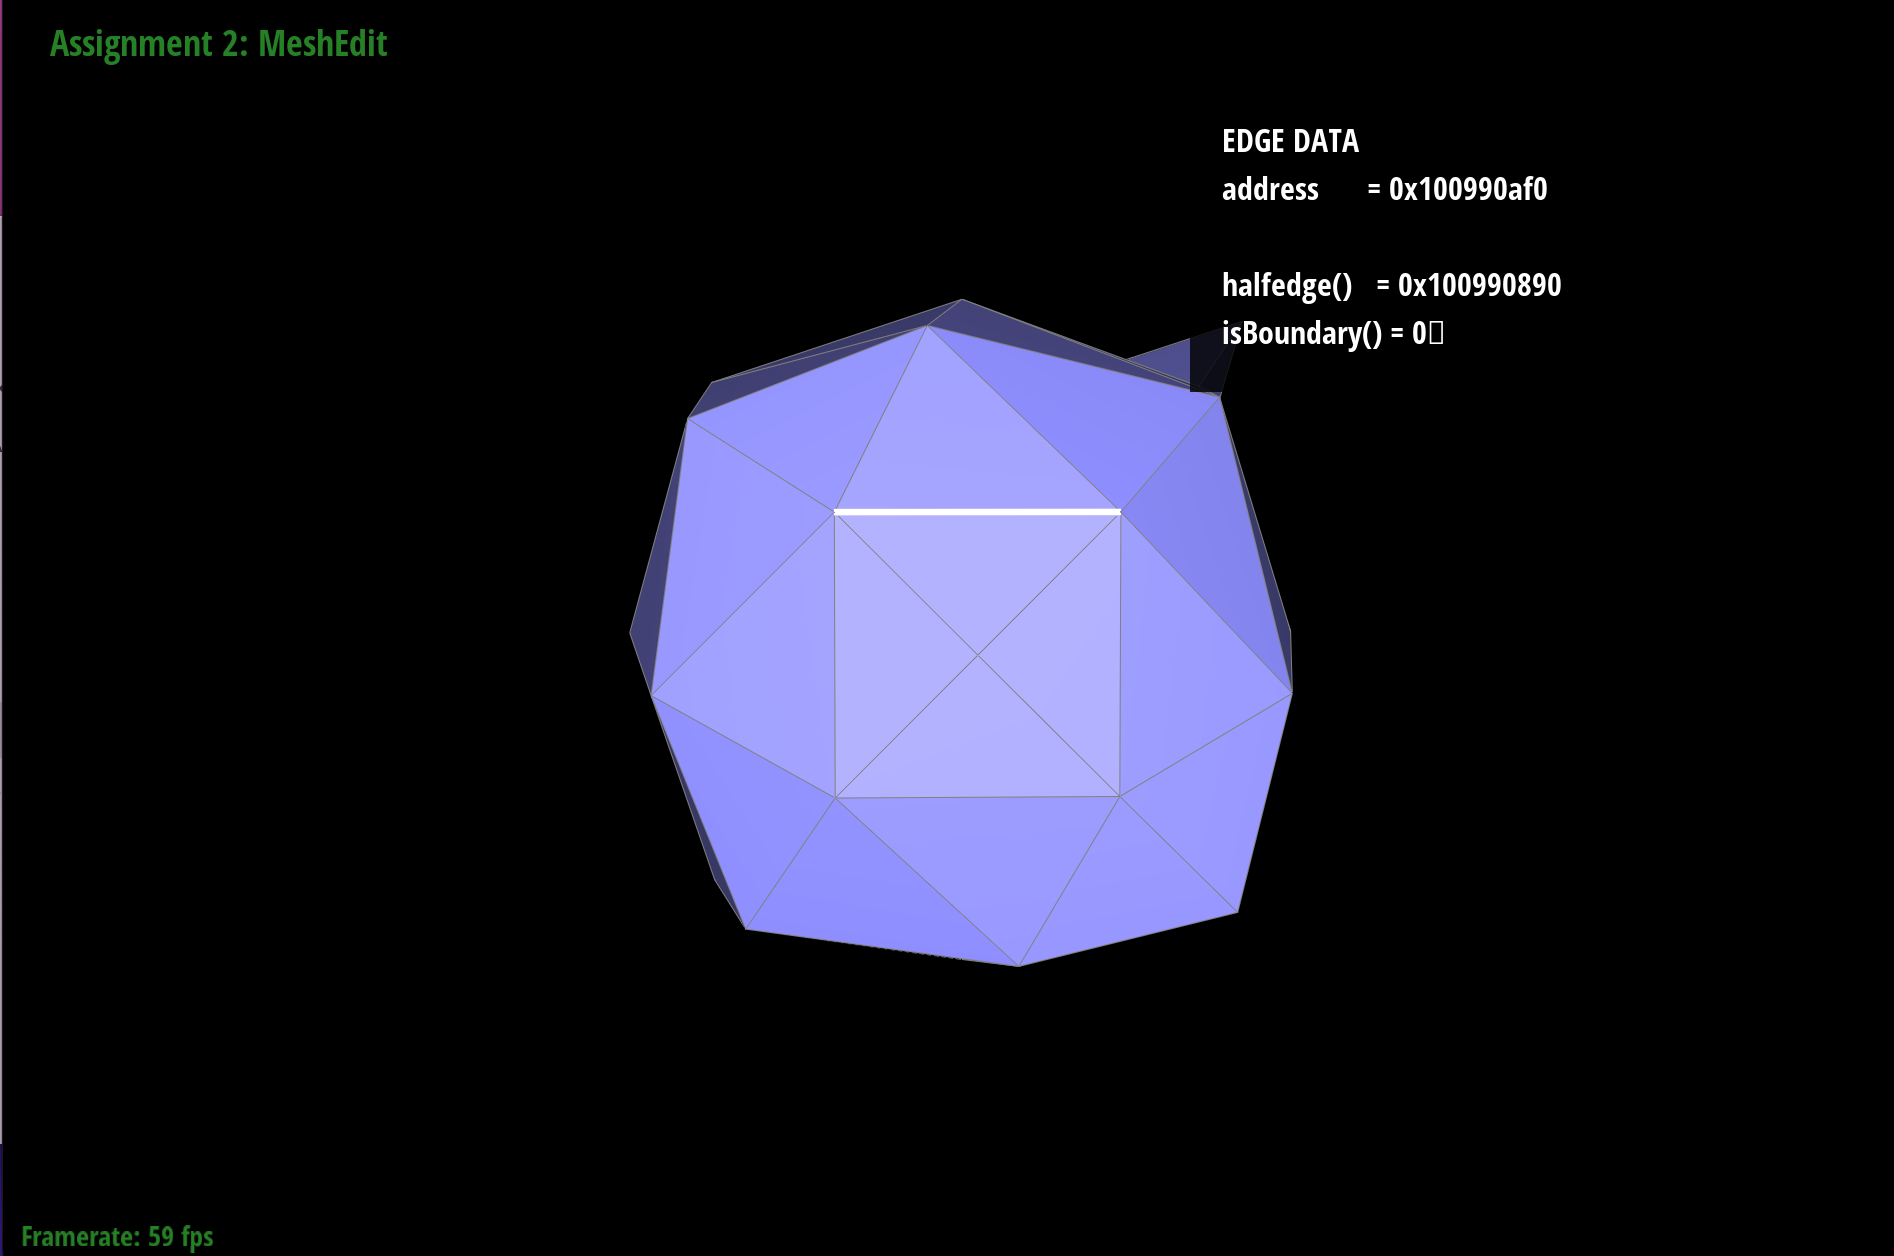
Part 5: Half-edge split
Similar to part 4, I created a label graph before and after spilting the triangles for reference. Then I create variables to store all the pointers of halfedges,vertices, edges, and faces. I also created 6 new halfedges, 3 edges, 2 faces, and 1 vertex to account for the new elements when spilting. Finally, I assigned the pointer to what it should be after the spilting according to the graph I previously made. The output of the function will be the vertex that was recently created.

|
|
|
|
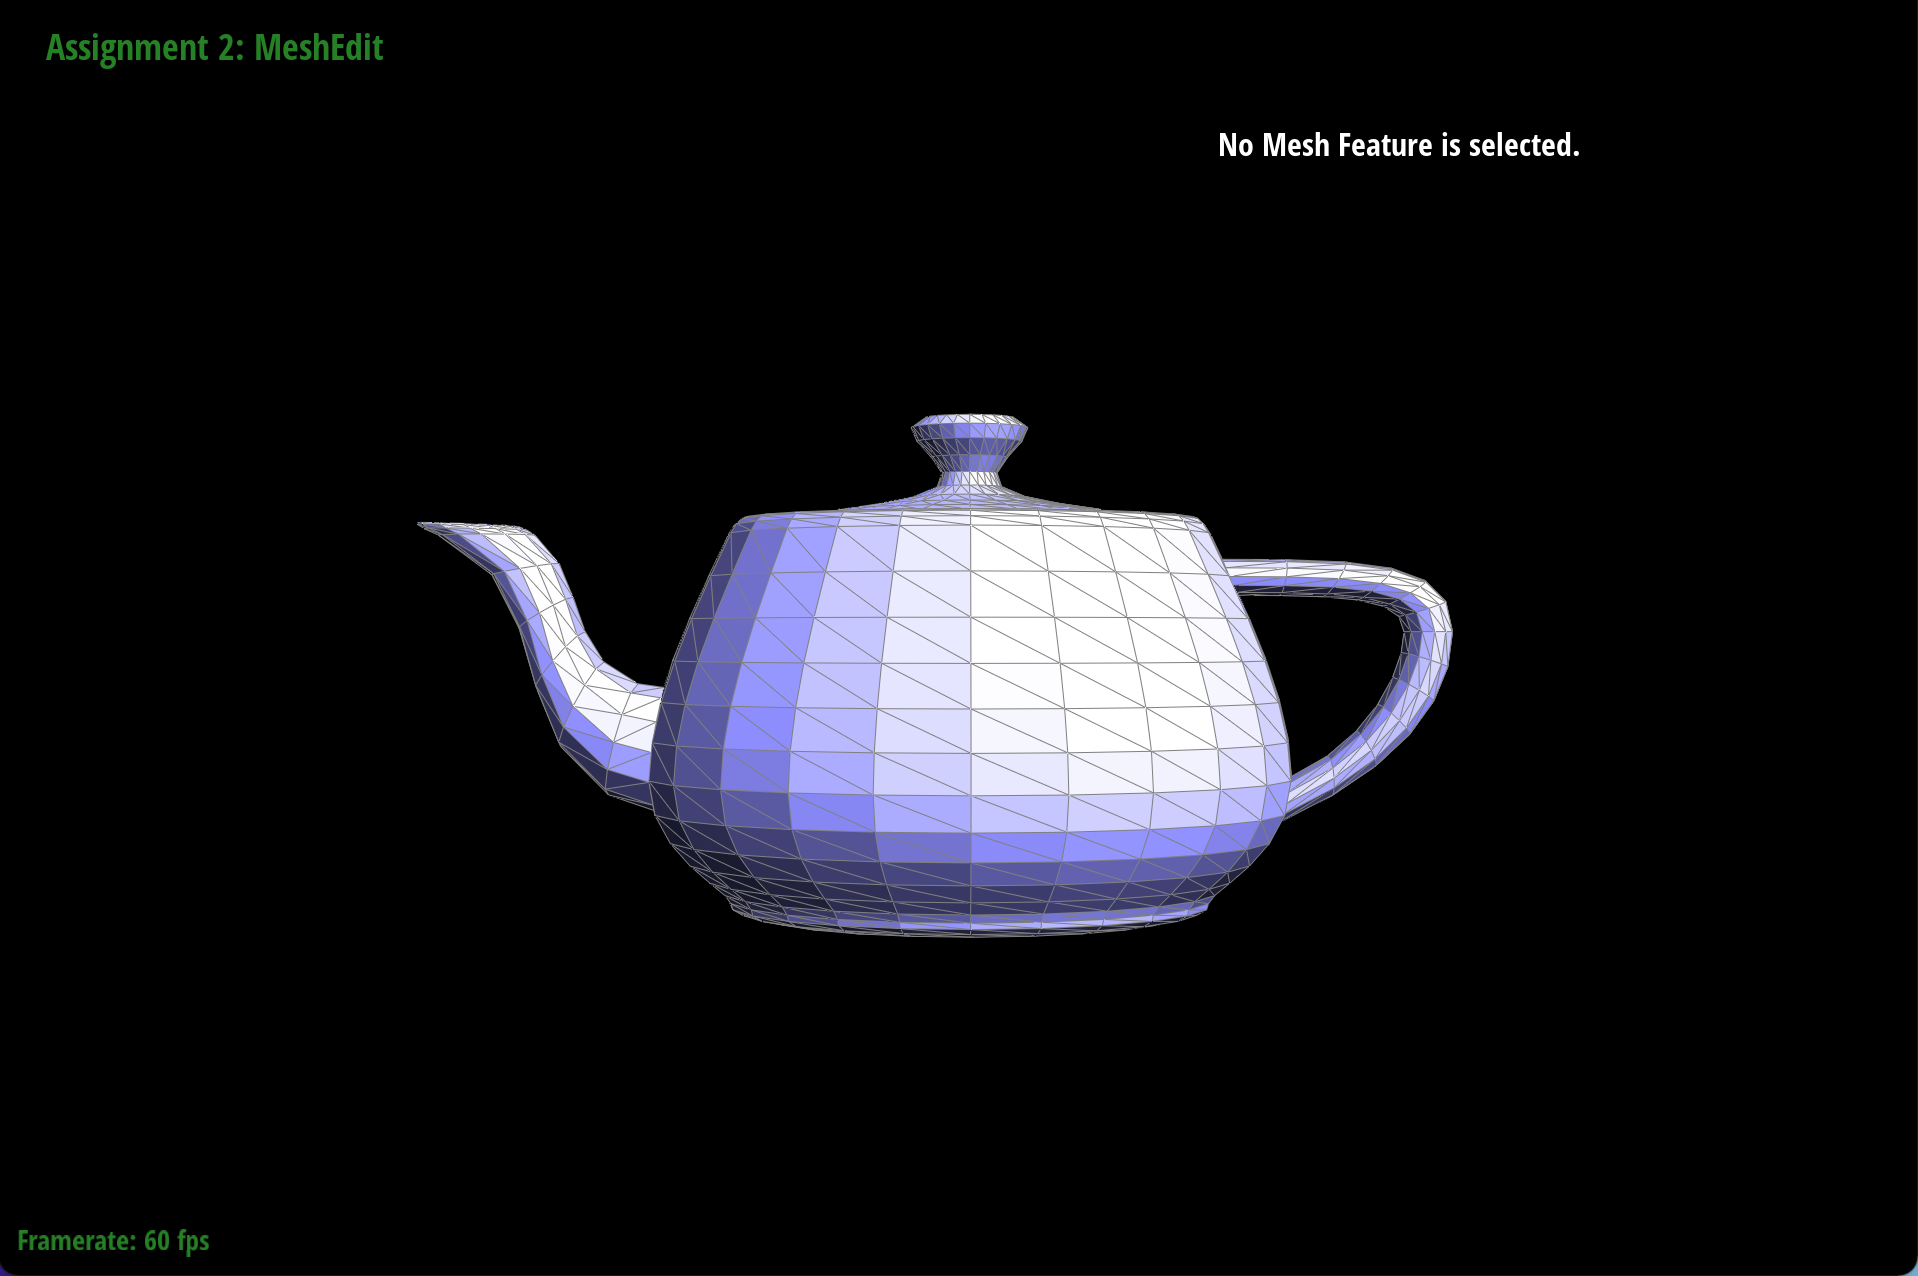
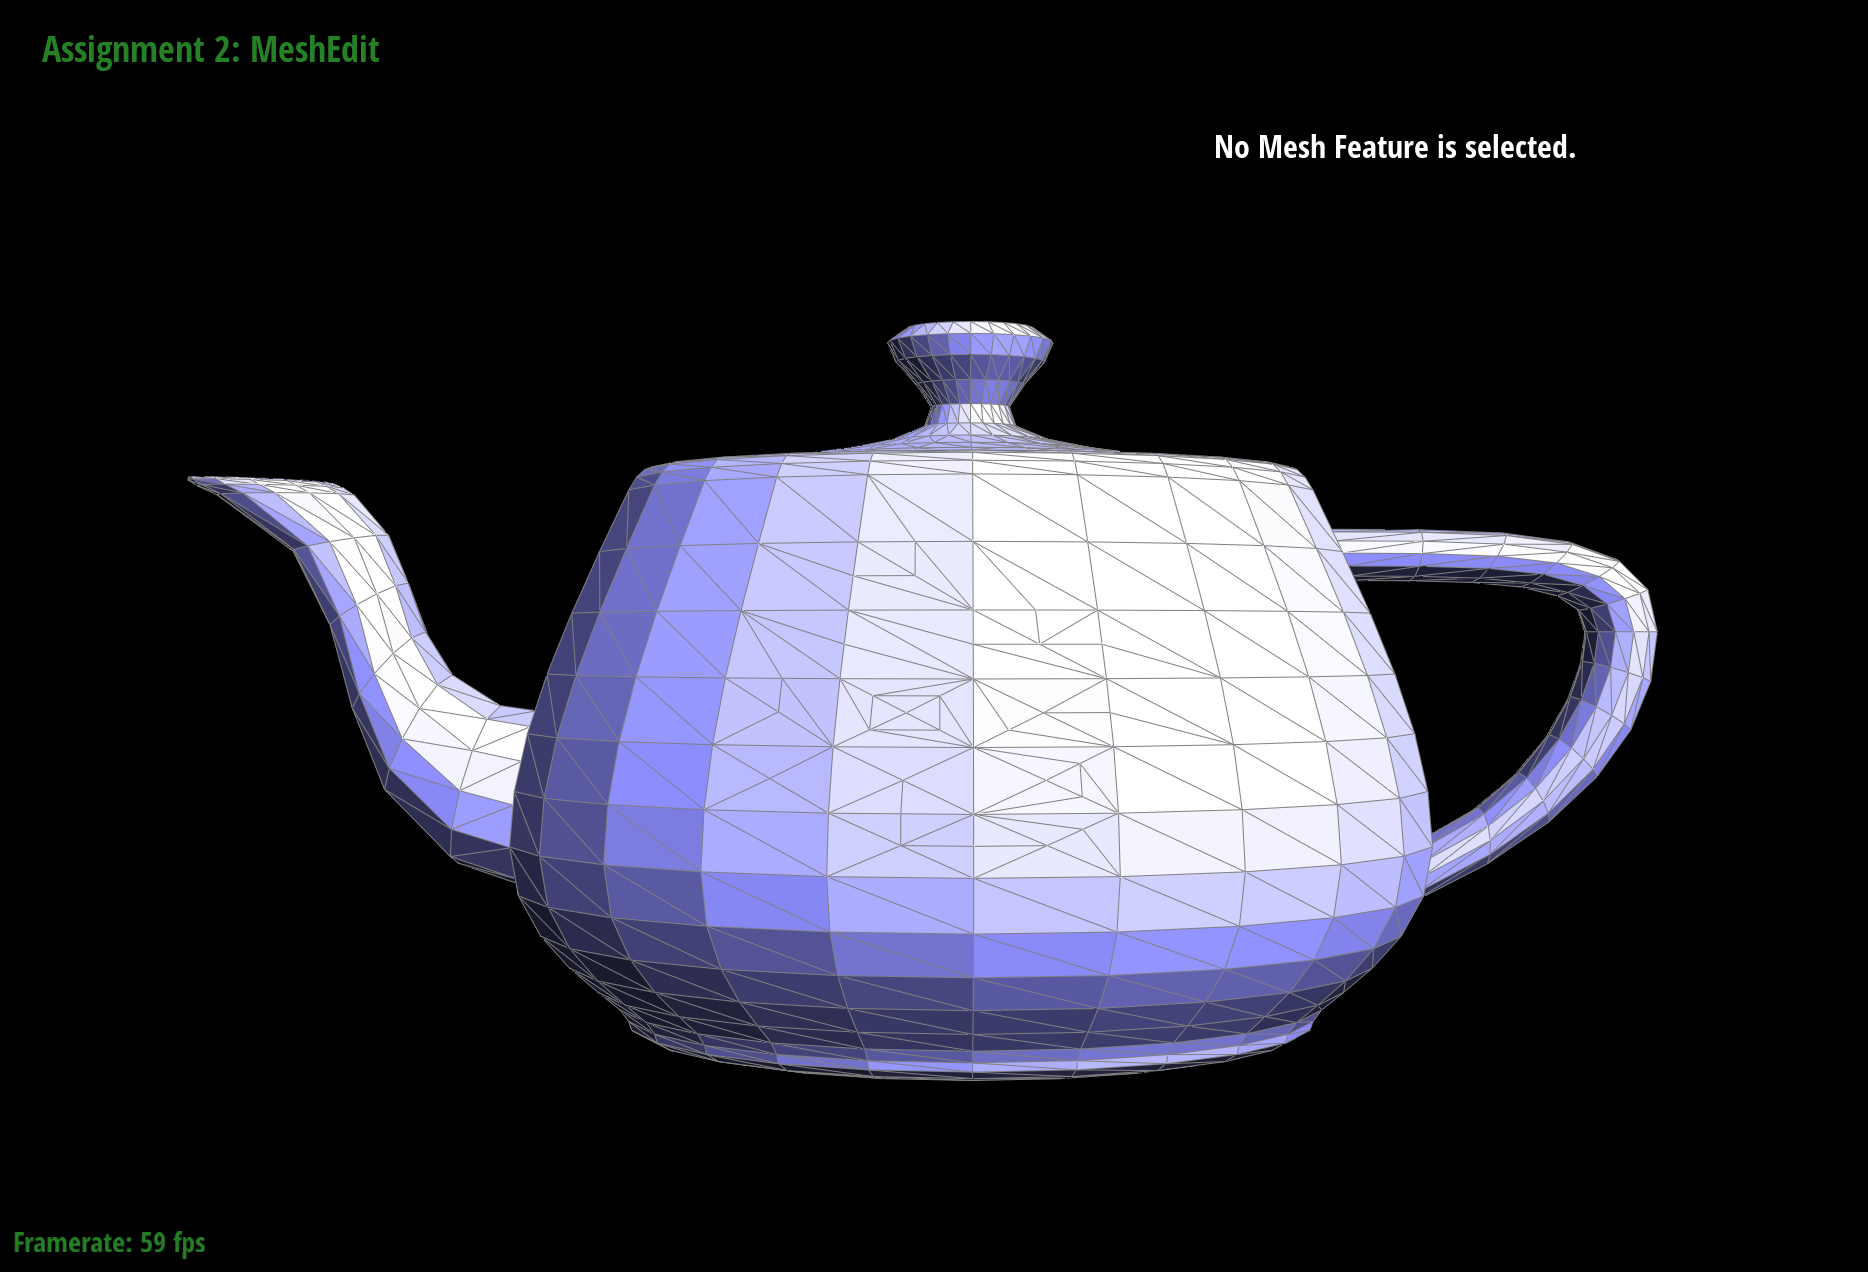
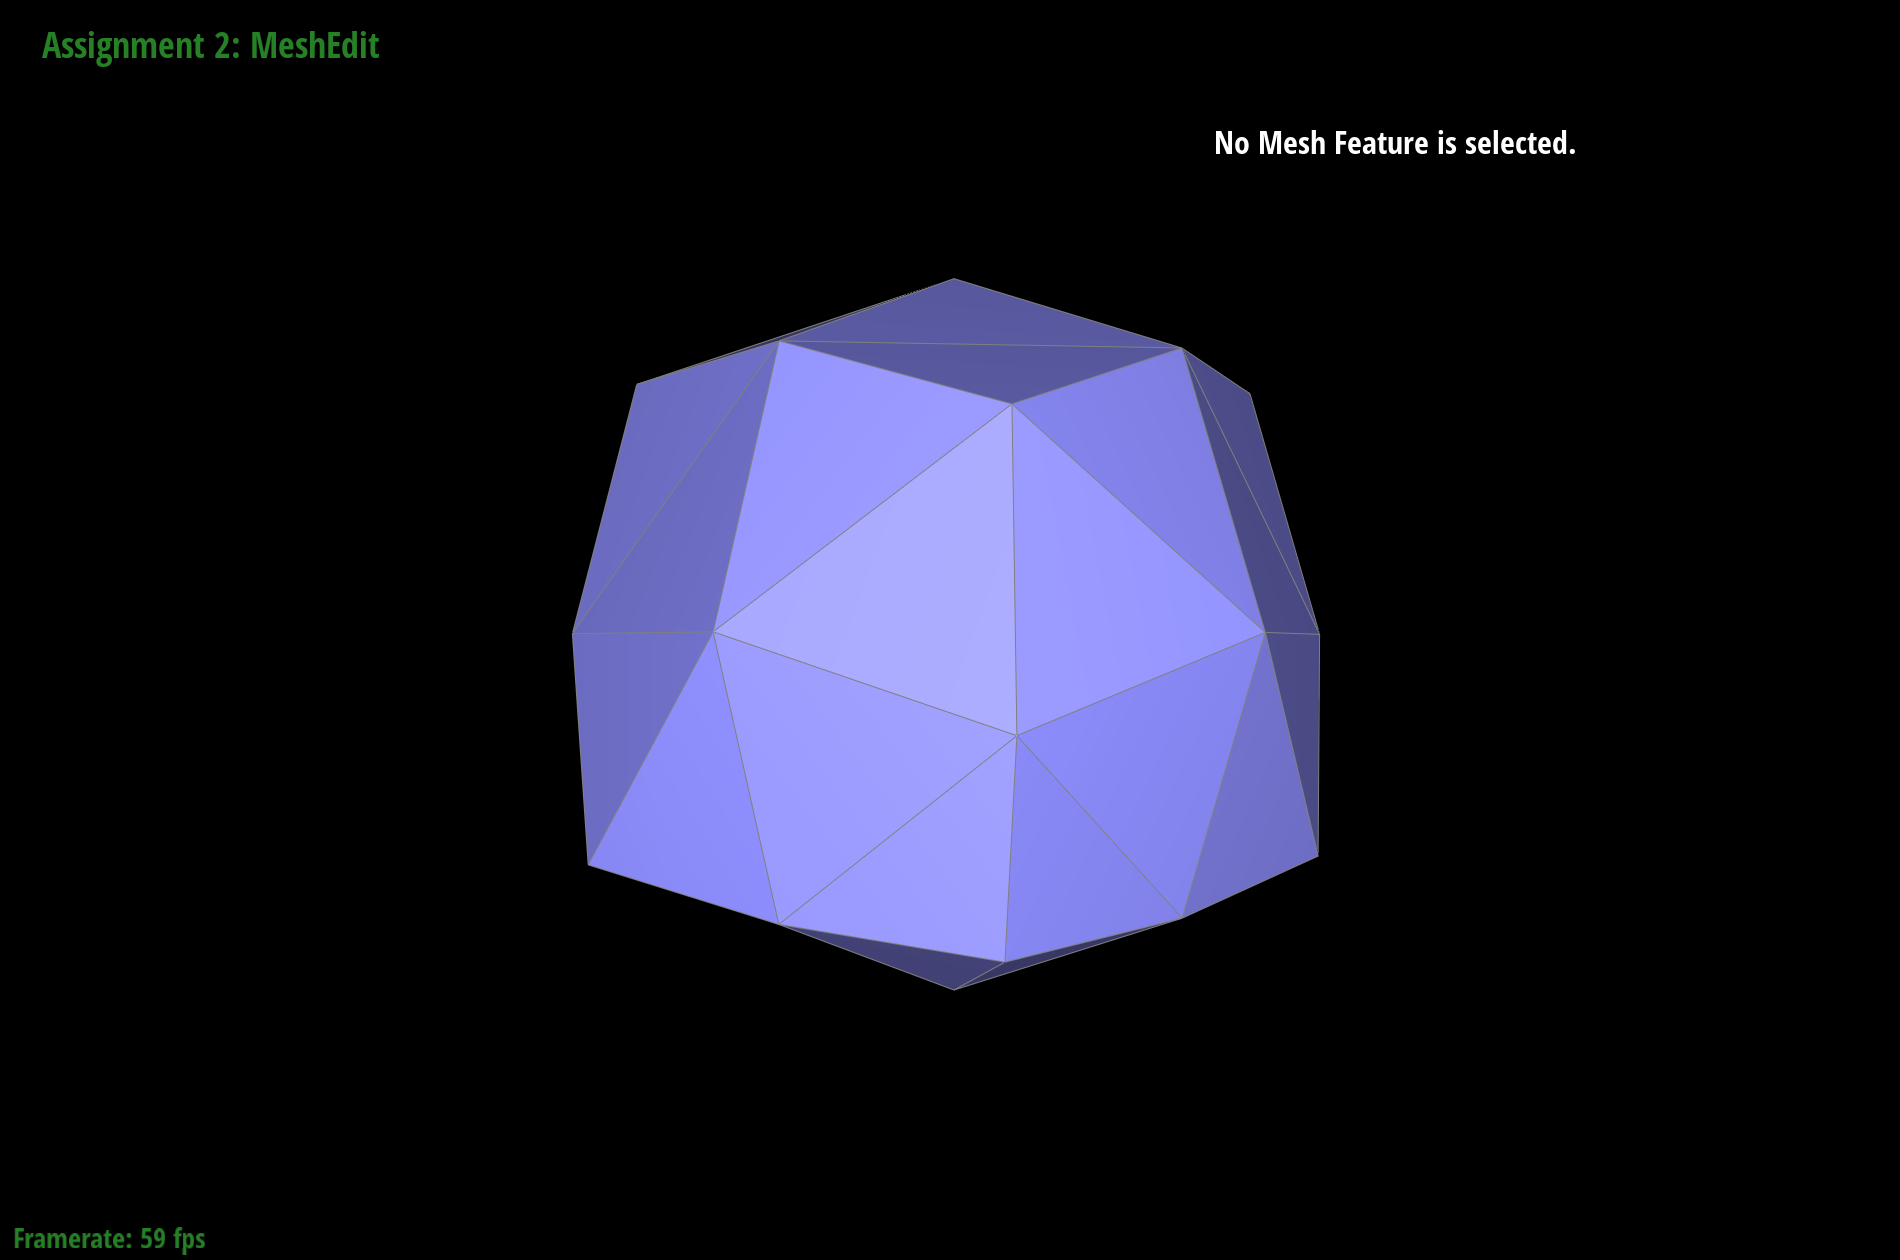
Part 6: Loop subdivision for mesh upsampling
- First, I iterate through all the vertices in the mesh and calculate the vertices's new position using the formula (1 - n * u) * original_position + u * original_neighbor_position_sum
- Then, I find the position of new vertices created by edge split by iterating through edges and computing 3/8 * (A + B) + 1/8 * (C + D).
- After we have the position of all vertices, I iterate through edges and if both vertices of an edge is not newly created then we will spilt them
- After spilting, we will traverse through edges again and flip those edges with one new vertex and one old vertex
- Finally, we will replace the position of vertices with the new position/

|

|

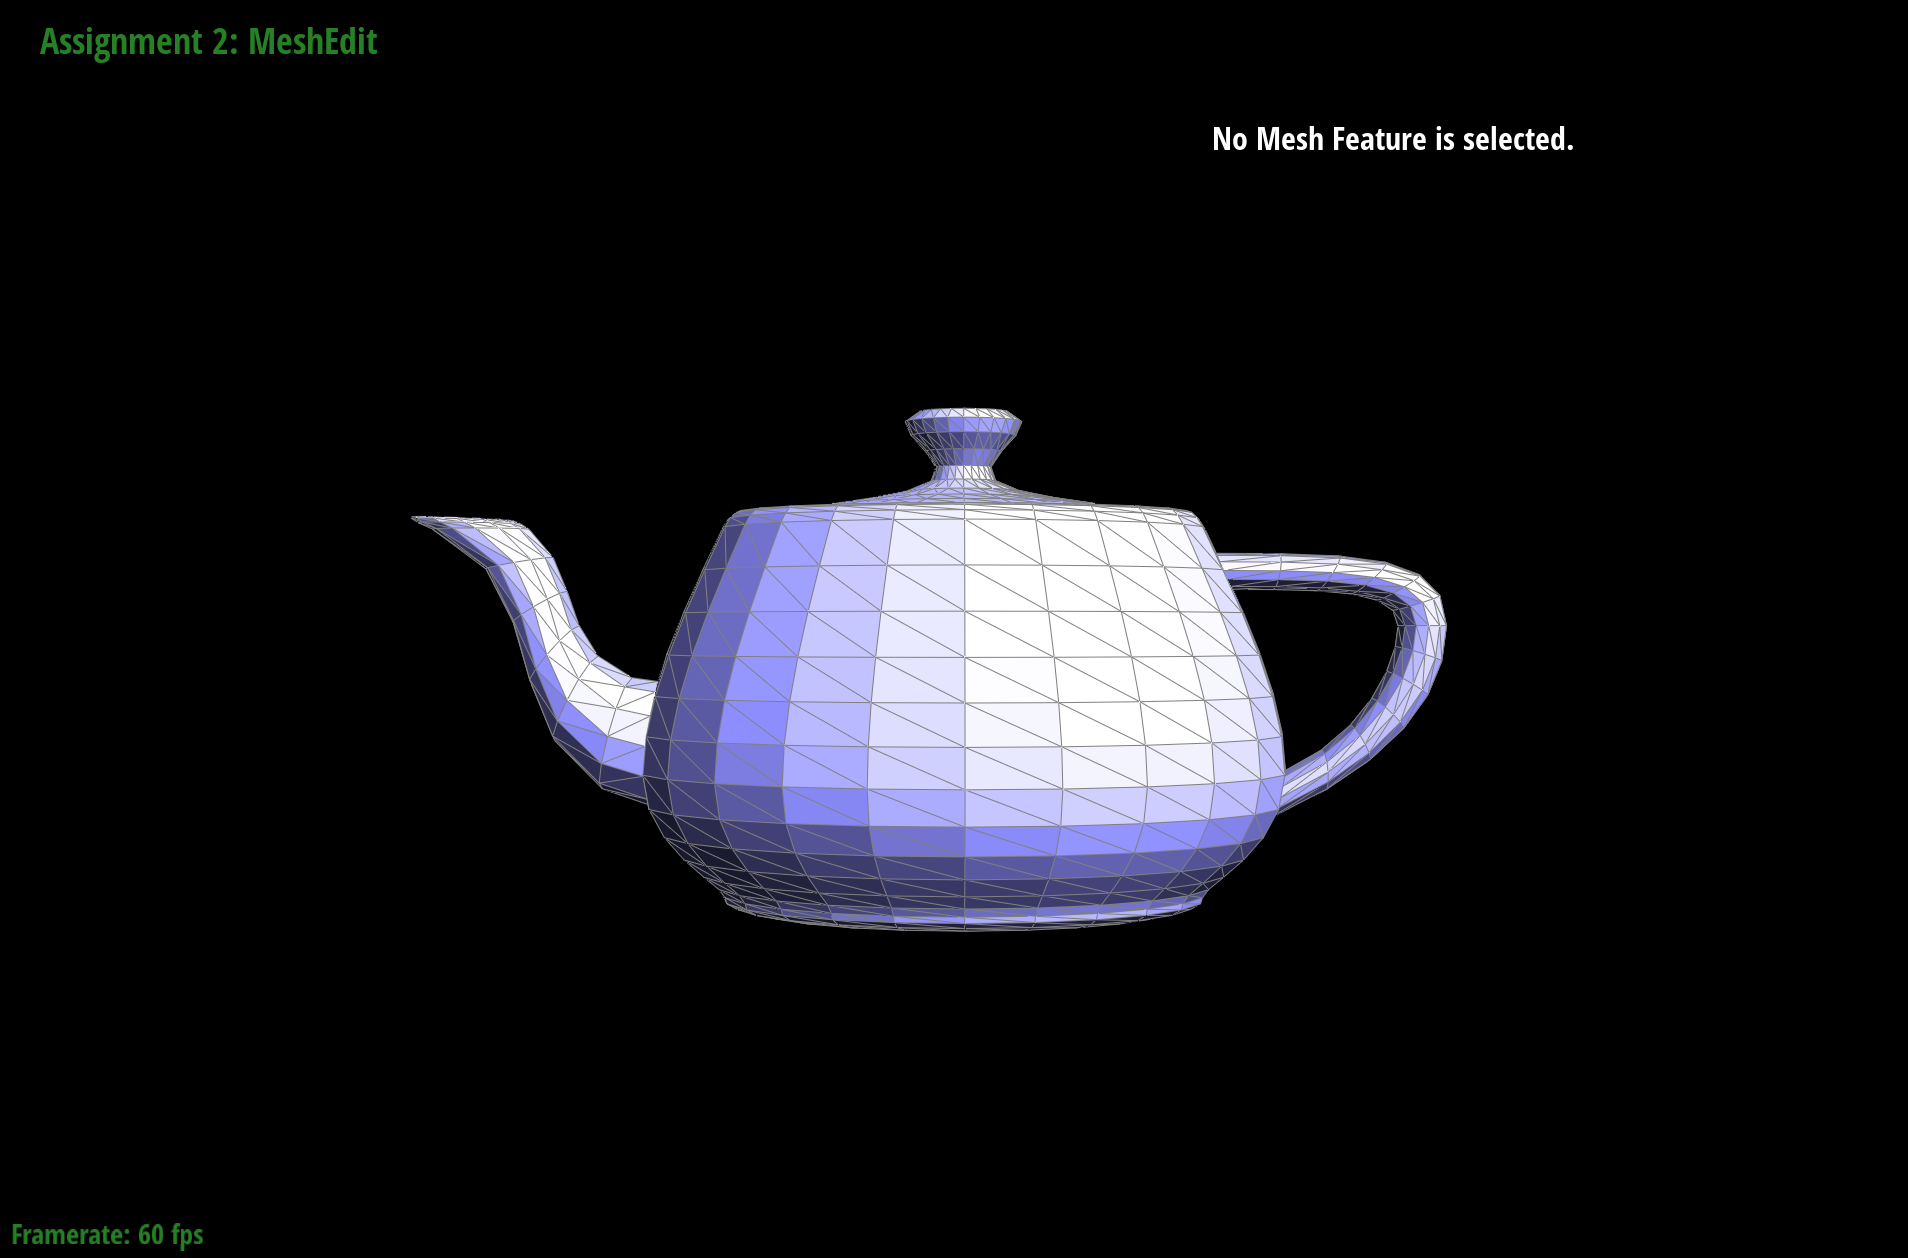
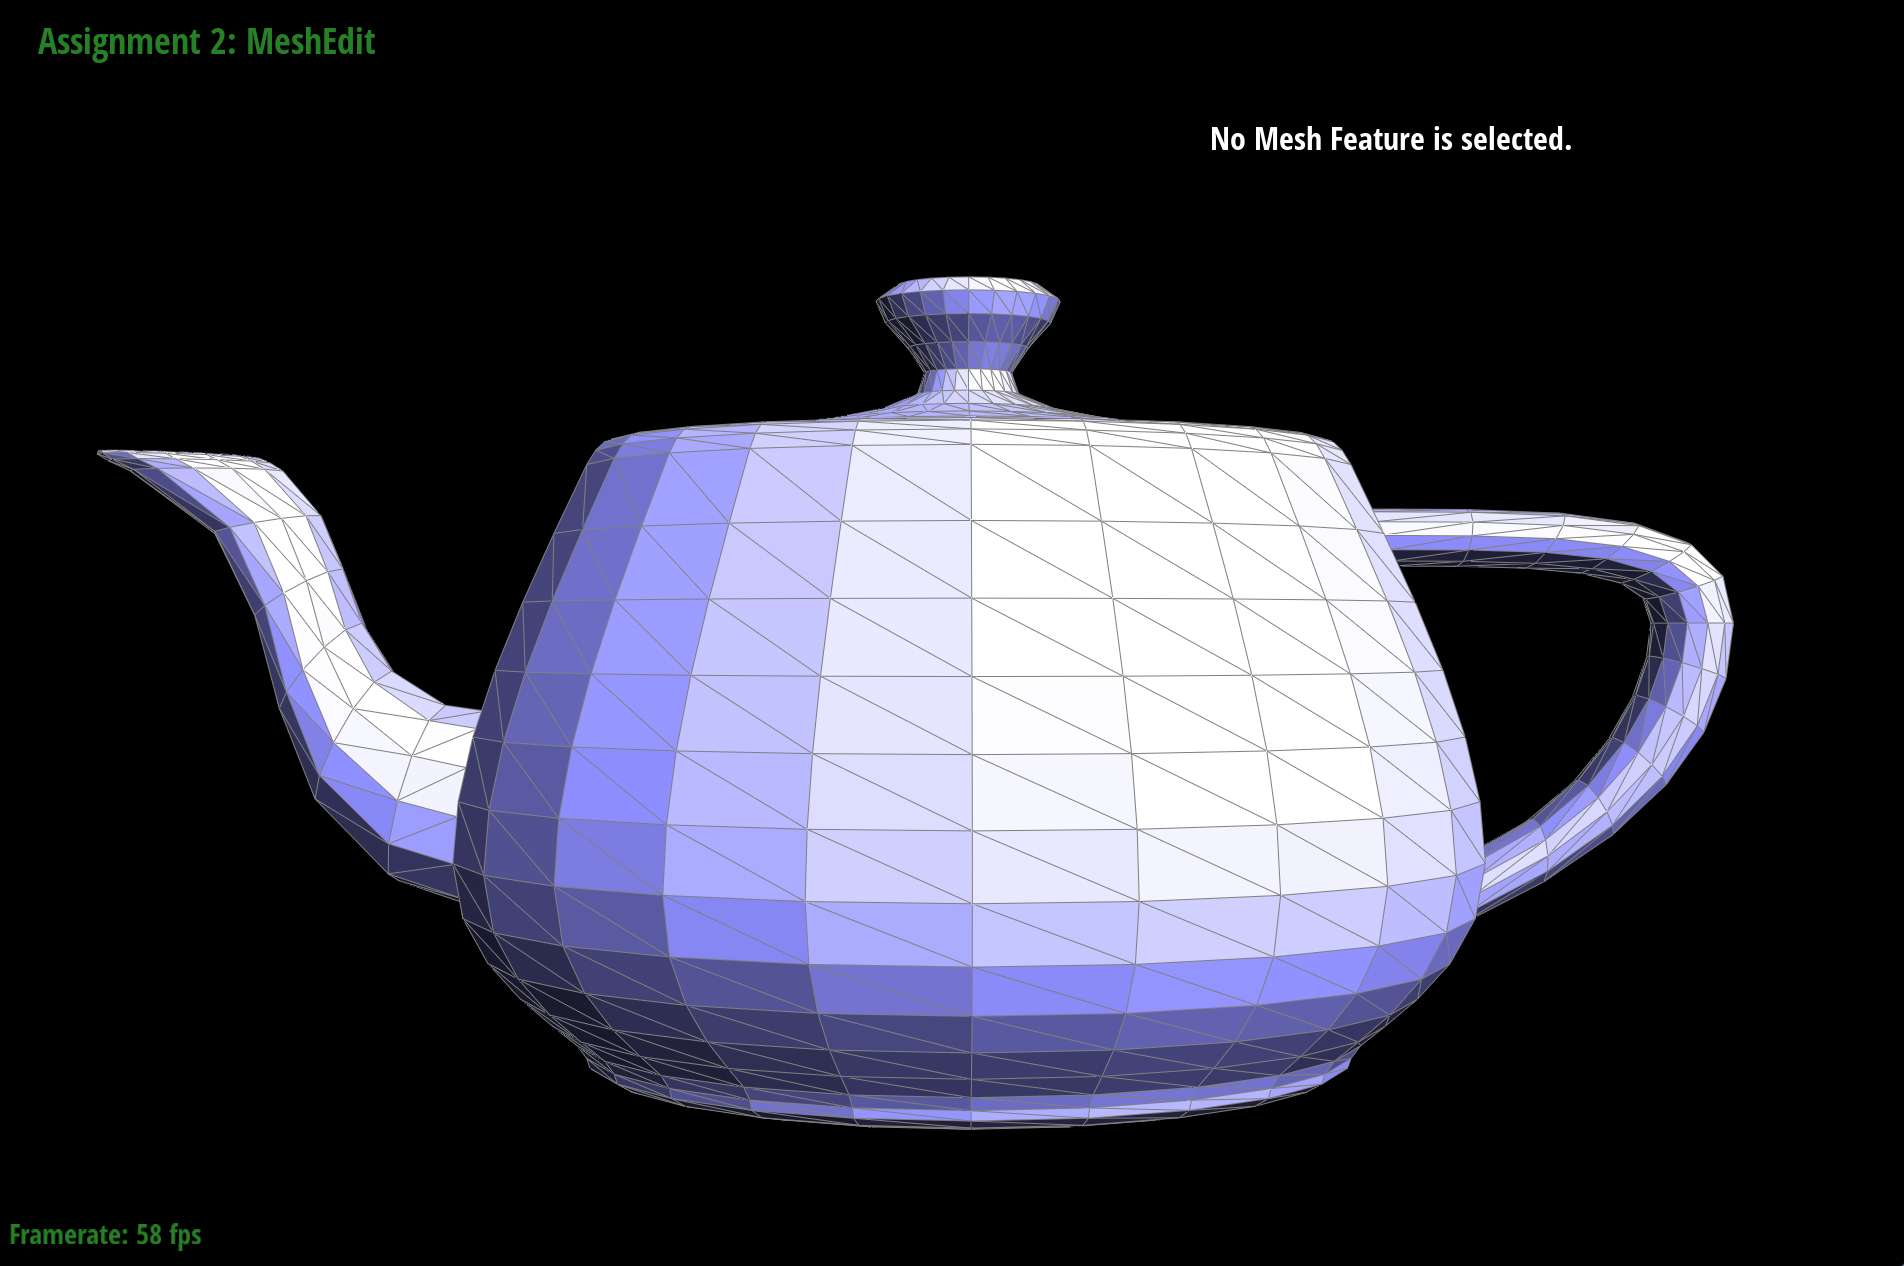
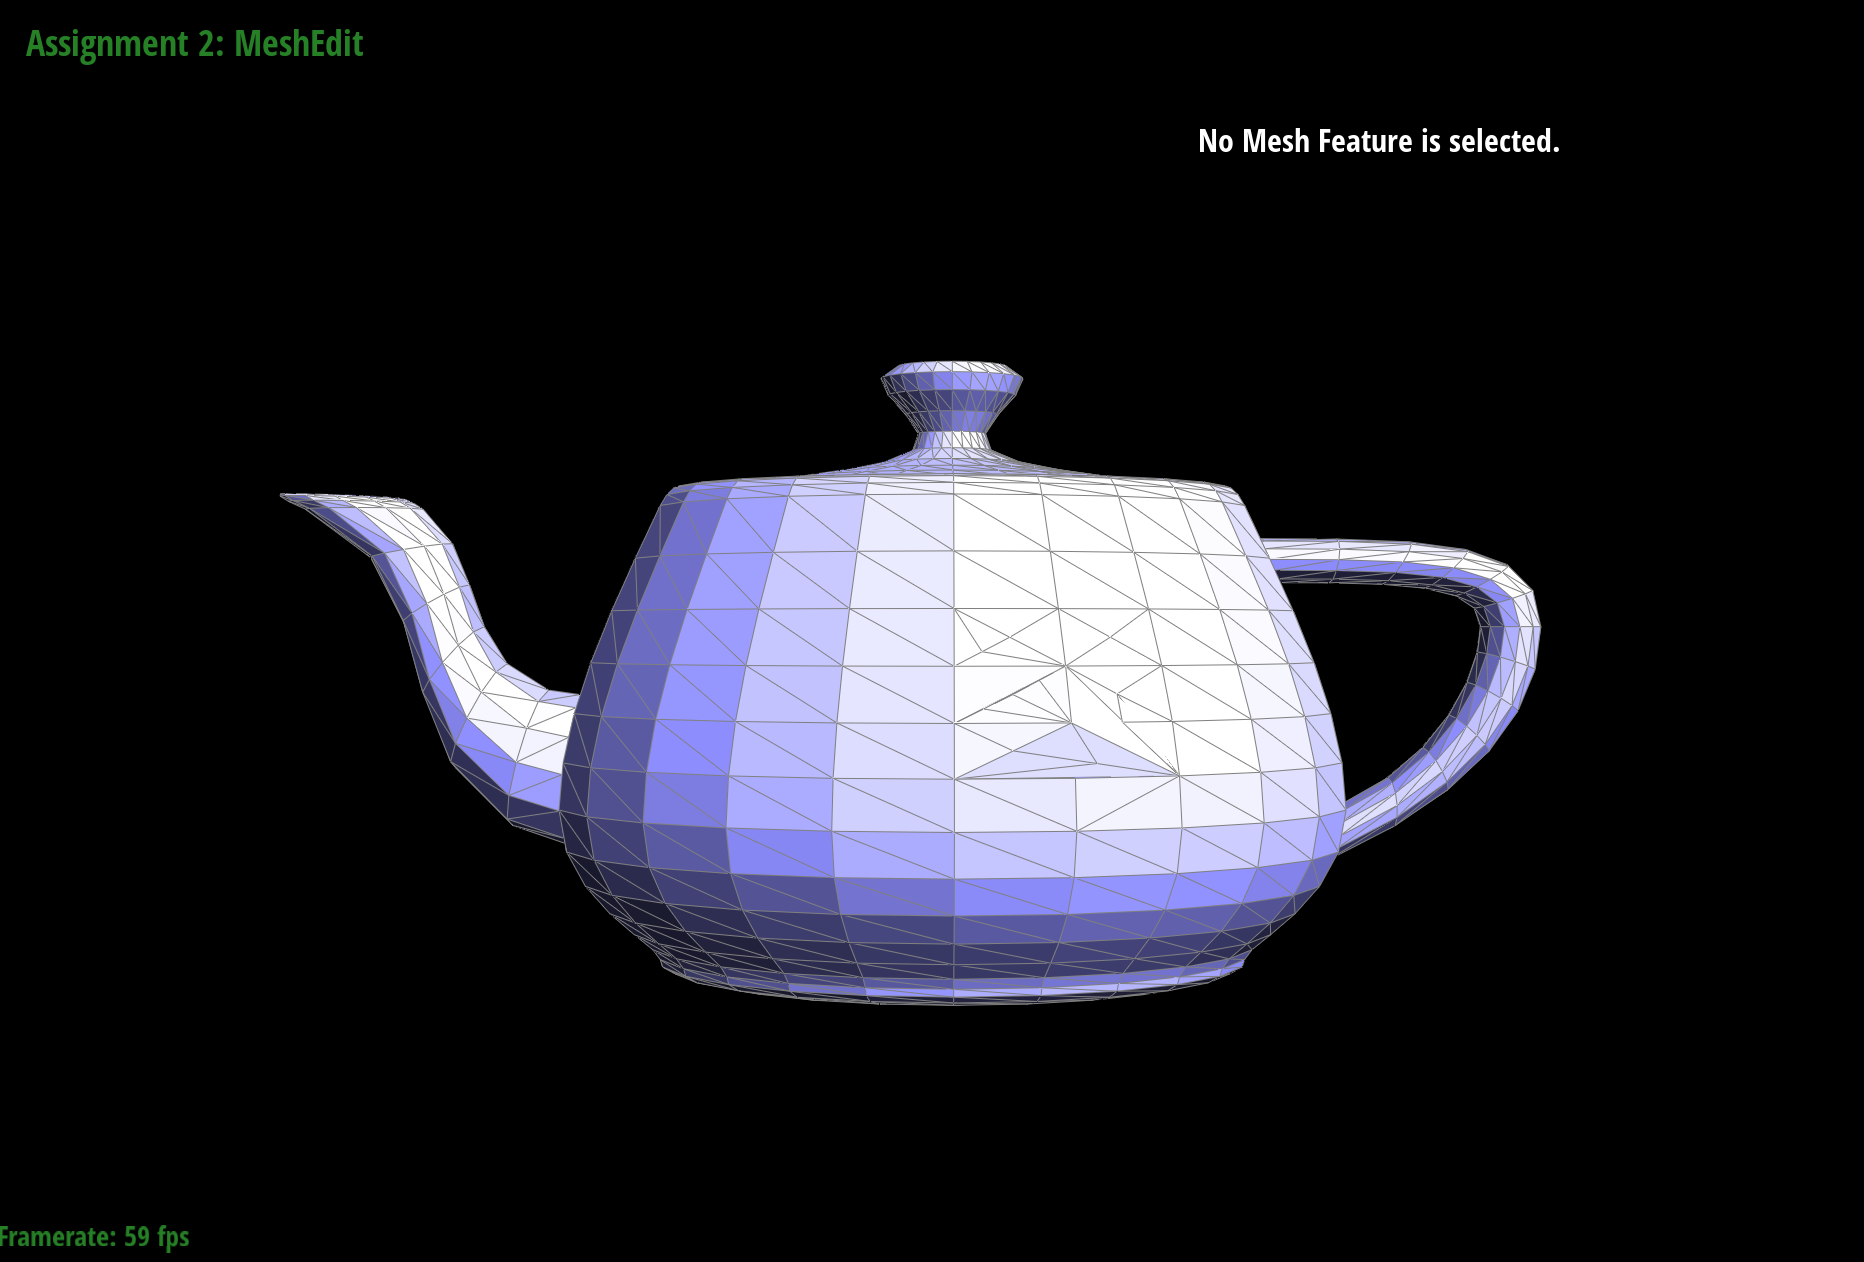
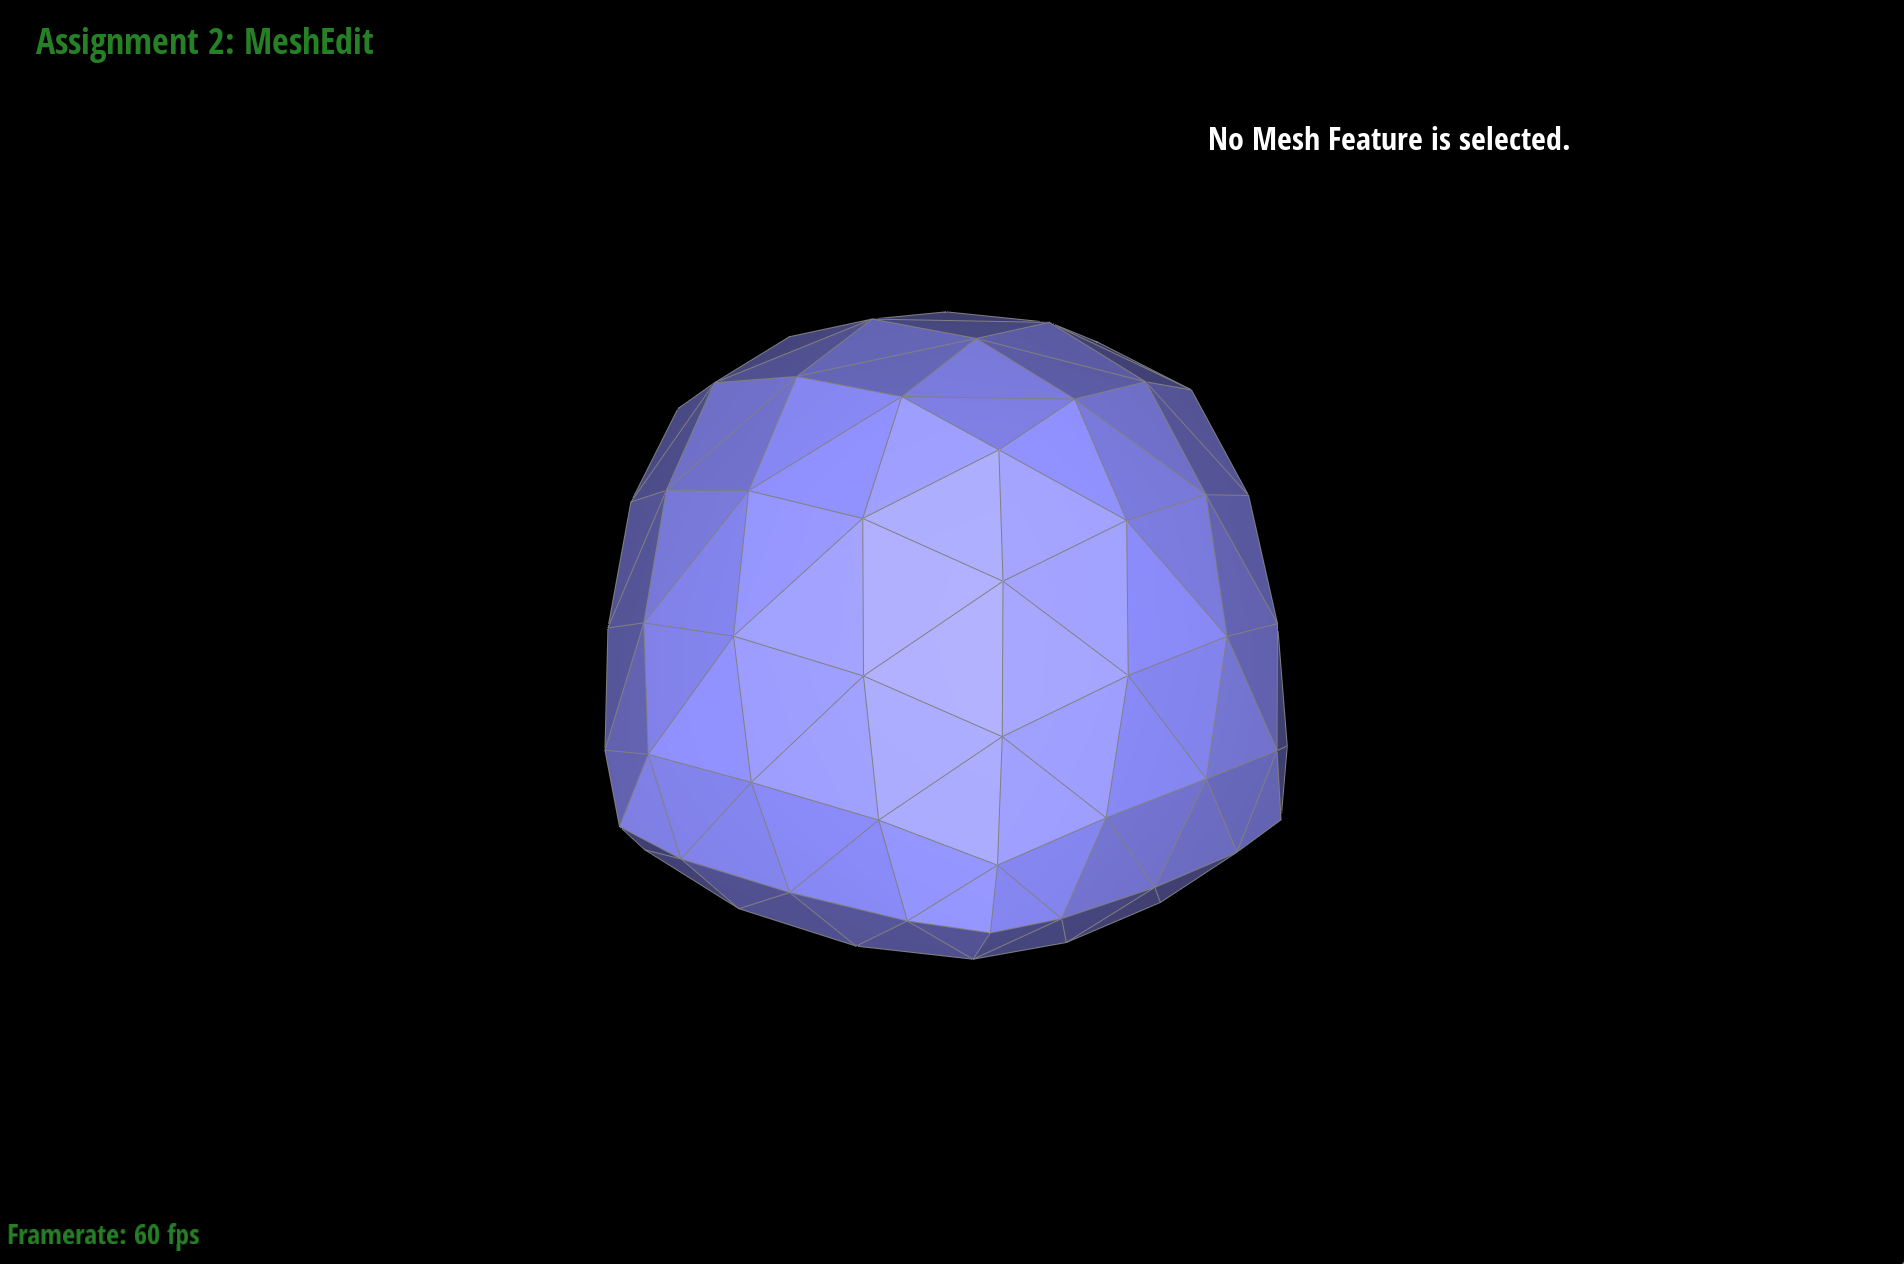
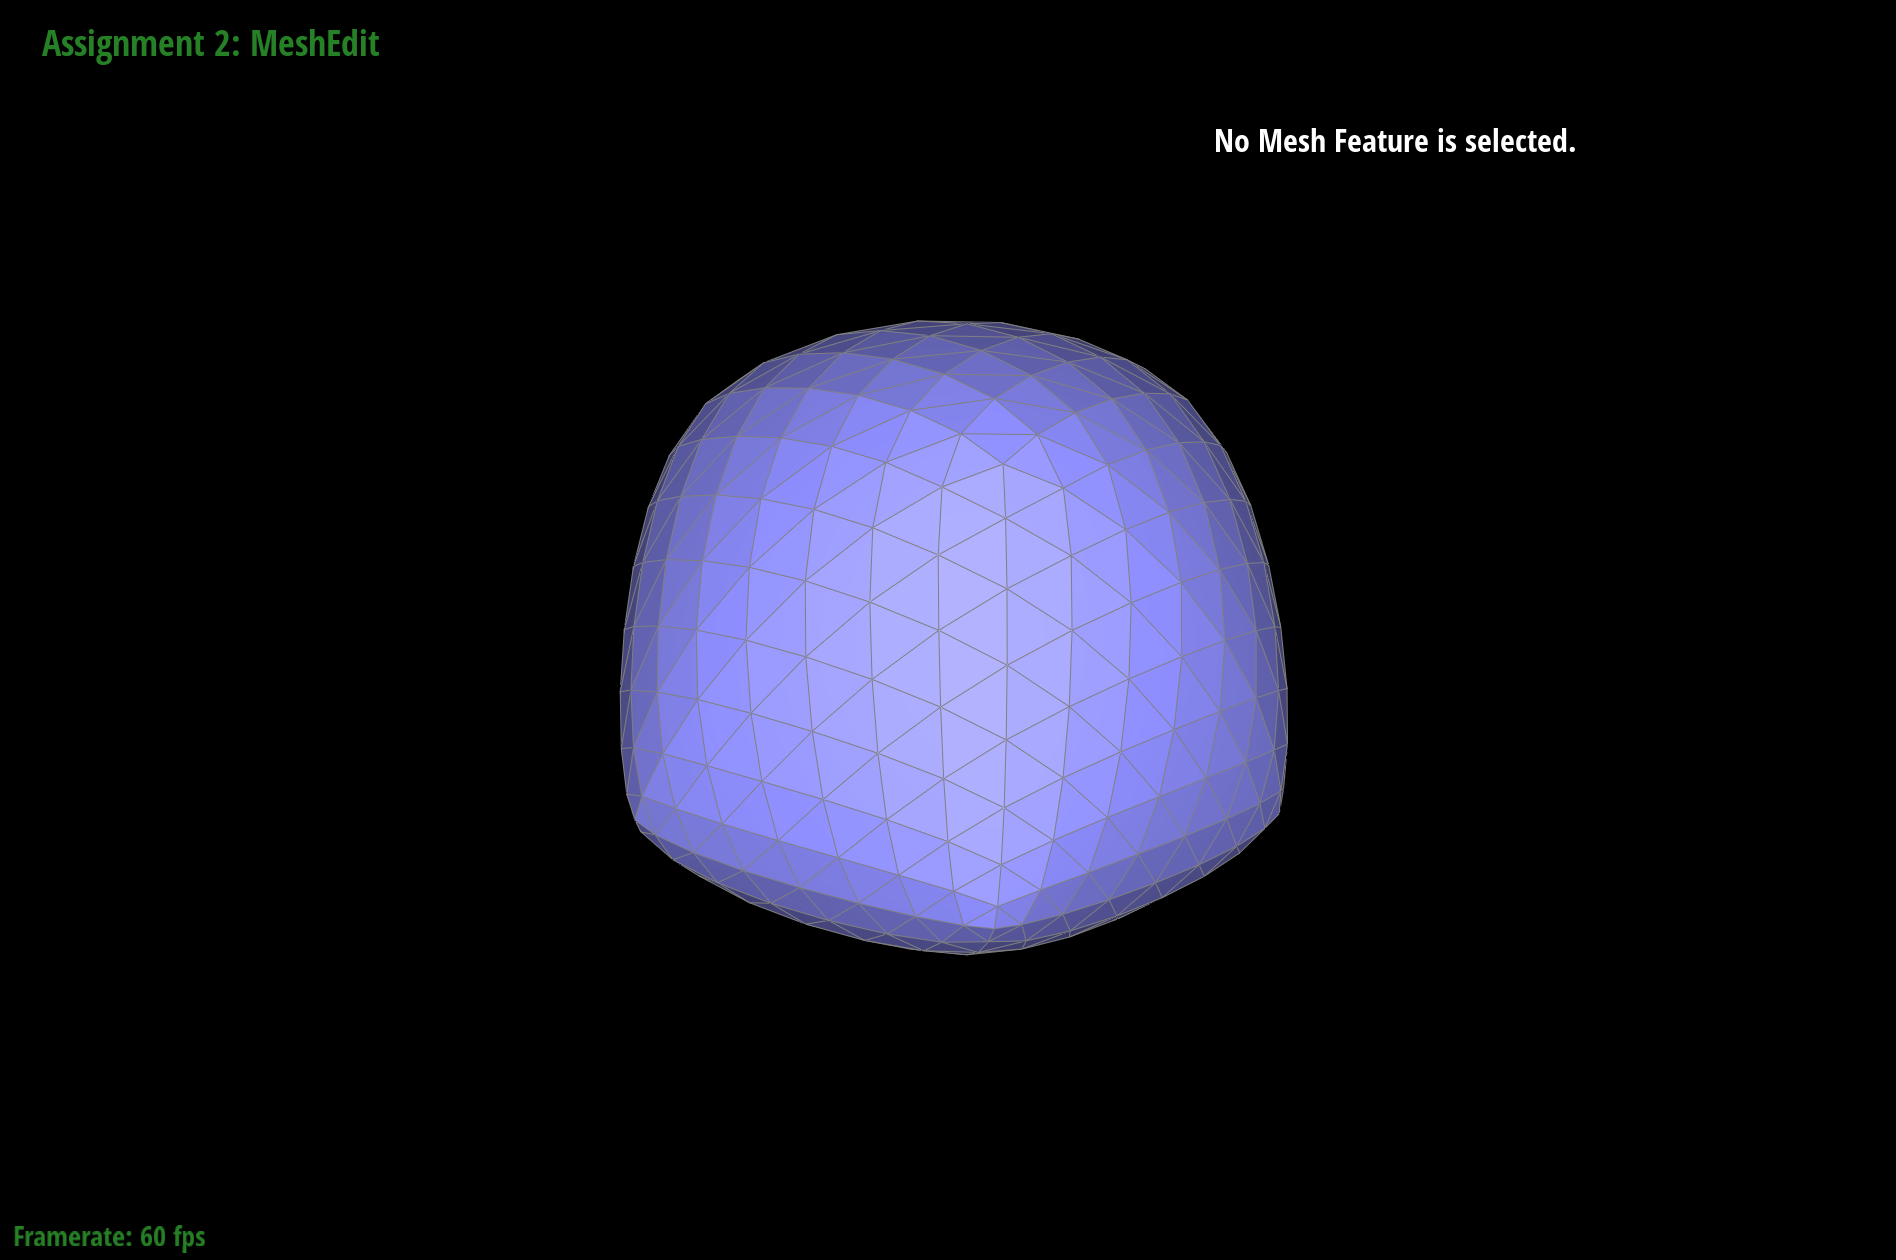
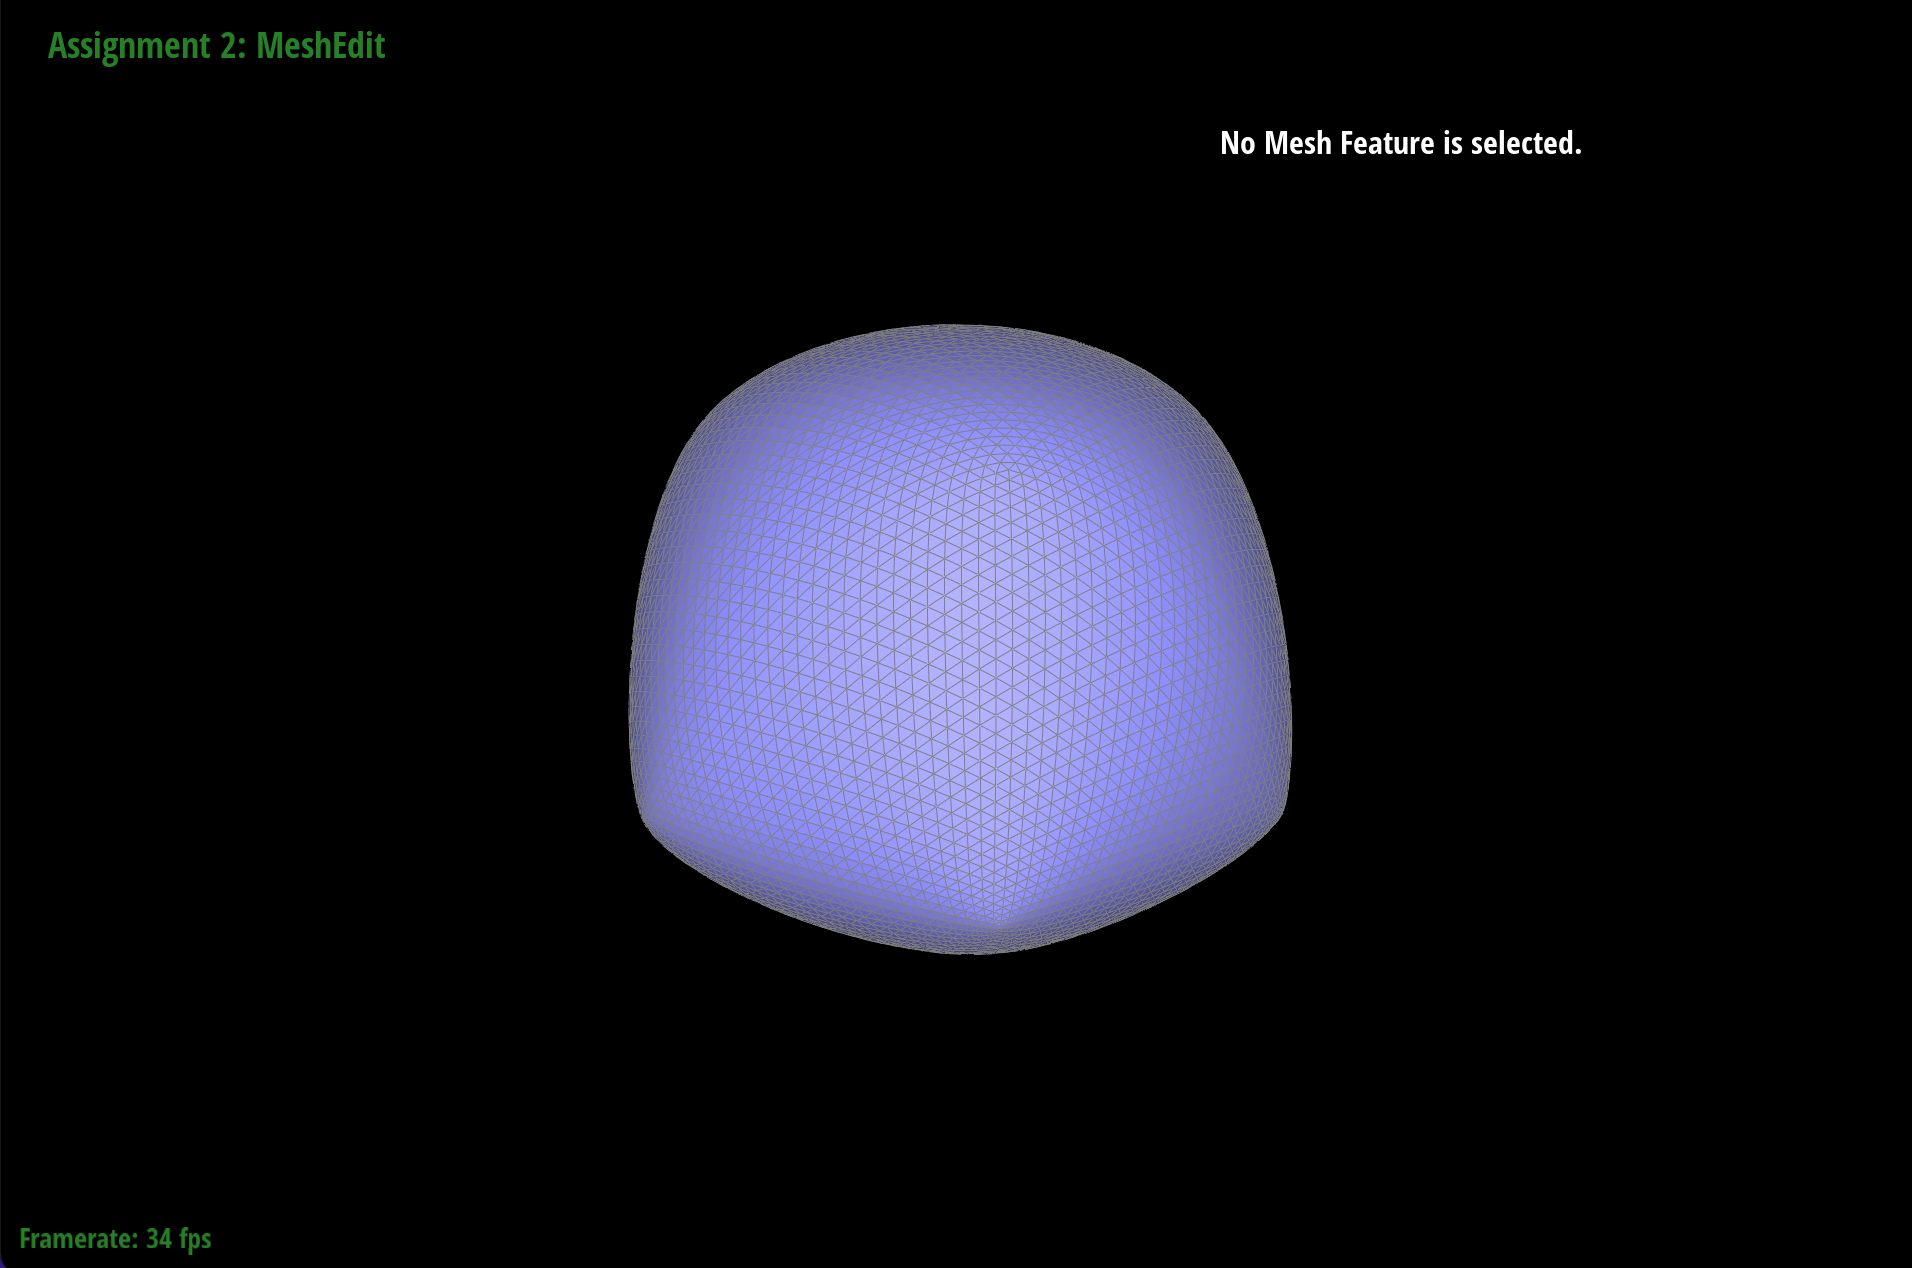
From the screenshot, we can see that the shape of the teapot becomes more natural and realistic after loop subdivision as the geometric shape of the mesh becomes less obvious and the mesh looks moer like a teapot with a lot of curves. The sharper corners are smoothened by the increasing number of loop subdivision.
|

|
Pre-spilting the edge make the mesh more smooth and symmetric because we have more edges during sampling and gives more vertices

|
|
|
|

|
|
If we pre-process the cube, we can symmetrically upsampling the cube.For example, we could split the diagonal edge on each face and that will guarentee that the changes in position of the corner vertices/center vertices are the same, which makes the mesh symmetrical. When we do a subdivison, it spilt the four triangles in one face to sixteen triangles, which retain the symmetry. When we keep spilting, each face will still be radial symmetric because we distinctly seperate a rectangular face into four triangles.

|

|
Section III: Optional Extra Credit
If you are not participating in the optional mesh competition, don't worry about this section!