Overview
Give a high-level overview of what you implemented in this project. Think about what you've built as a whole. Share your thoughts on what interesting things you've learned from completing the project.
In this project, our goal was to create and evaluate Bezier curves, manipulate triangle meshes, and implement loop subdivision. We used Casteljau’s Algorithm in order to evaluate Bezier curves and also evaluated Bezier surfaces using a similar method. Additionally, we created a mesh editor that has the capability of flipping and splitting edges. Overall, we utilized the half-edge data structure to implement many of the parts.
Section I: Bezier Curves and Surfaces
Part 1: Bezier curves with 1D de Casteljau subdivision
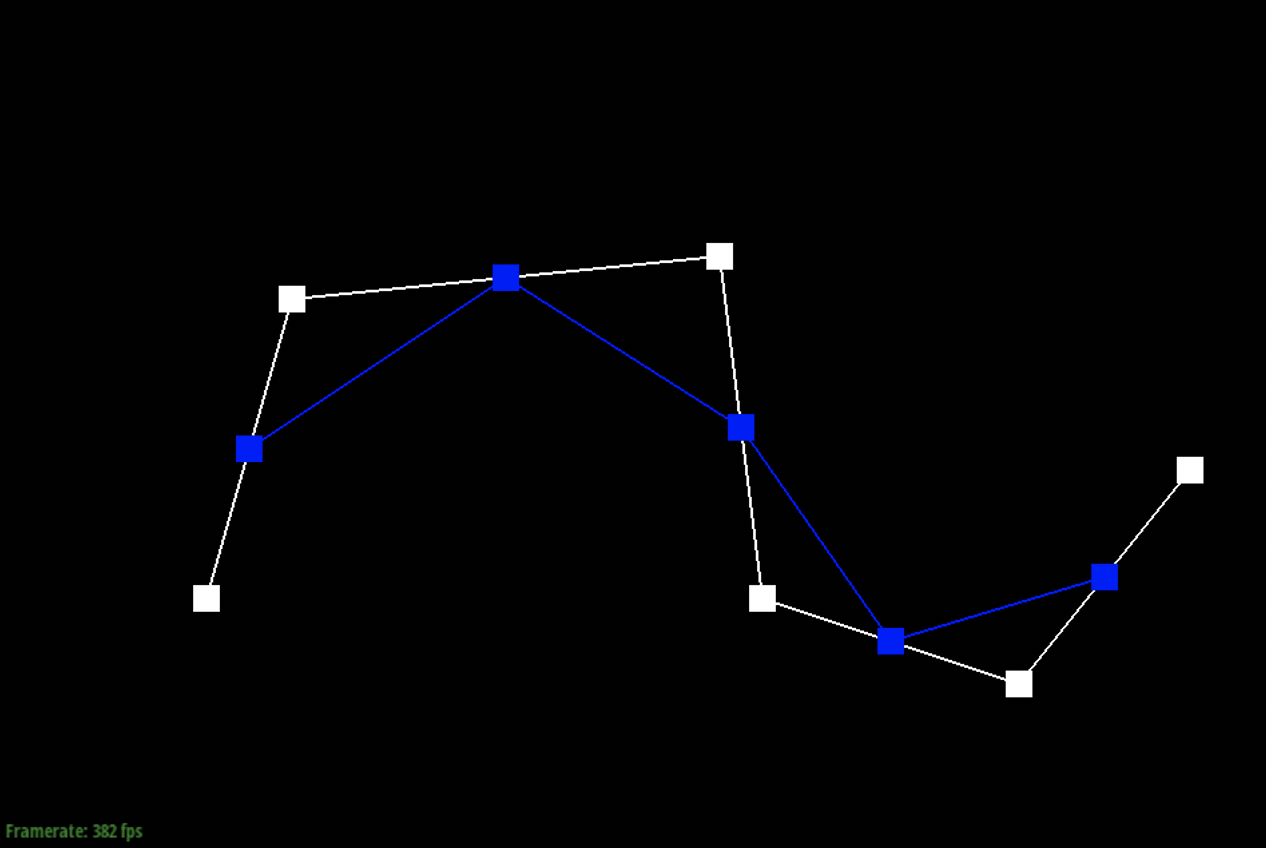
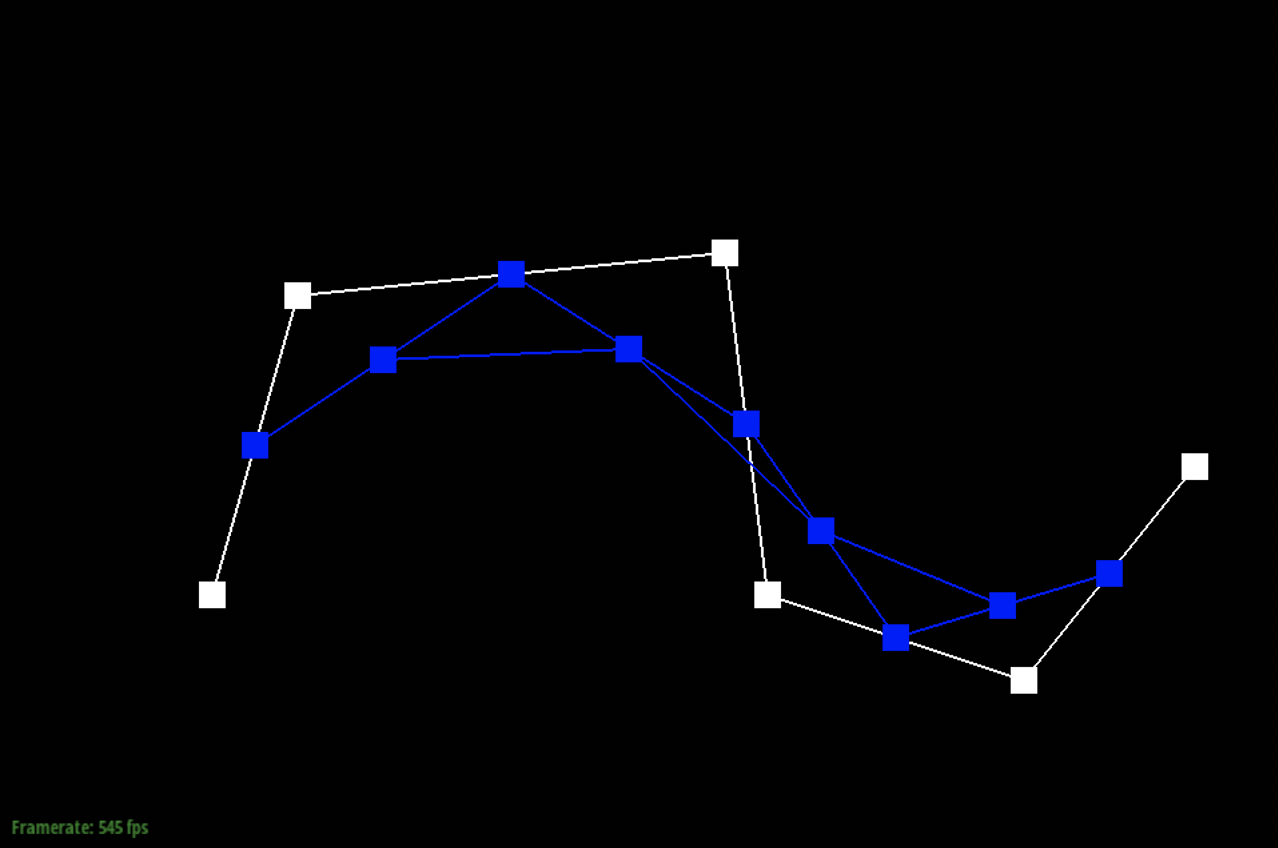
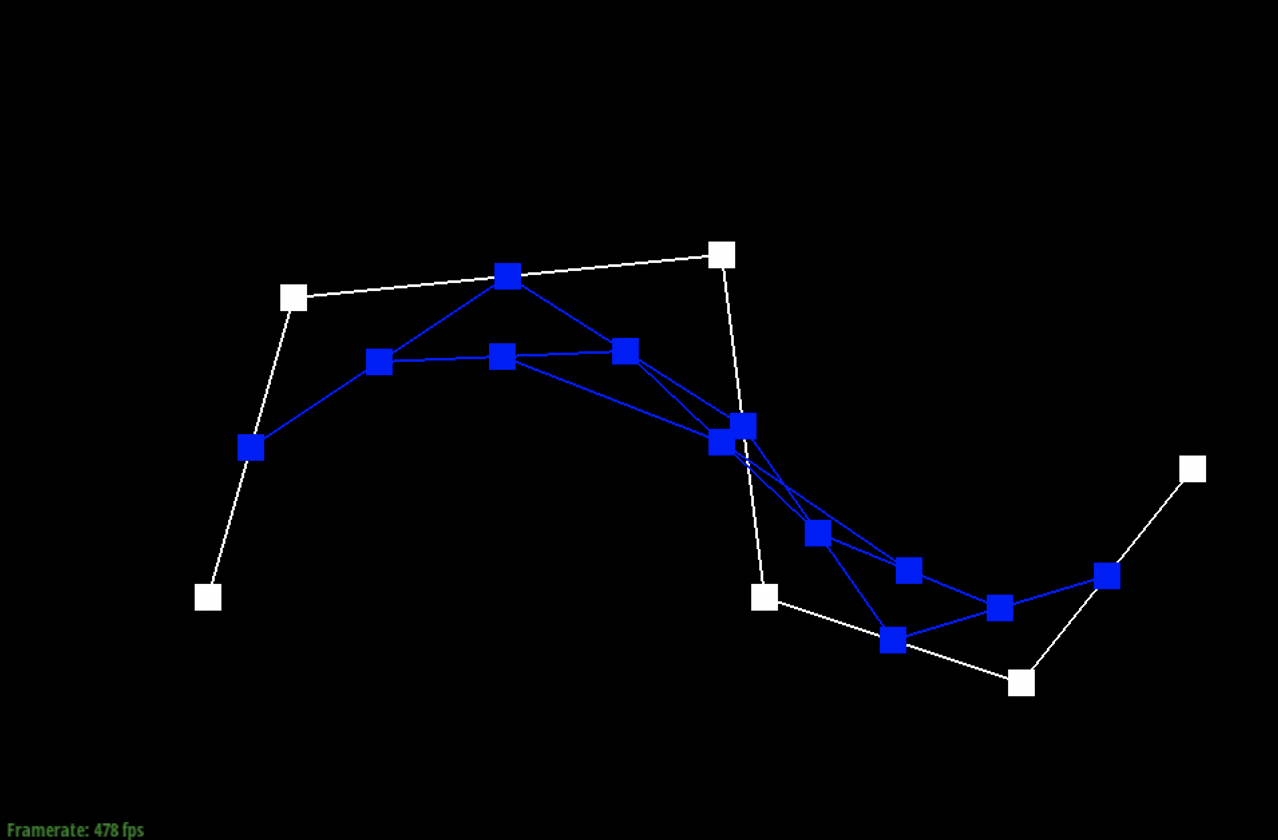
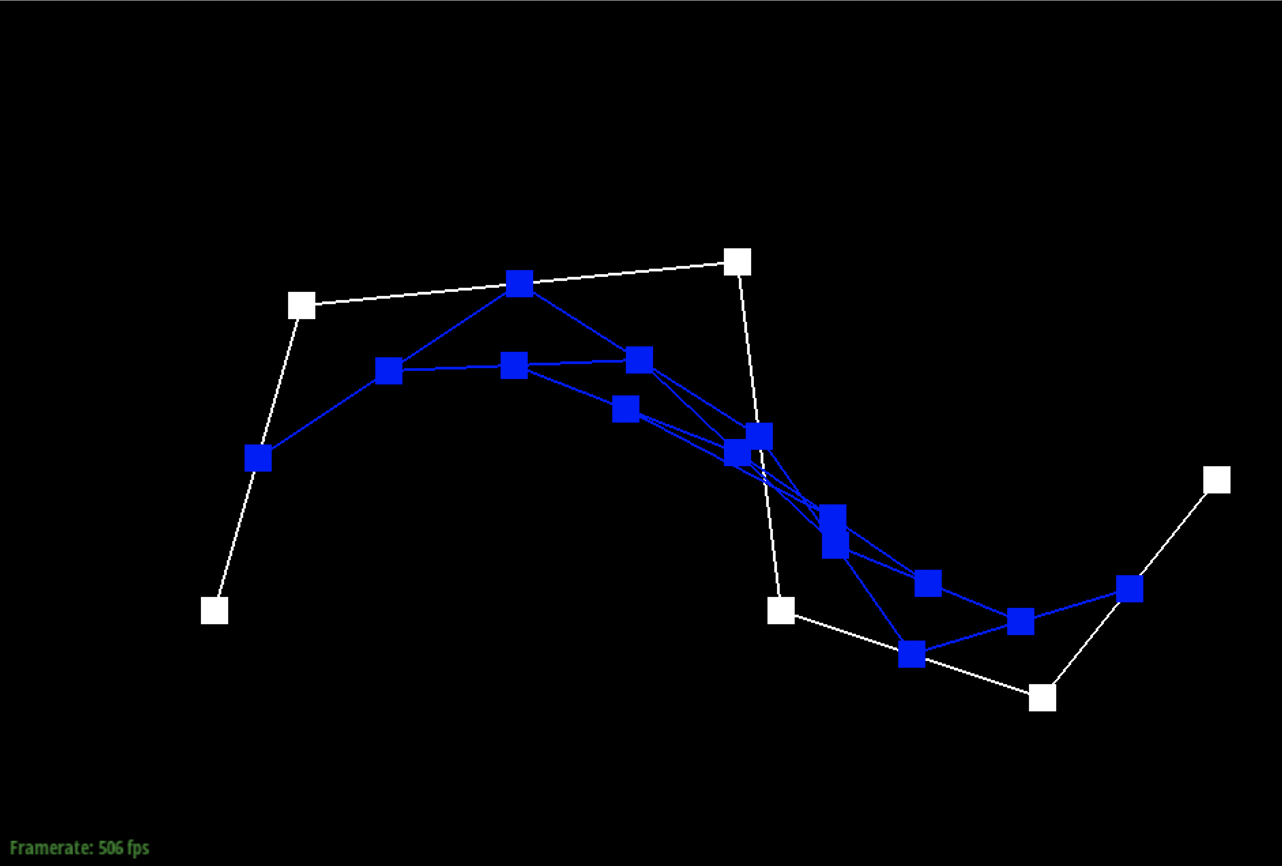
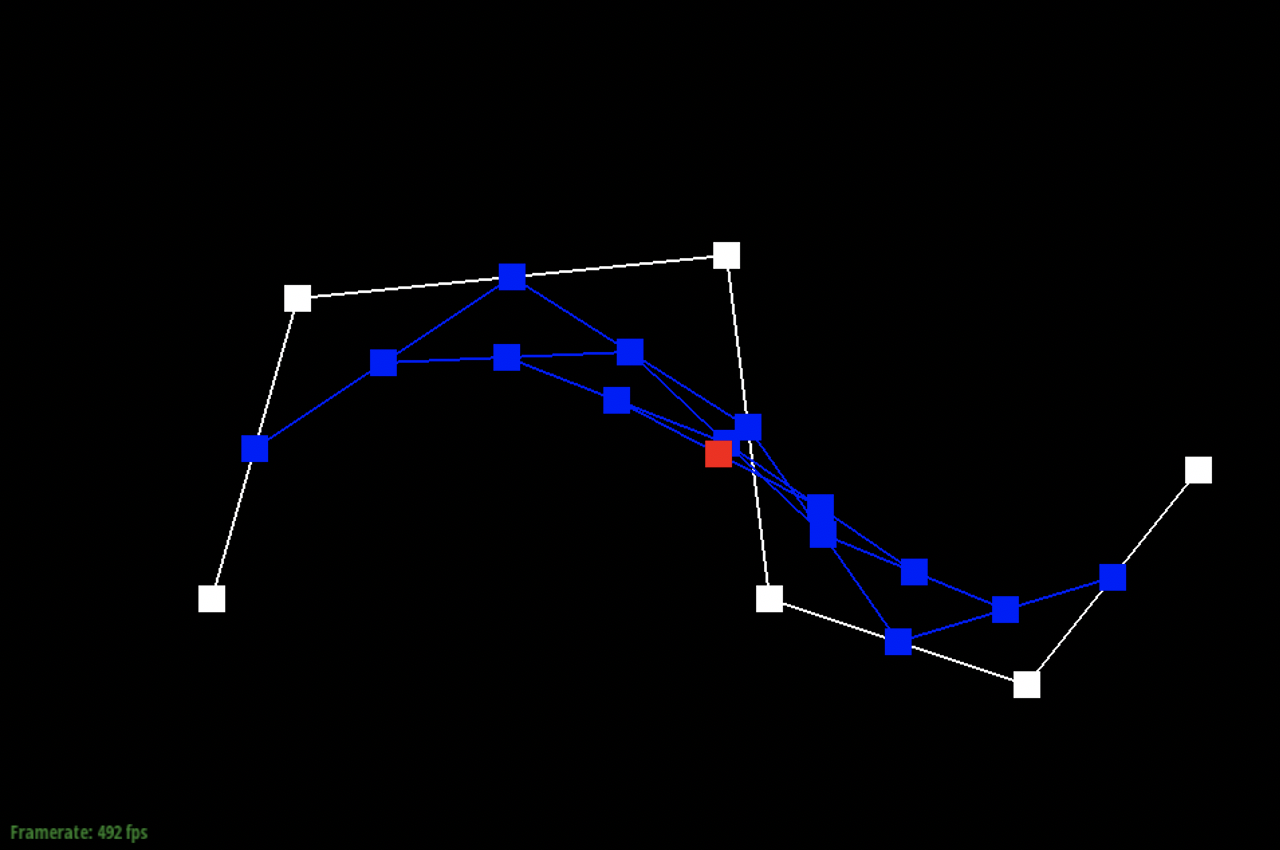
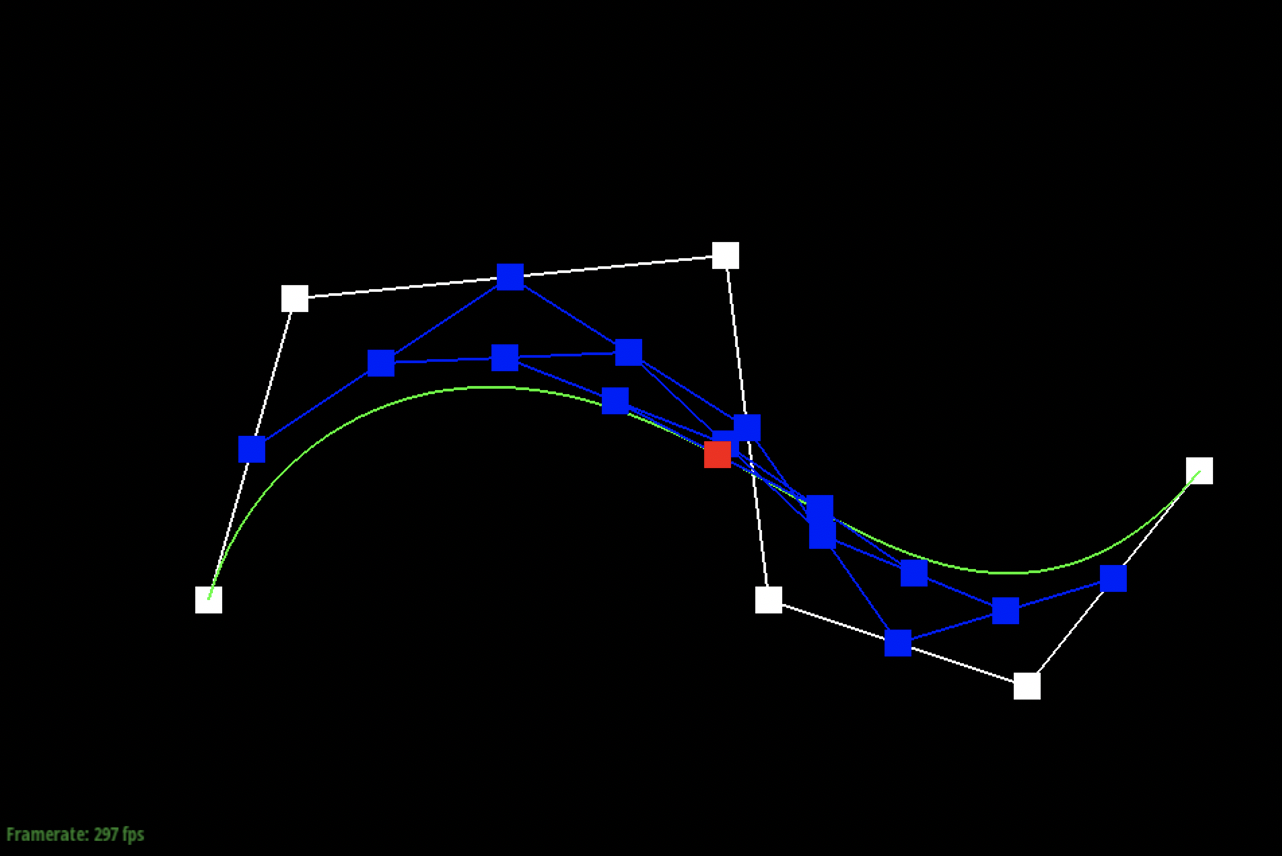
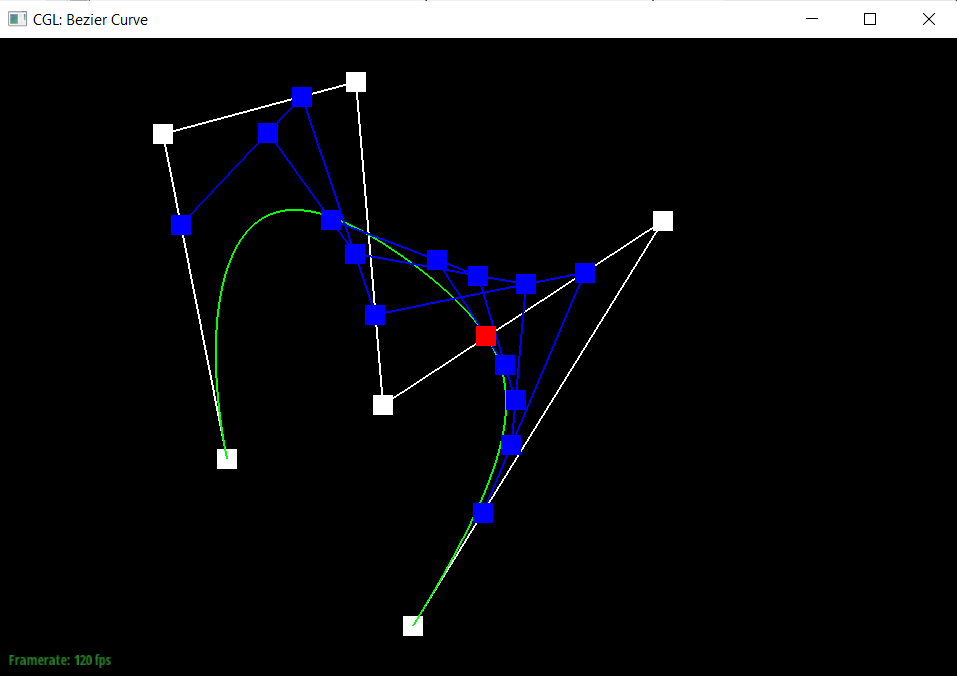
Casteljau’s algorithm is used to evaluate Bezier curves and surfaces for some set of control points and parameters and it primarily uses recursive techniques. A Bezier curve is a parametric curve which is defined by a set of control points. We implemented it using linear interpolation which allows us to compute n-1 intermediate control points. We then connect these control points to create edges. By recursively repeating this process, we are eventually able to get to one final point which lies on the Bezier curve at some parameter t.

|
|
|
|
|
|
|
|
Part 2: Bezier surfaces with separable 1D de Casteljau subdivision
Casteljau’s algorithm can also be extended to Bezier surfaces as instead of dealing with 1D curves, we are looking at 2D surfaces. We essentially modify our algorithm from Part 1 to function for two dimensions. In order to do that, we implement the separable 1D de Casteljau’s algorithm. We implemented it by evaluating point u for the 4 Bezier curves in u and then using those 4 control points to evaluate point v on the moving curve.
Section II: Sampling
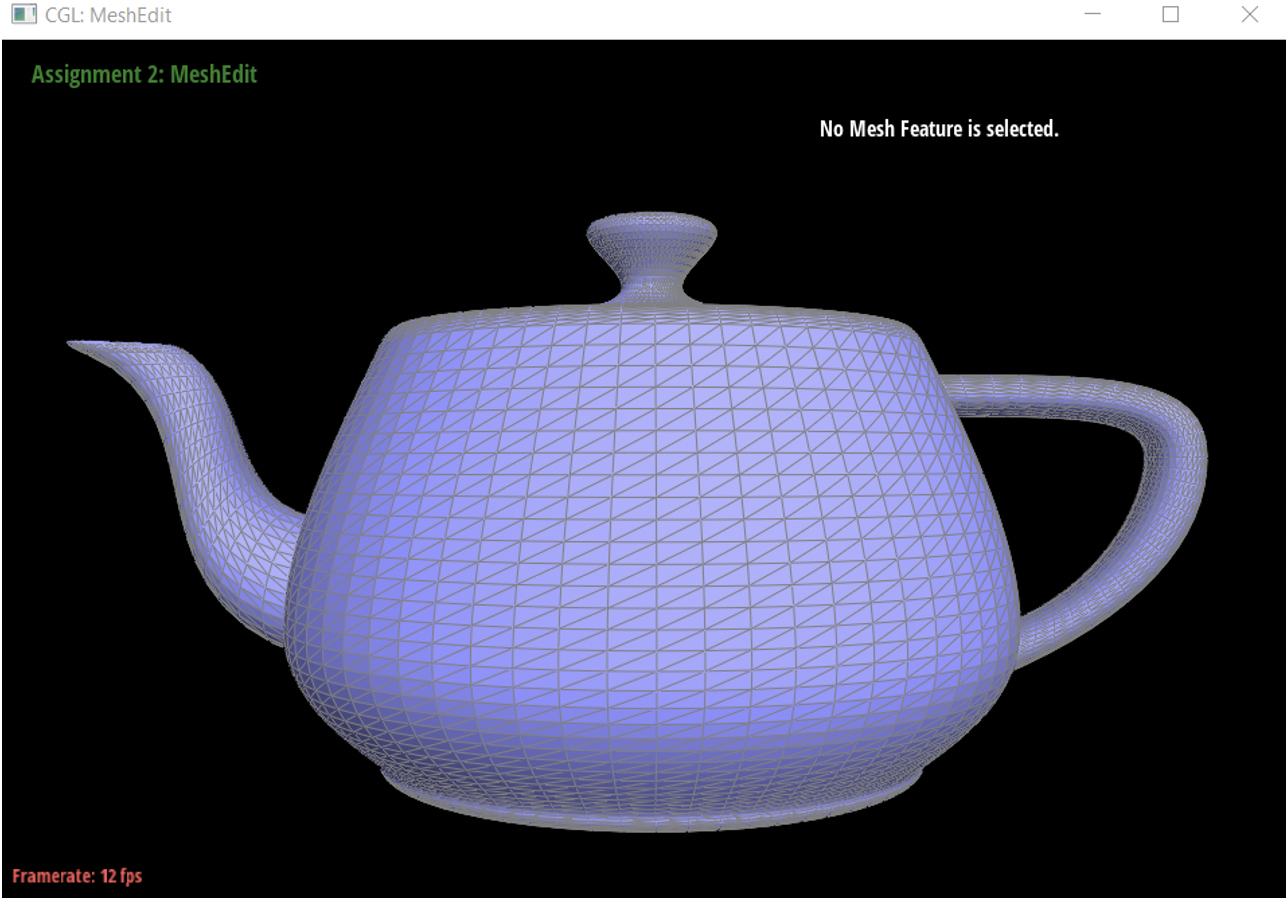
Part 3: Average normals for half-edge meshes
We implemented the area-weighted vertex normals by iterating through the surrounding triangles incident to the vertex and then we calculated half the cross product to find the weighted area. We did this for every half-edge except for the first one.
Part 4: Half-edge flip
We used the half-edge data structure to calculate the vertex, edge, and face of the mesh. Using the setNeighbors method, we are able to reassign points such that the line in between the 2 triangles is flipped. We needed to input the next, twin, vertex, edge, and face values for each half-edge. Before even coding our implementation, we drew out what the original and flipped images should look like. This allowed us to label each vertex, edge, and face as well as decide how we wanted to organize them. Because we drew it out first, fortunately, we did not need to debug. Any errors we would’ve had would be easier to catch on paper than in the code itself.
Part 5: Half-edge split
We implemented the edge split operation similar to how we implemented the edge flip operation in Part 4. The main difference is calculating the midpoint m at which we decide to draw a vertical line. In order to calculate m, we multiply 0.5 and the positions of v1 and v3, which are our vertices on the horizontal plane. We used a similar method where we drew out the new diagram with the edge split and labeled each vertex, edge, and face. We needed to add 1 new vertex, 4 new edges, and 2 new faces. It was also important for us to check whether or not we had already updated the vertex, edge, or face using the Boolean isNew. Fortunately, we did not need to debug this part because we were able to get it right on the first try using the diagrams we drew out on paper.

For my extra credit, I essentially went through the same process as a normal edge for boundary edge in terms of manipulating all half-edges, edges, faces, vertices (refer to code). The main difference is that the split results in only one new edge that goes from the boundary edge being split's opposing vertex to the boundary edge being split. And the result is only two faces rather than four. You also end up with only 10 halfedges instead of the 16 halfedges for non-boundary edge splitting.
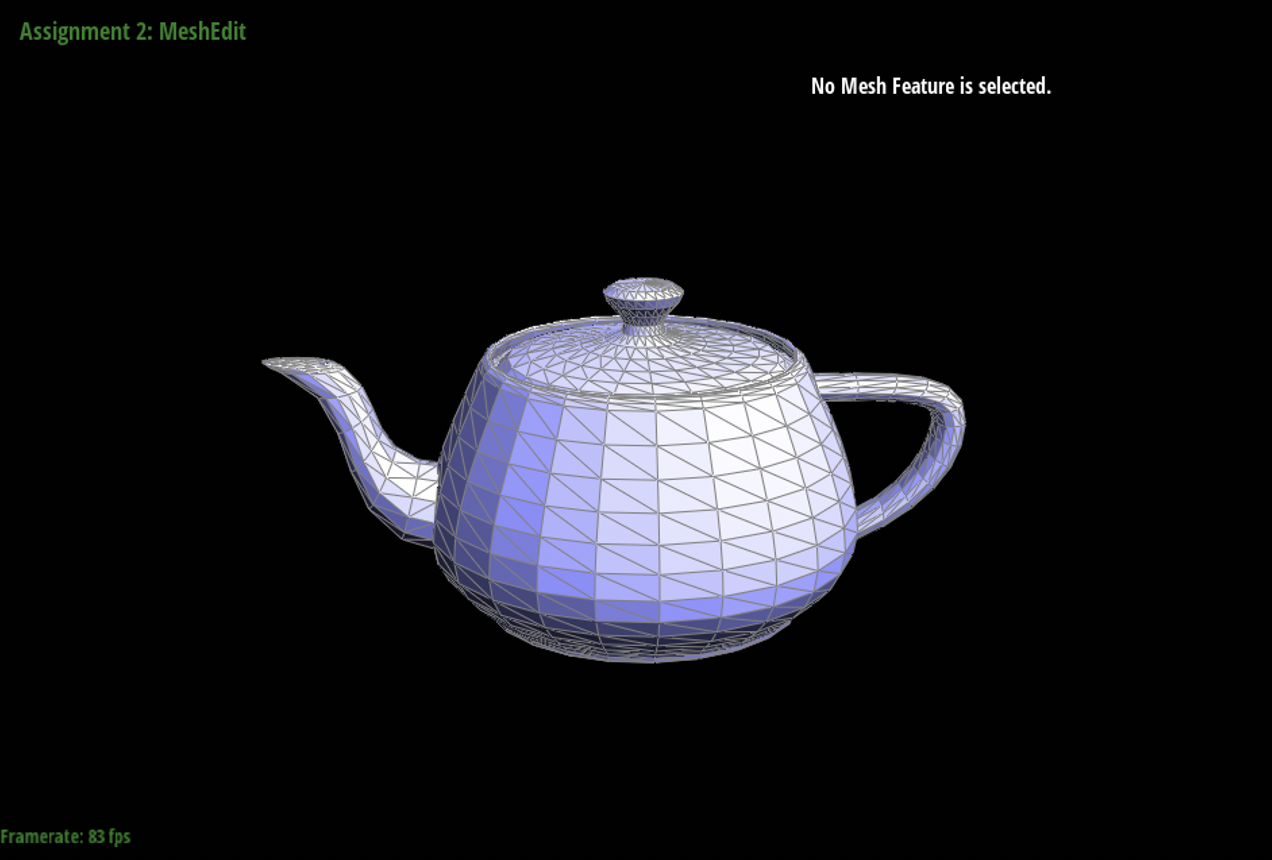
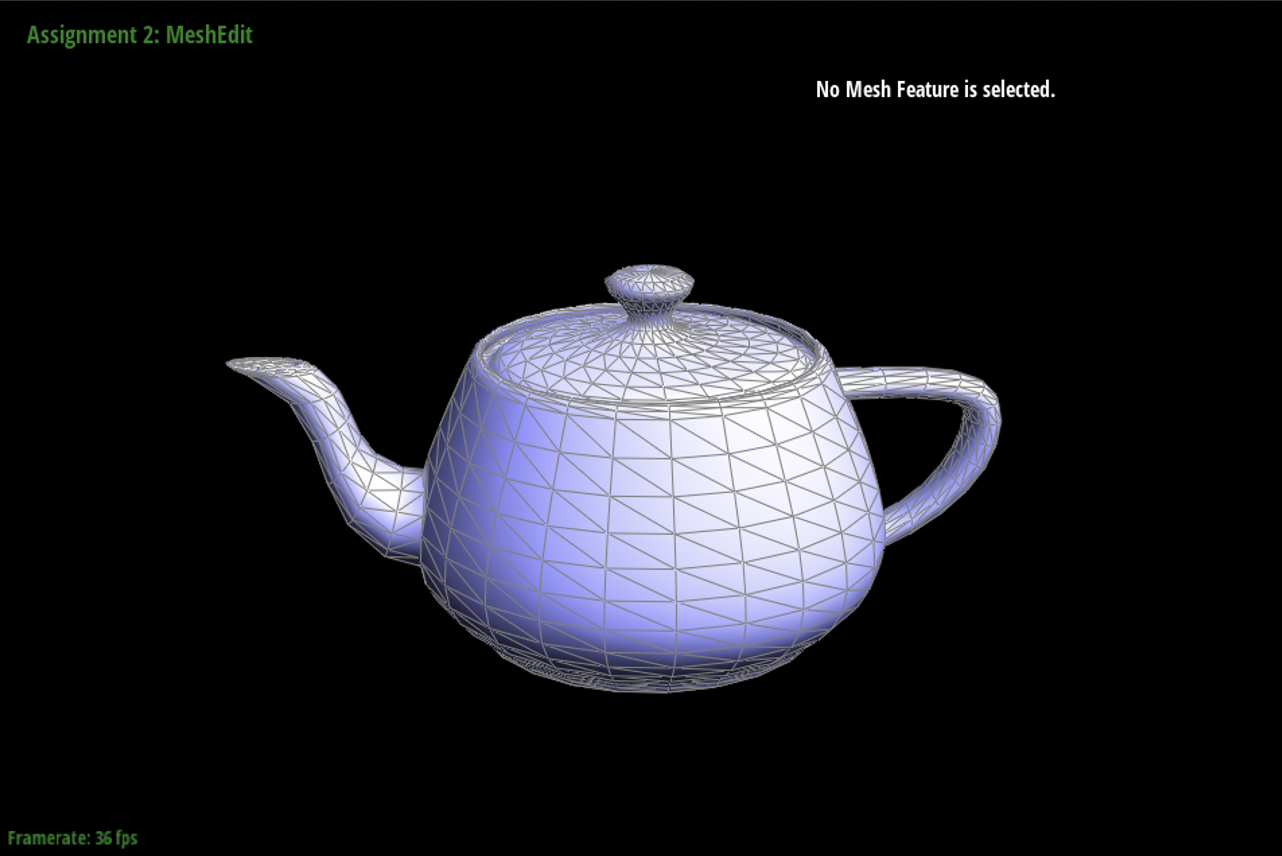
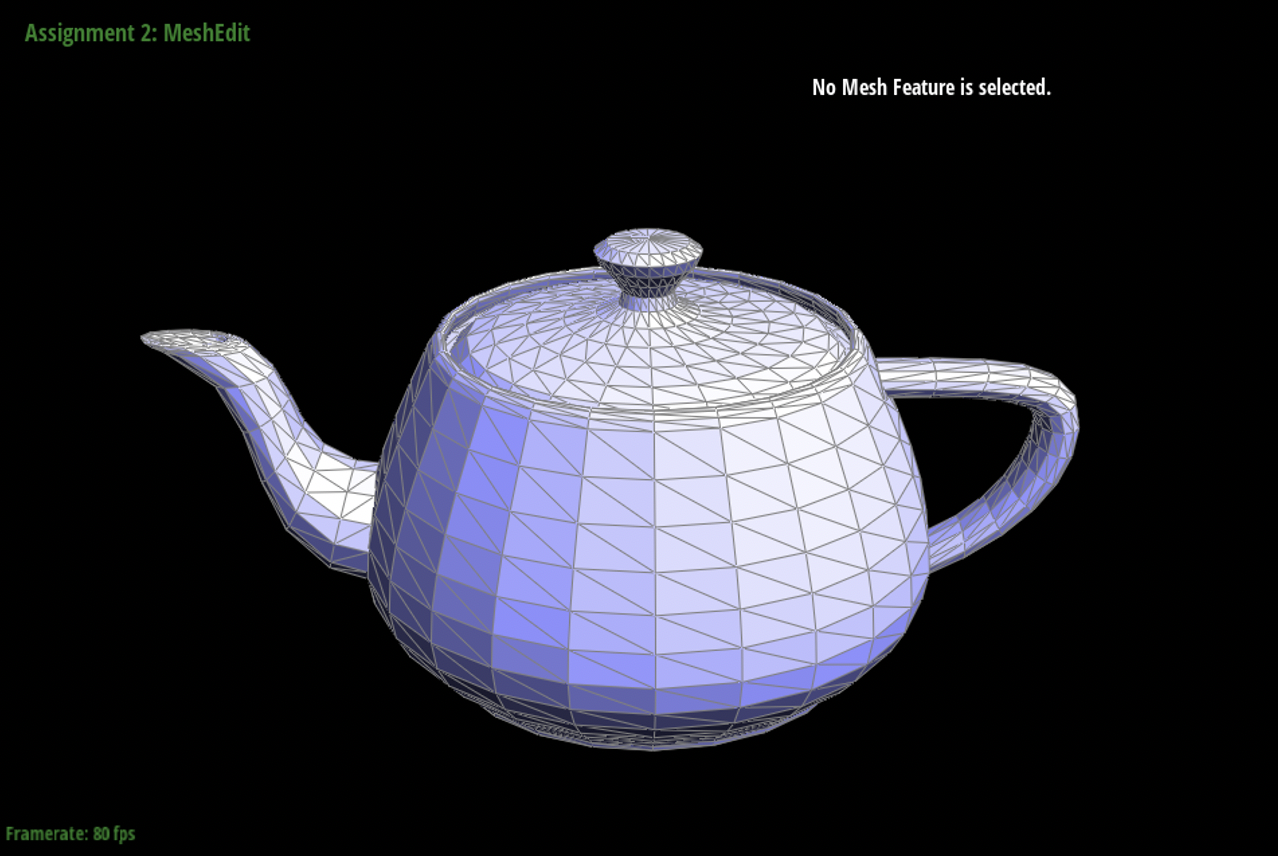
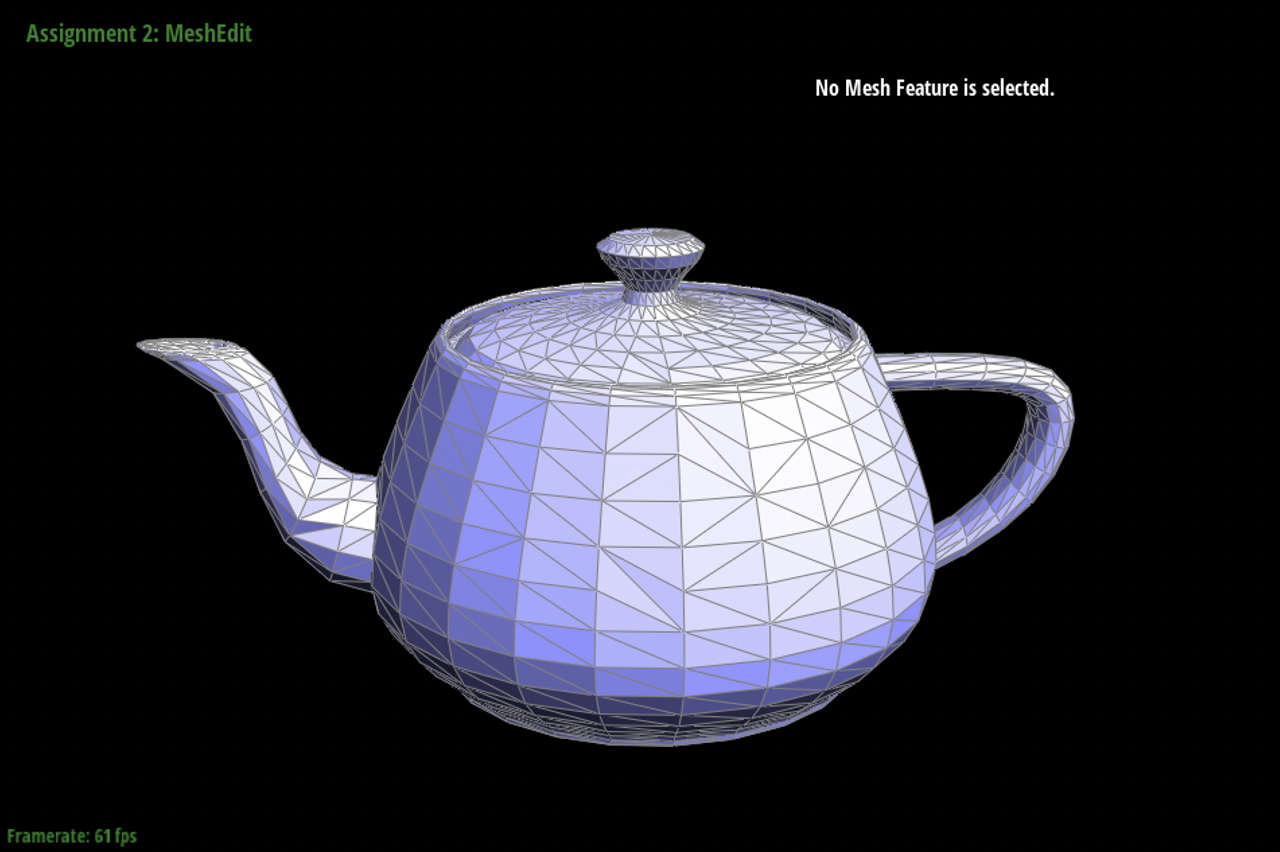
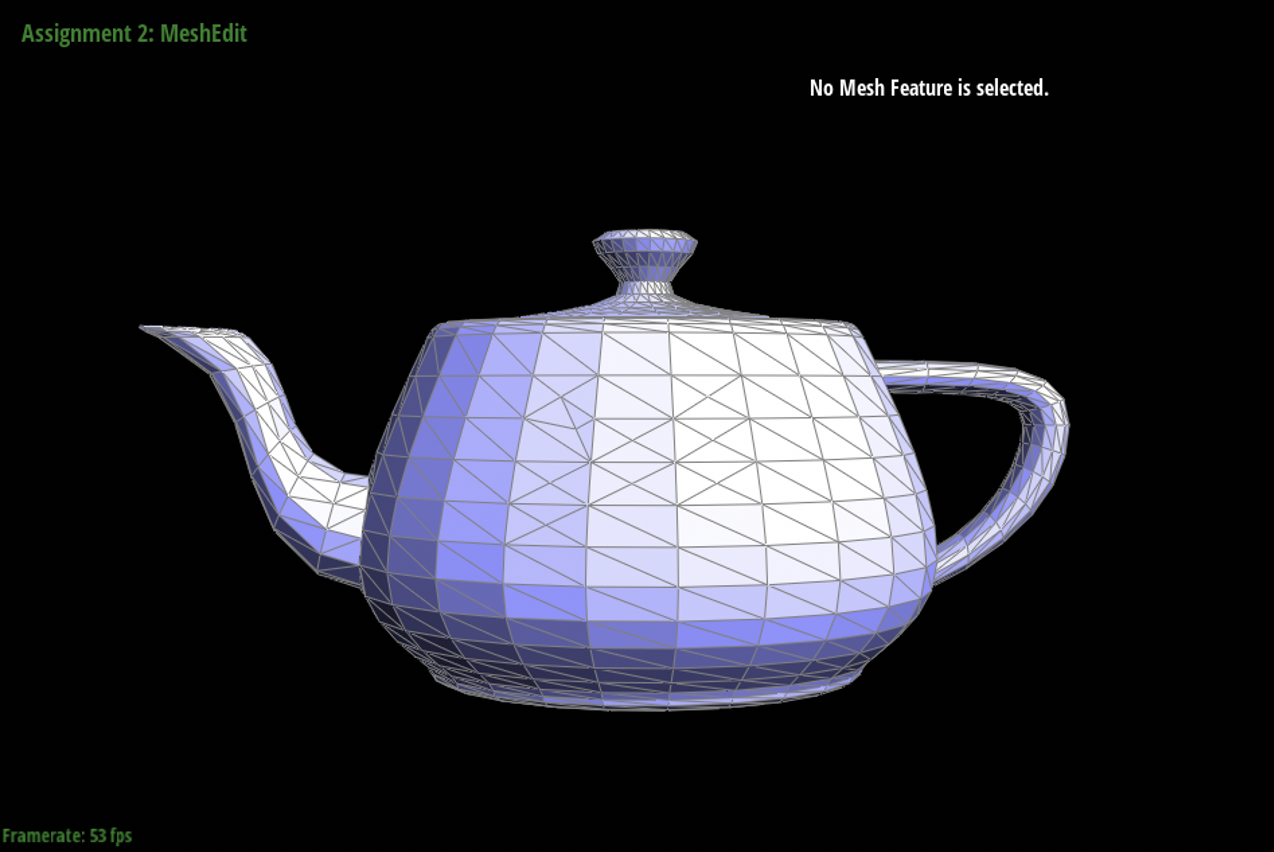
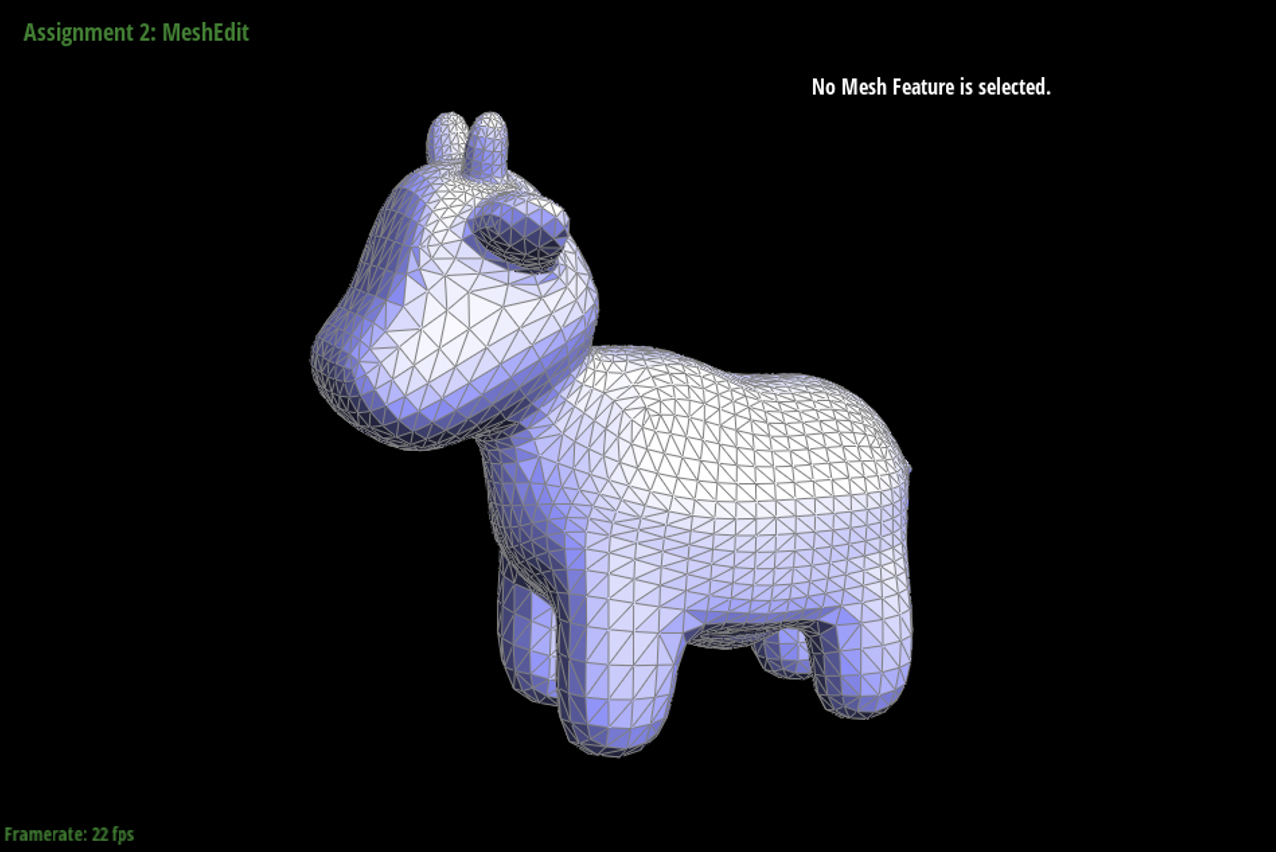
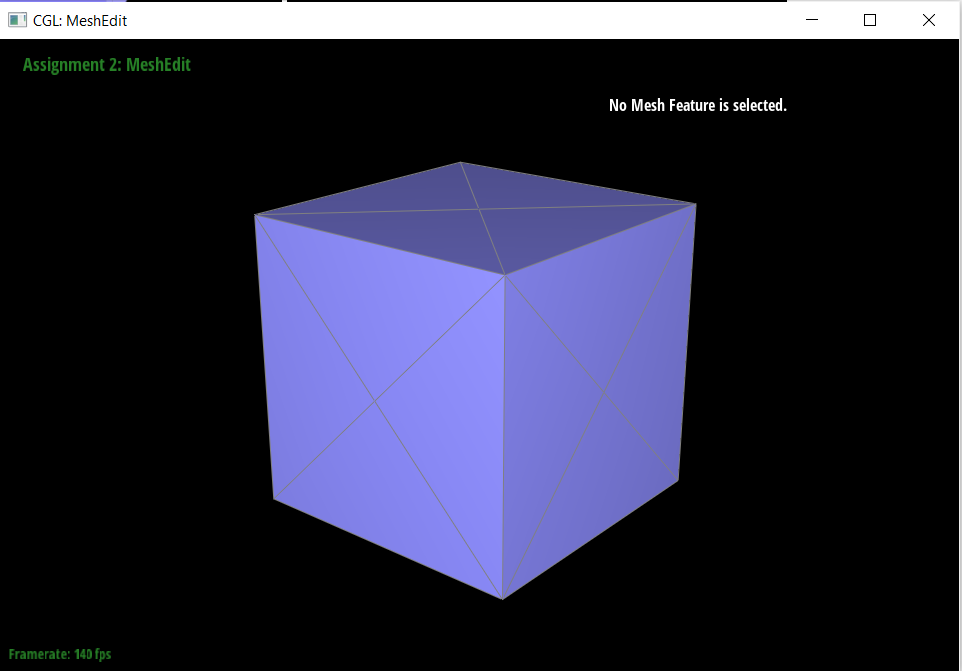
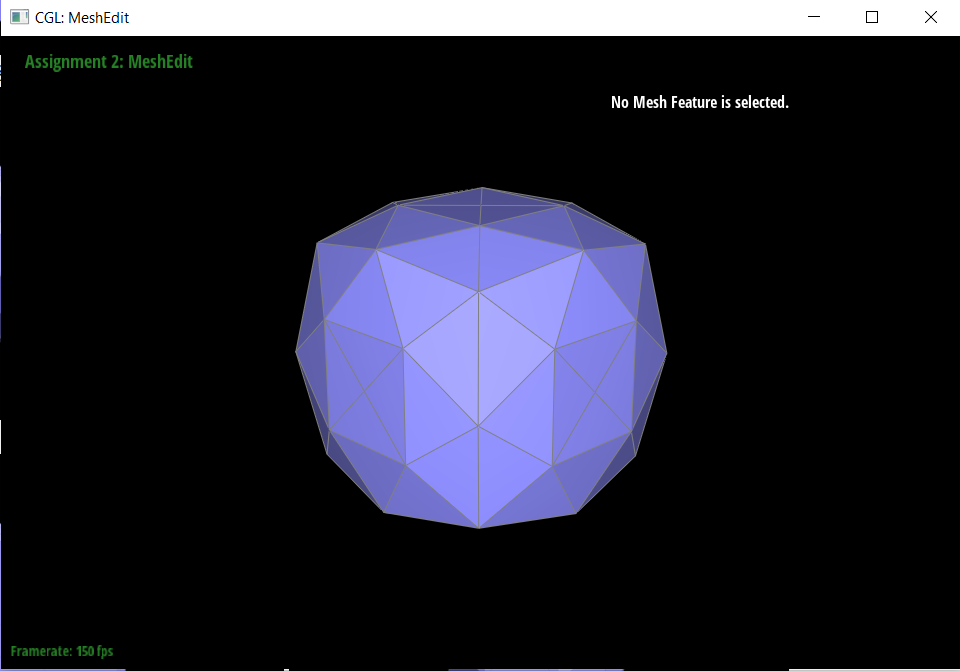
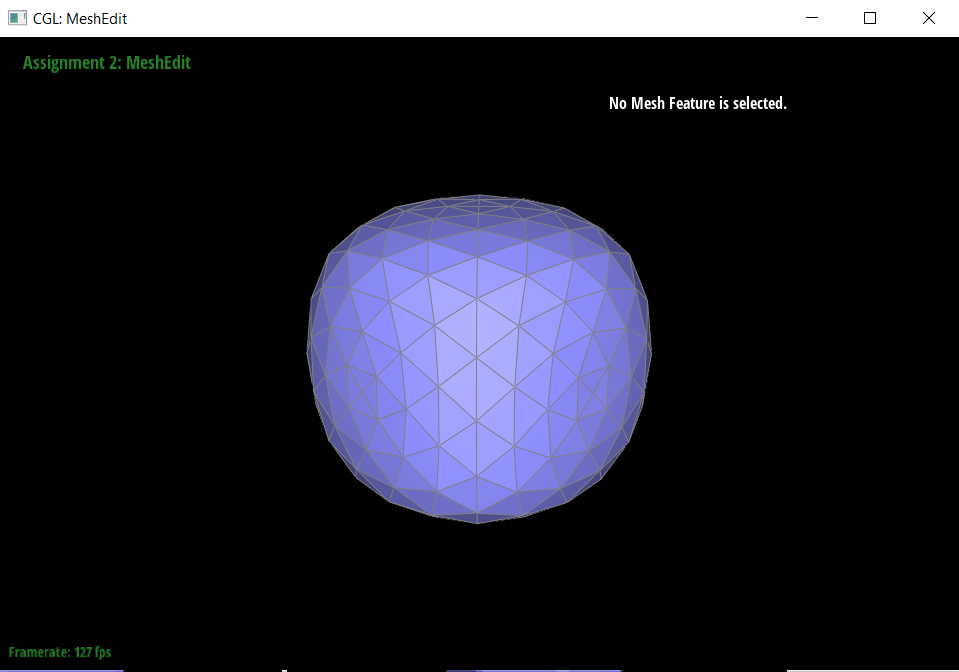
Part 6: Loop subdivision for mesh upsampling
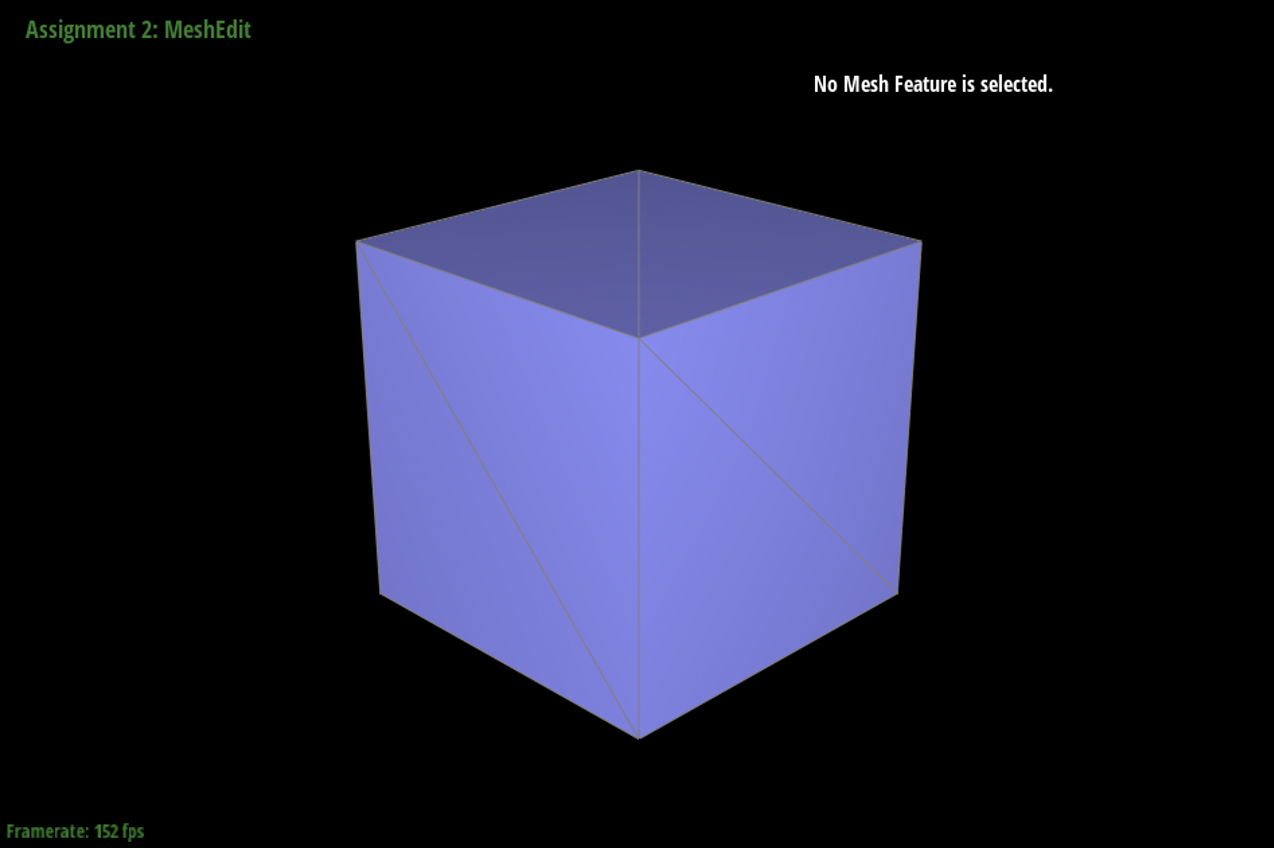
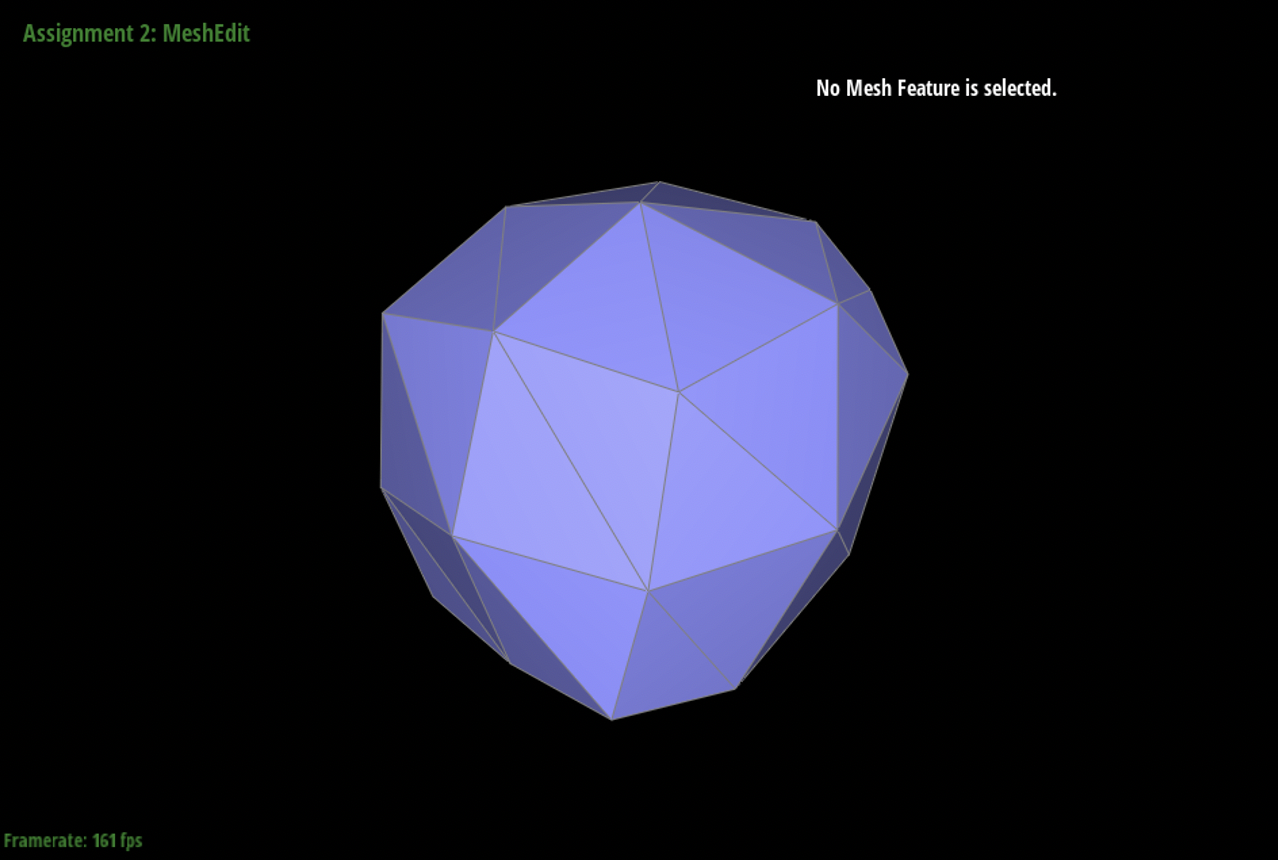
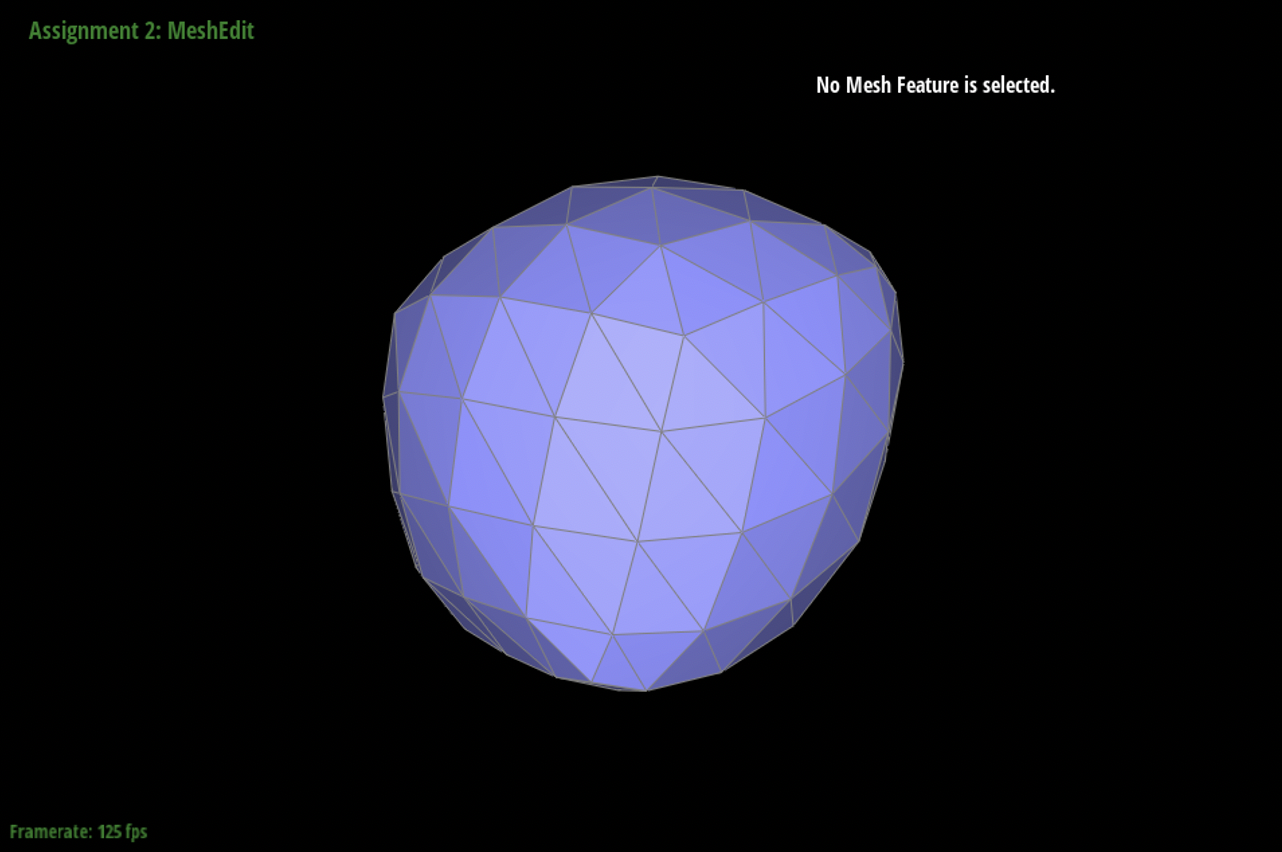
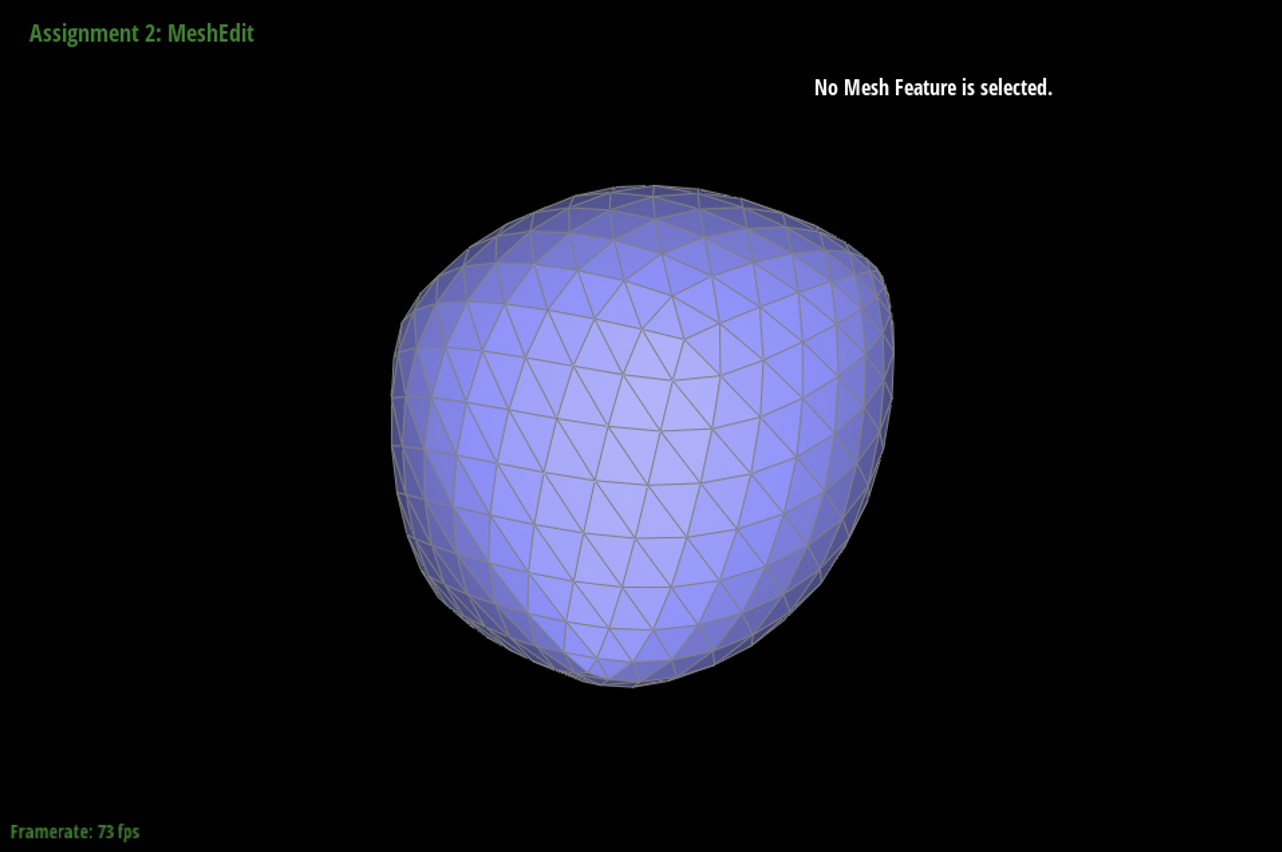
Loop subdivision is when a triangle in a mesh is split into four triangles by calculating the midpoints of each edge and connecting the points. In order to implement loop subdivision, we needed to first calculate the position of the new vertex that splits the edge of A and B. The equation we used to perform that calculation is 3/8 * (A + B) + 1/8 * (C+D). We also need to find the update position of the old vertex and we do that using the equation (1 – n * u) * original_position + u * original_neighbor_position_sum, where n is the degree of the vertex and u is the constant 3/16. Once we calculate these values, we call the method splitEdge which splits the triangle based on the new points. Throughout this method, it was really important for us to keep track of isNew because we were dealing with a larger number of changed vertices, faces, and edges. We did run into an issue where the program would crash after 1 round of loop subdivision, or the mesh would appear to be translucent. After debugging, we realized that our issue actually lied in splitEdge even though it appeared to work in Part 5.
|
|
|
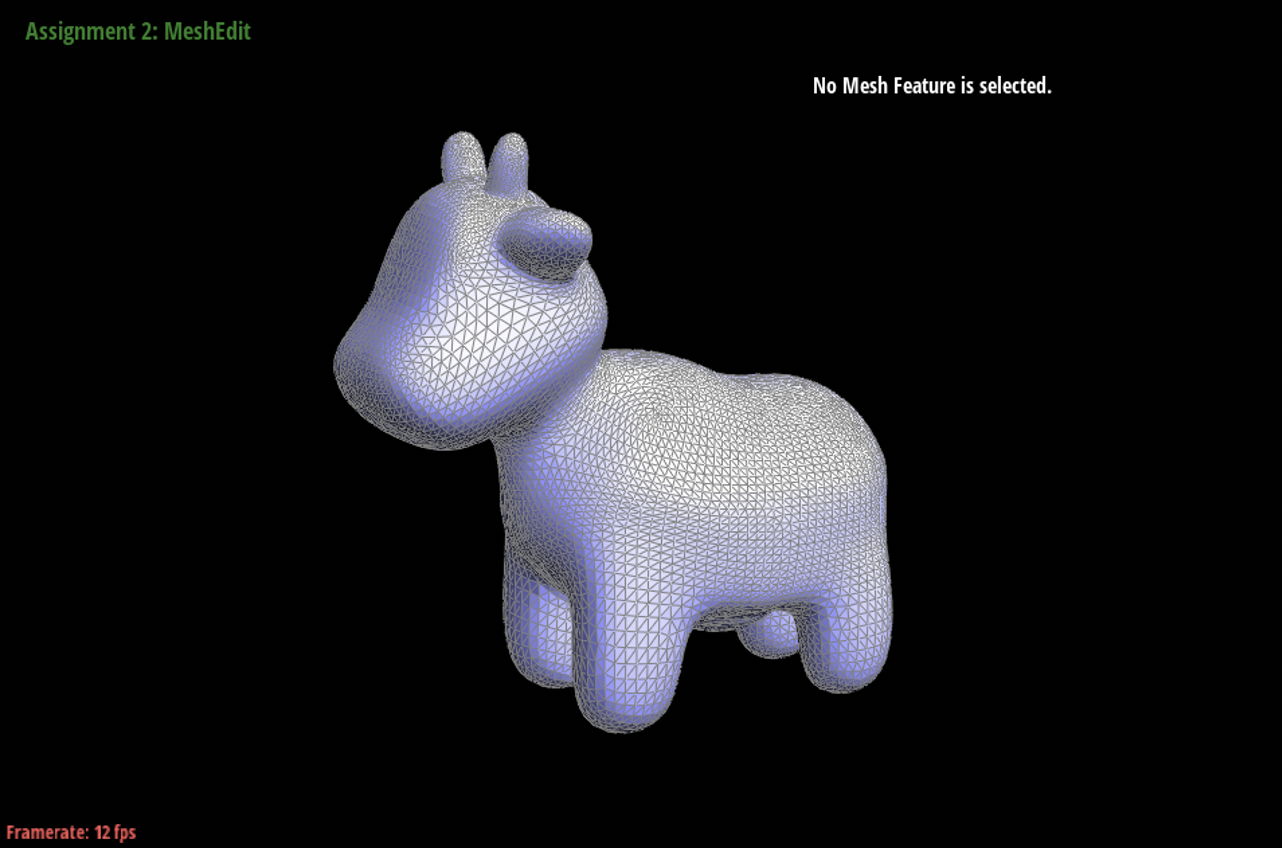
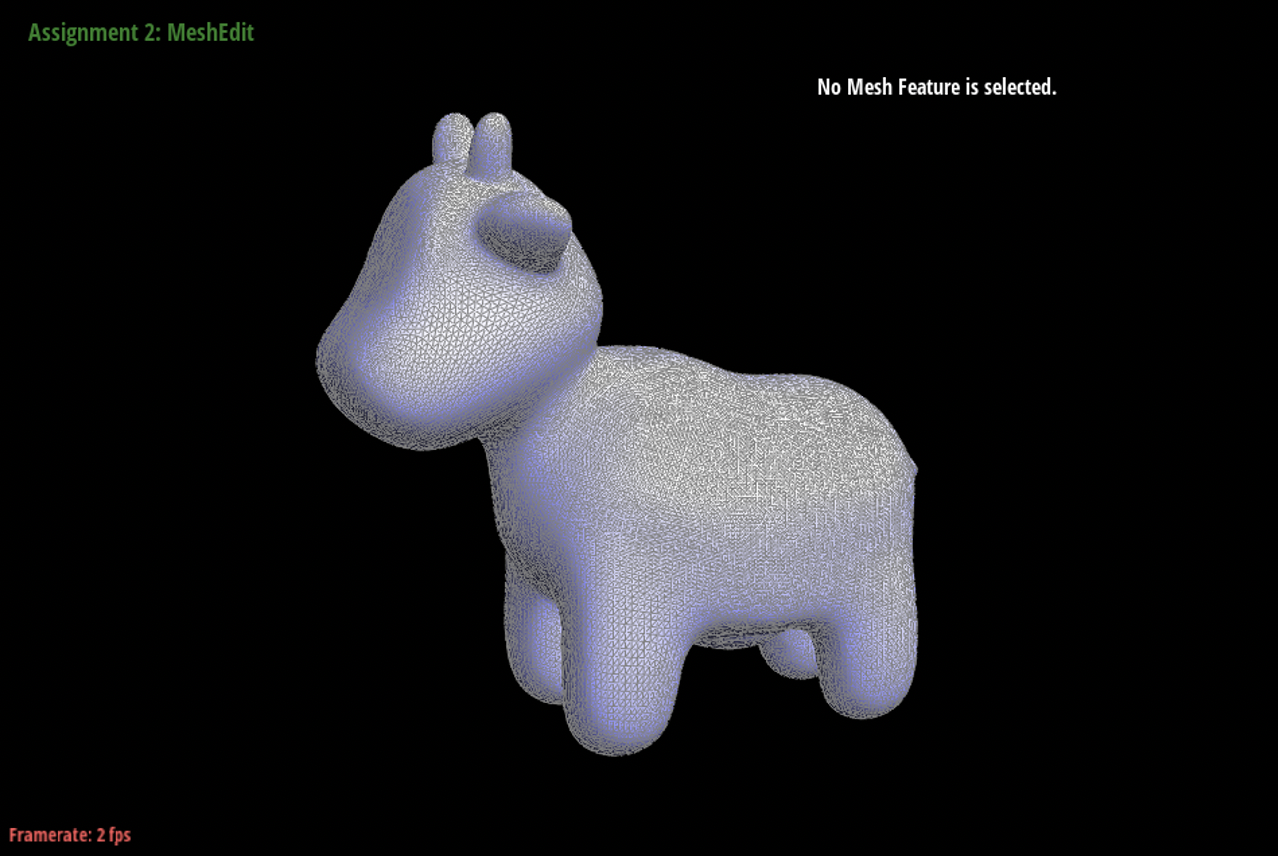
After loop subdivision, the sharp corners and edges tend to blend together, making the overall image look smoother. If we did not want the images to be smoother, we could pre-split the edges. This would make it so that the edges and corners maintain their sharpness.
|
|
|
|
|
|
|

|
Refer to the above images for preprocess effects. Pre-processing/pre-splitting is helpful in changing the overall geometry of resulting meshes and in particular helping with symmetry. Yes, you can preprocess the cube with edge flips and splits so that the cube subdivides symmetrically. It will probably not be symmetrical without pre-processing because in the original cube there is only one diagonal per face so as you subdivide more and more the asymmetry will become more apparent; splitting beforehand and making sure the mesh is symmetrical with both diagonals per face before doing loop subdivision will help ensure that the cube subdivides symmetrically.
Section III: Optional Extra Credit
If you are not participating in the optional mesh competition, don't worry about this section!
Part 7: Design your own mesh!
We created a humanoid mesh using cubes and enhanced the mesh by including features like eyes, a nose, a mouth, and hair. We also added accessories on the humanoid mesh like a pair of shoes. Another difference is the arms which are flexing upwards.