Project 4 Cloth Sim Writeup
Christina Neumann, CS 184 Spring 2023
Overview
For this project, the goal was to create a realistic cloth simulator with a cloth that could interact with it’s environment physically as well as change appearance and material according to the texture of the cloth and lighting of the environment. The cloth itself is created using a mass-and-spring system which allows for it to have realistic physics when colliding with or influenced by the environment and itself. There are many editable components of the cloth, including how “springy” and elastic, dense, or stiff it is. You can load textures into the simulator to simulate different types of materials, and you can edit the lighting to give the cloth a wet, matte, shiny or any other appearance according to preference.
Overall, this project reflects well the things we’ve learned in class, how objects are efficiently rendered and how they interact with light and each other. For me, the way each different type of lighting contributed to the Blinn-Phong equation didn’t really “click” until I was able to see and manipulate the weights of it myself. The most challenging part of this project for me was implementing collision with other objects, which was tricky because it had a lot of different geometric considerations that I had to be careful of. Because of the sheer volume of computations required to code these kinds of interactions, it was quite easy to see how even just one point of inefficiency could drastically reduce the performance of the code, so it was also a challenge to keep the performance of the program fast enough that I could do the more demanding computations without significant slowdown.
I ran into some interesting bugs while working on this project, but overall the vast majority of calculations could be instantly verified visually by running the simulator, so pinpointing problems was more often than not quite easy to debug. Early on, I had an off-by-one error with my mass and spring implementation, but I was able to figure out the correct bounds of my for loops with a little trial and error. The most head-scratching bug I ran into was after implementing self-collisions, my cloth just disappeared after running the simulation. It turned out that I had slightly miscalculated a vector in my plane collision, which caused the resulting position of the point-mass to become (NaN, NaN, Nan) in rare circumstance, which wasn’t a problem in plane collision because it was isolated to just a very small amount of point-masses, but once self-collision was implemented it spread like wildfire to every other position in just one loop of the program.
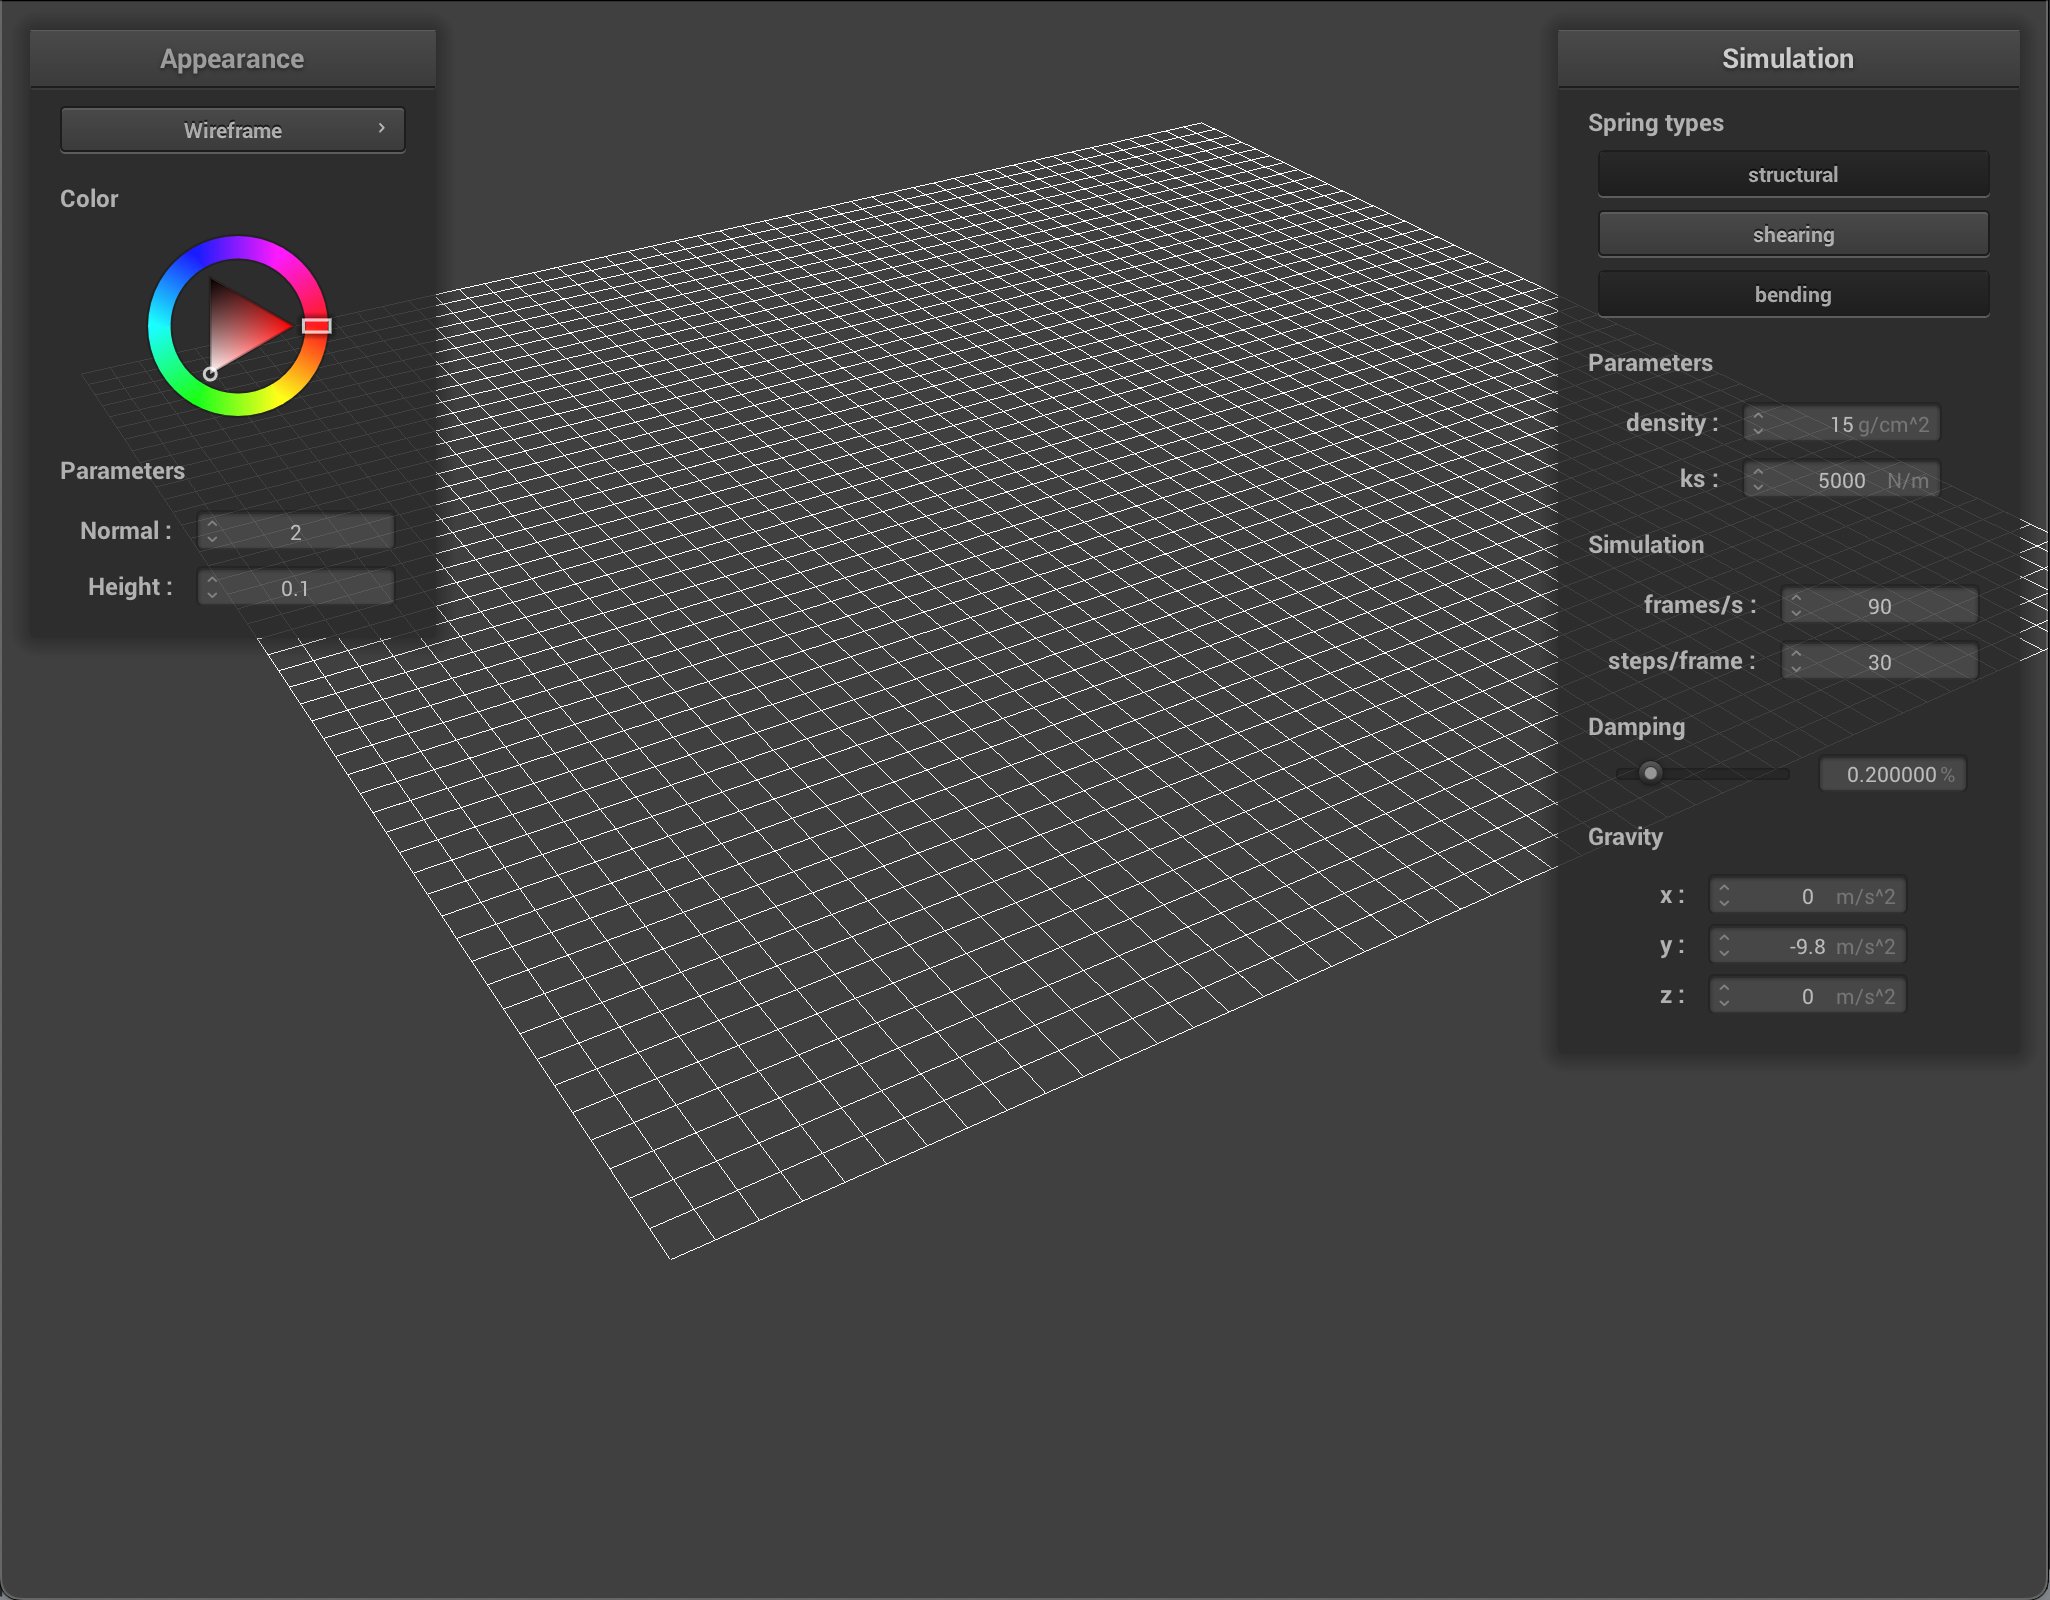
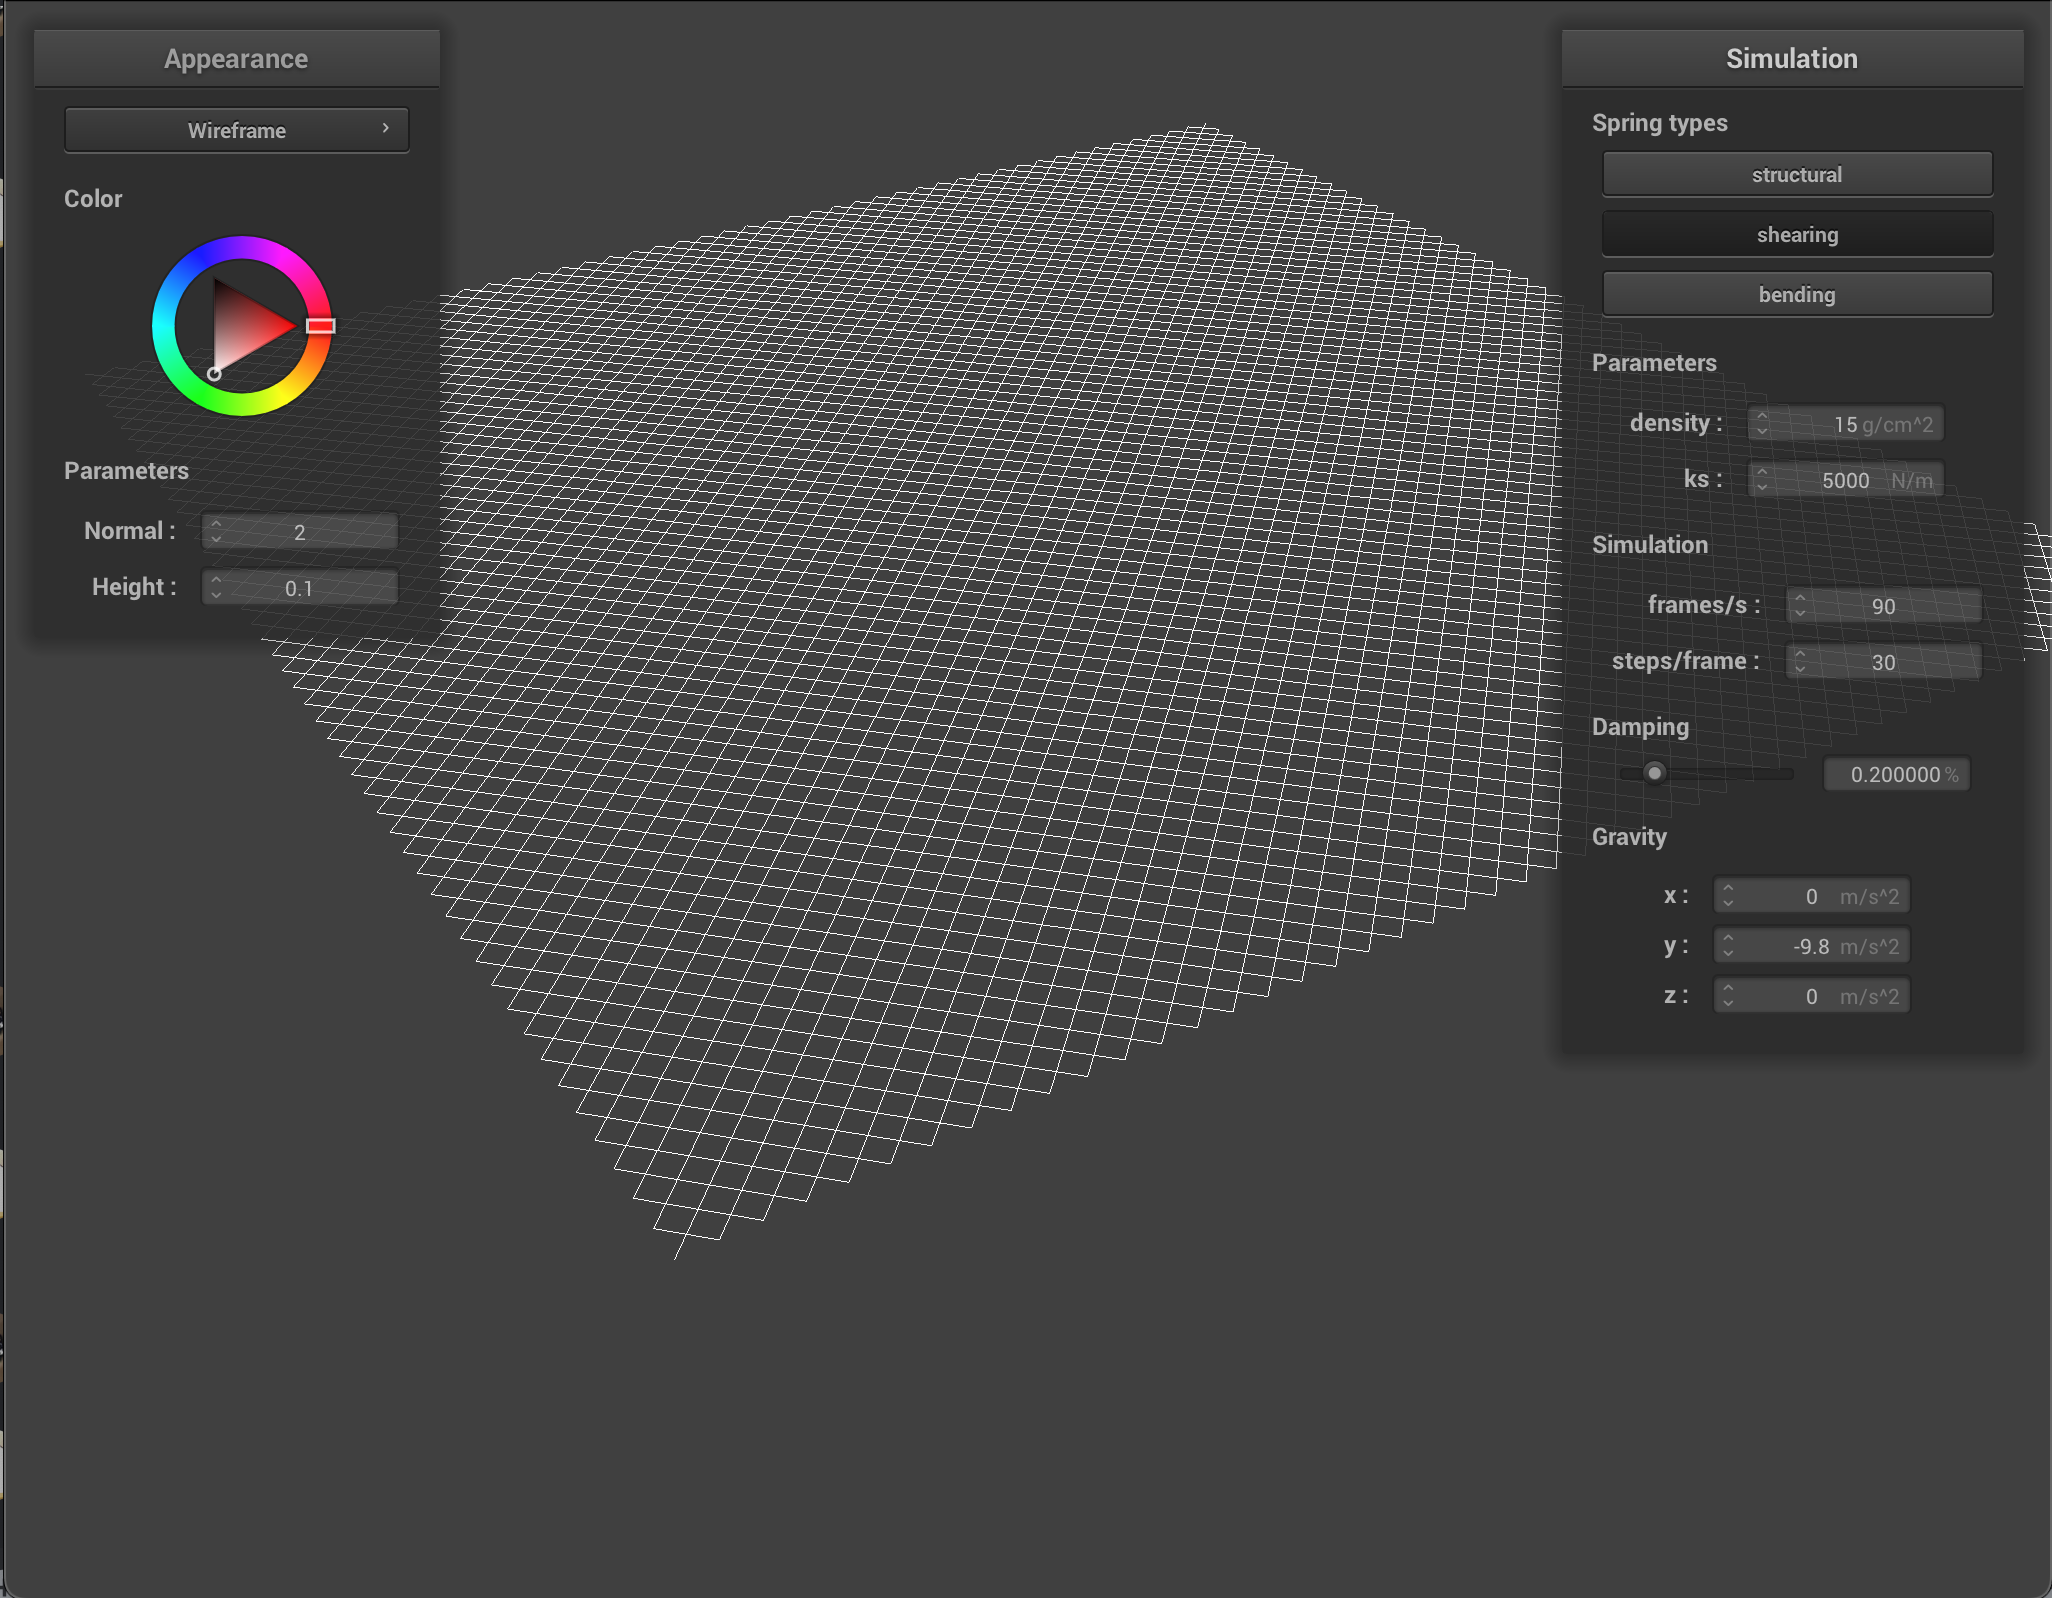
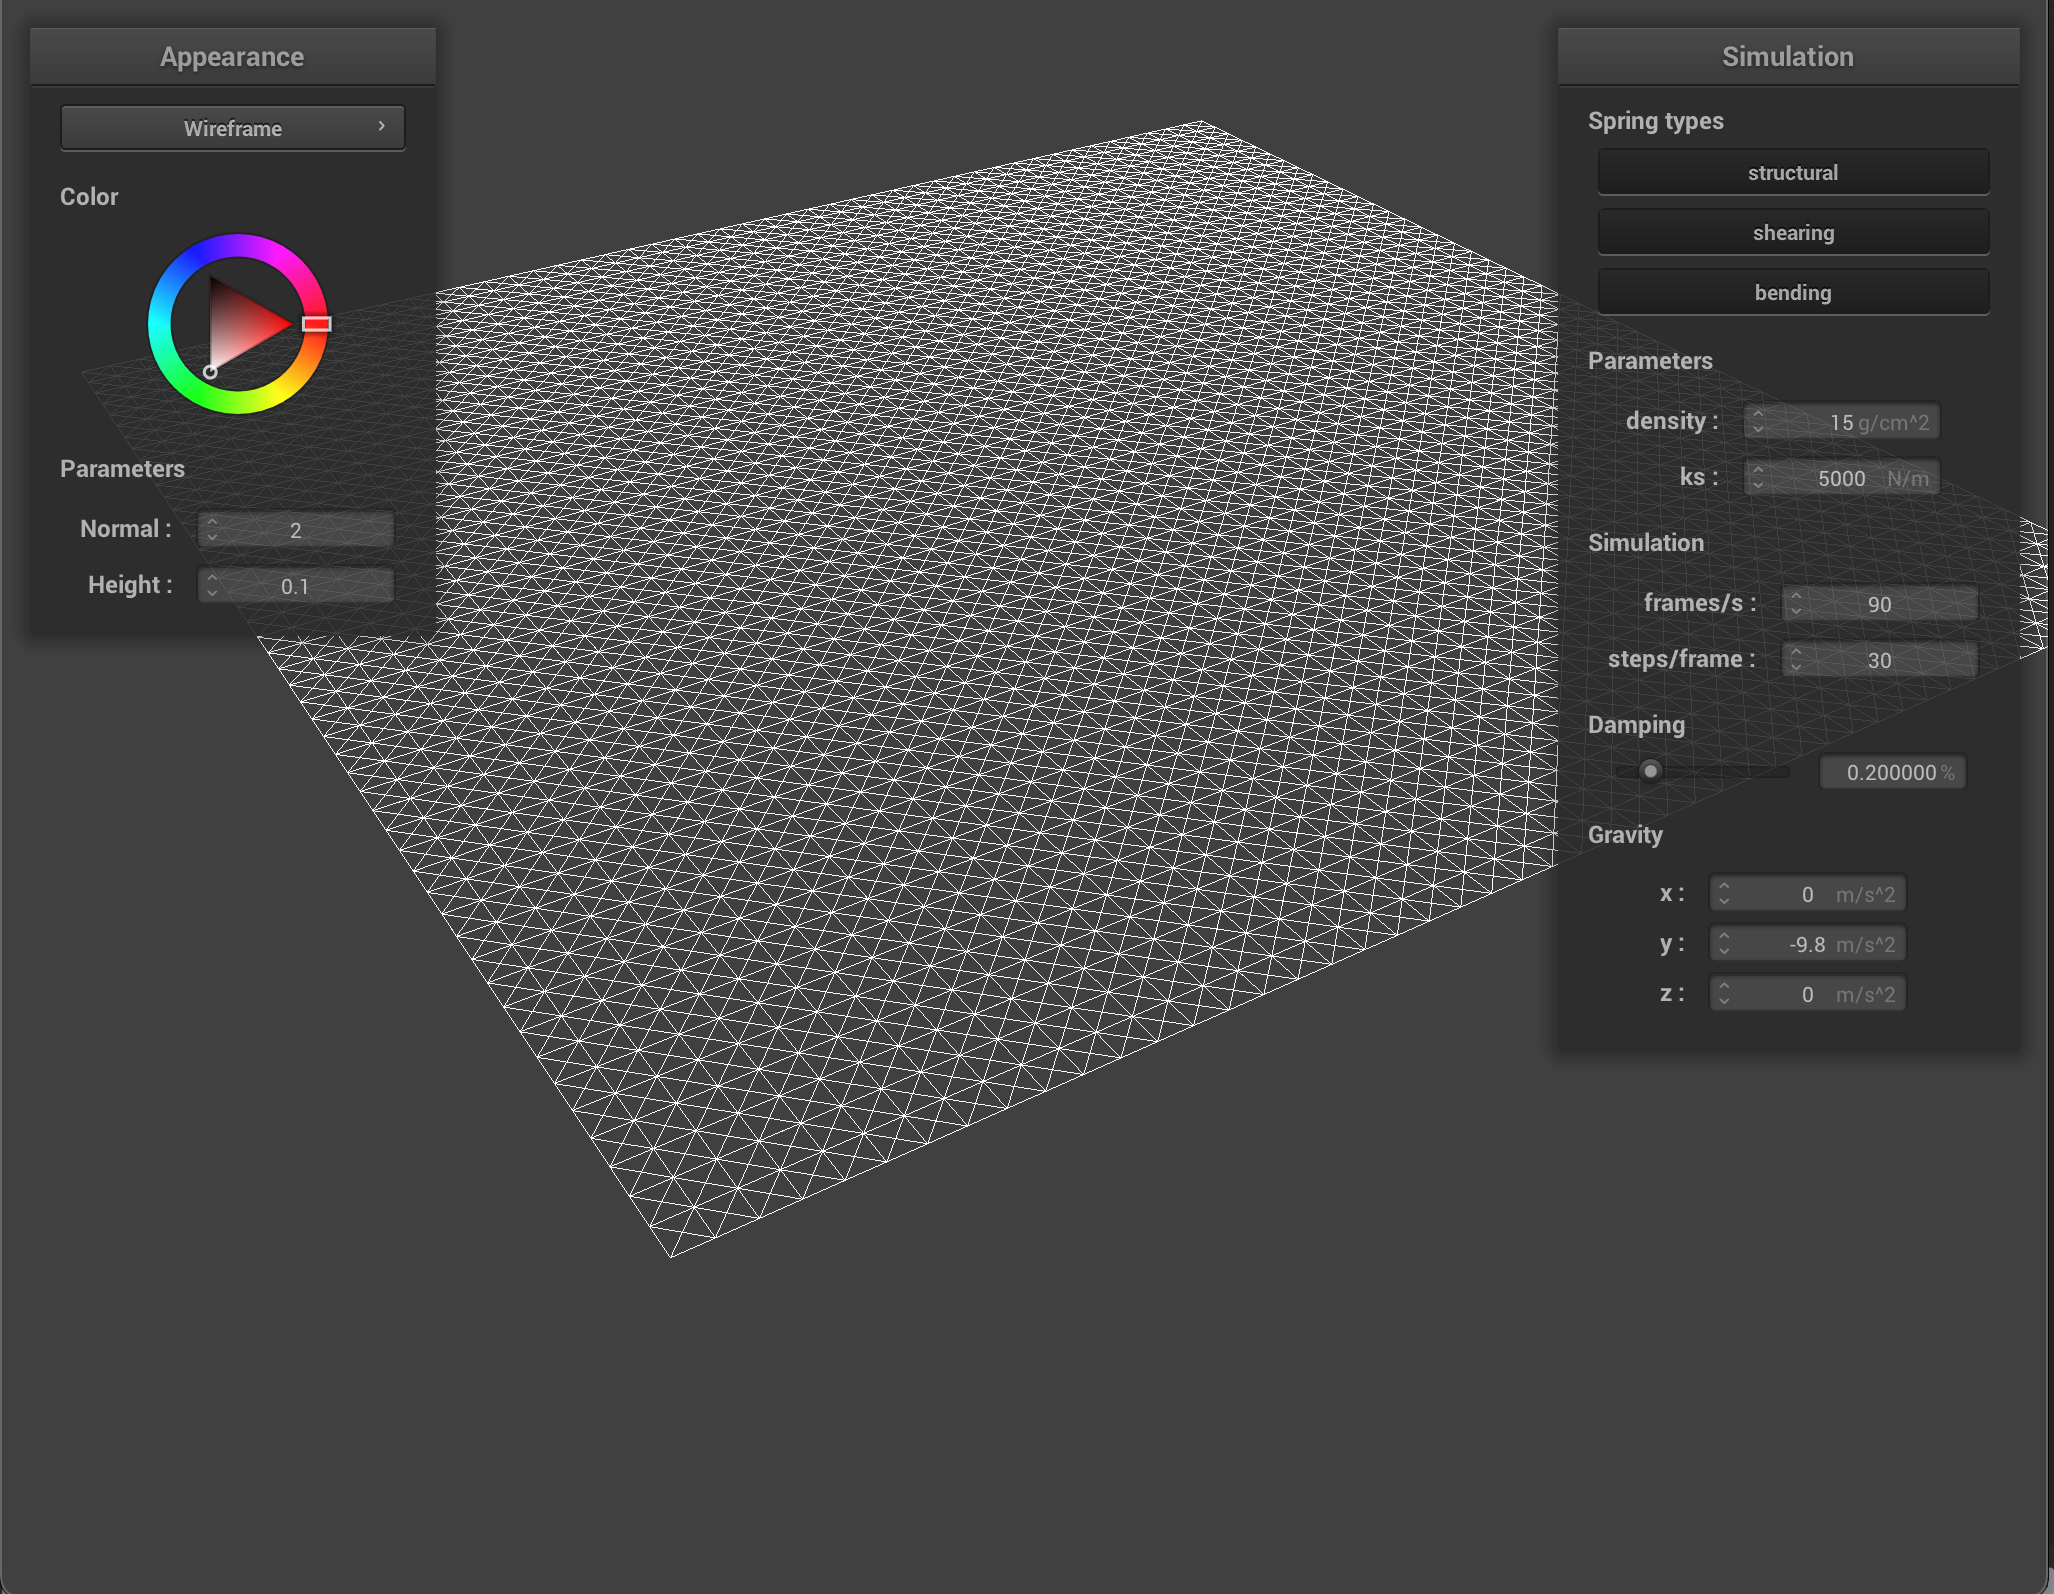
Part 1: Masses and Springs
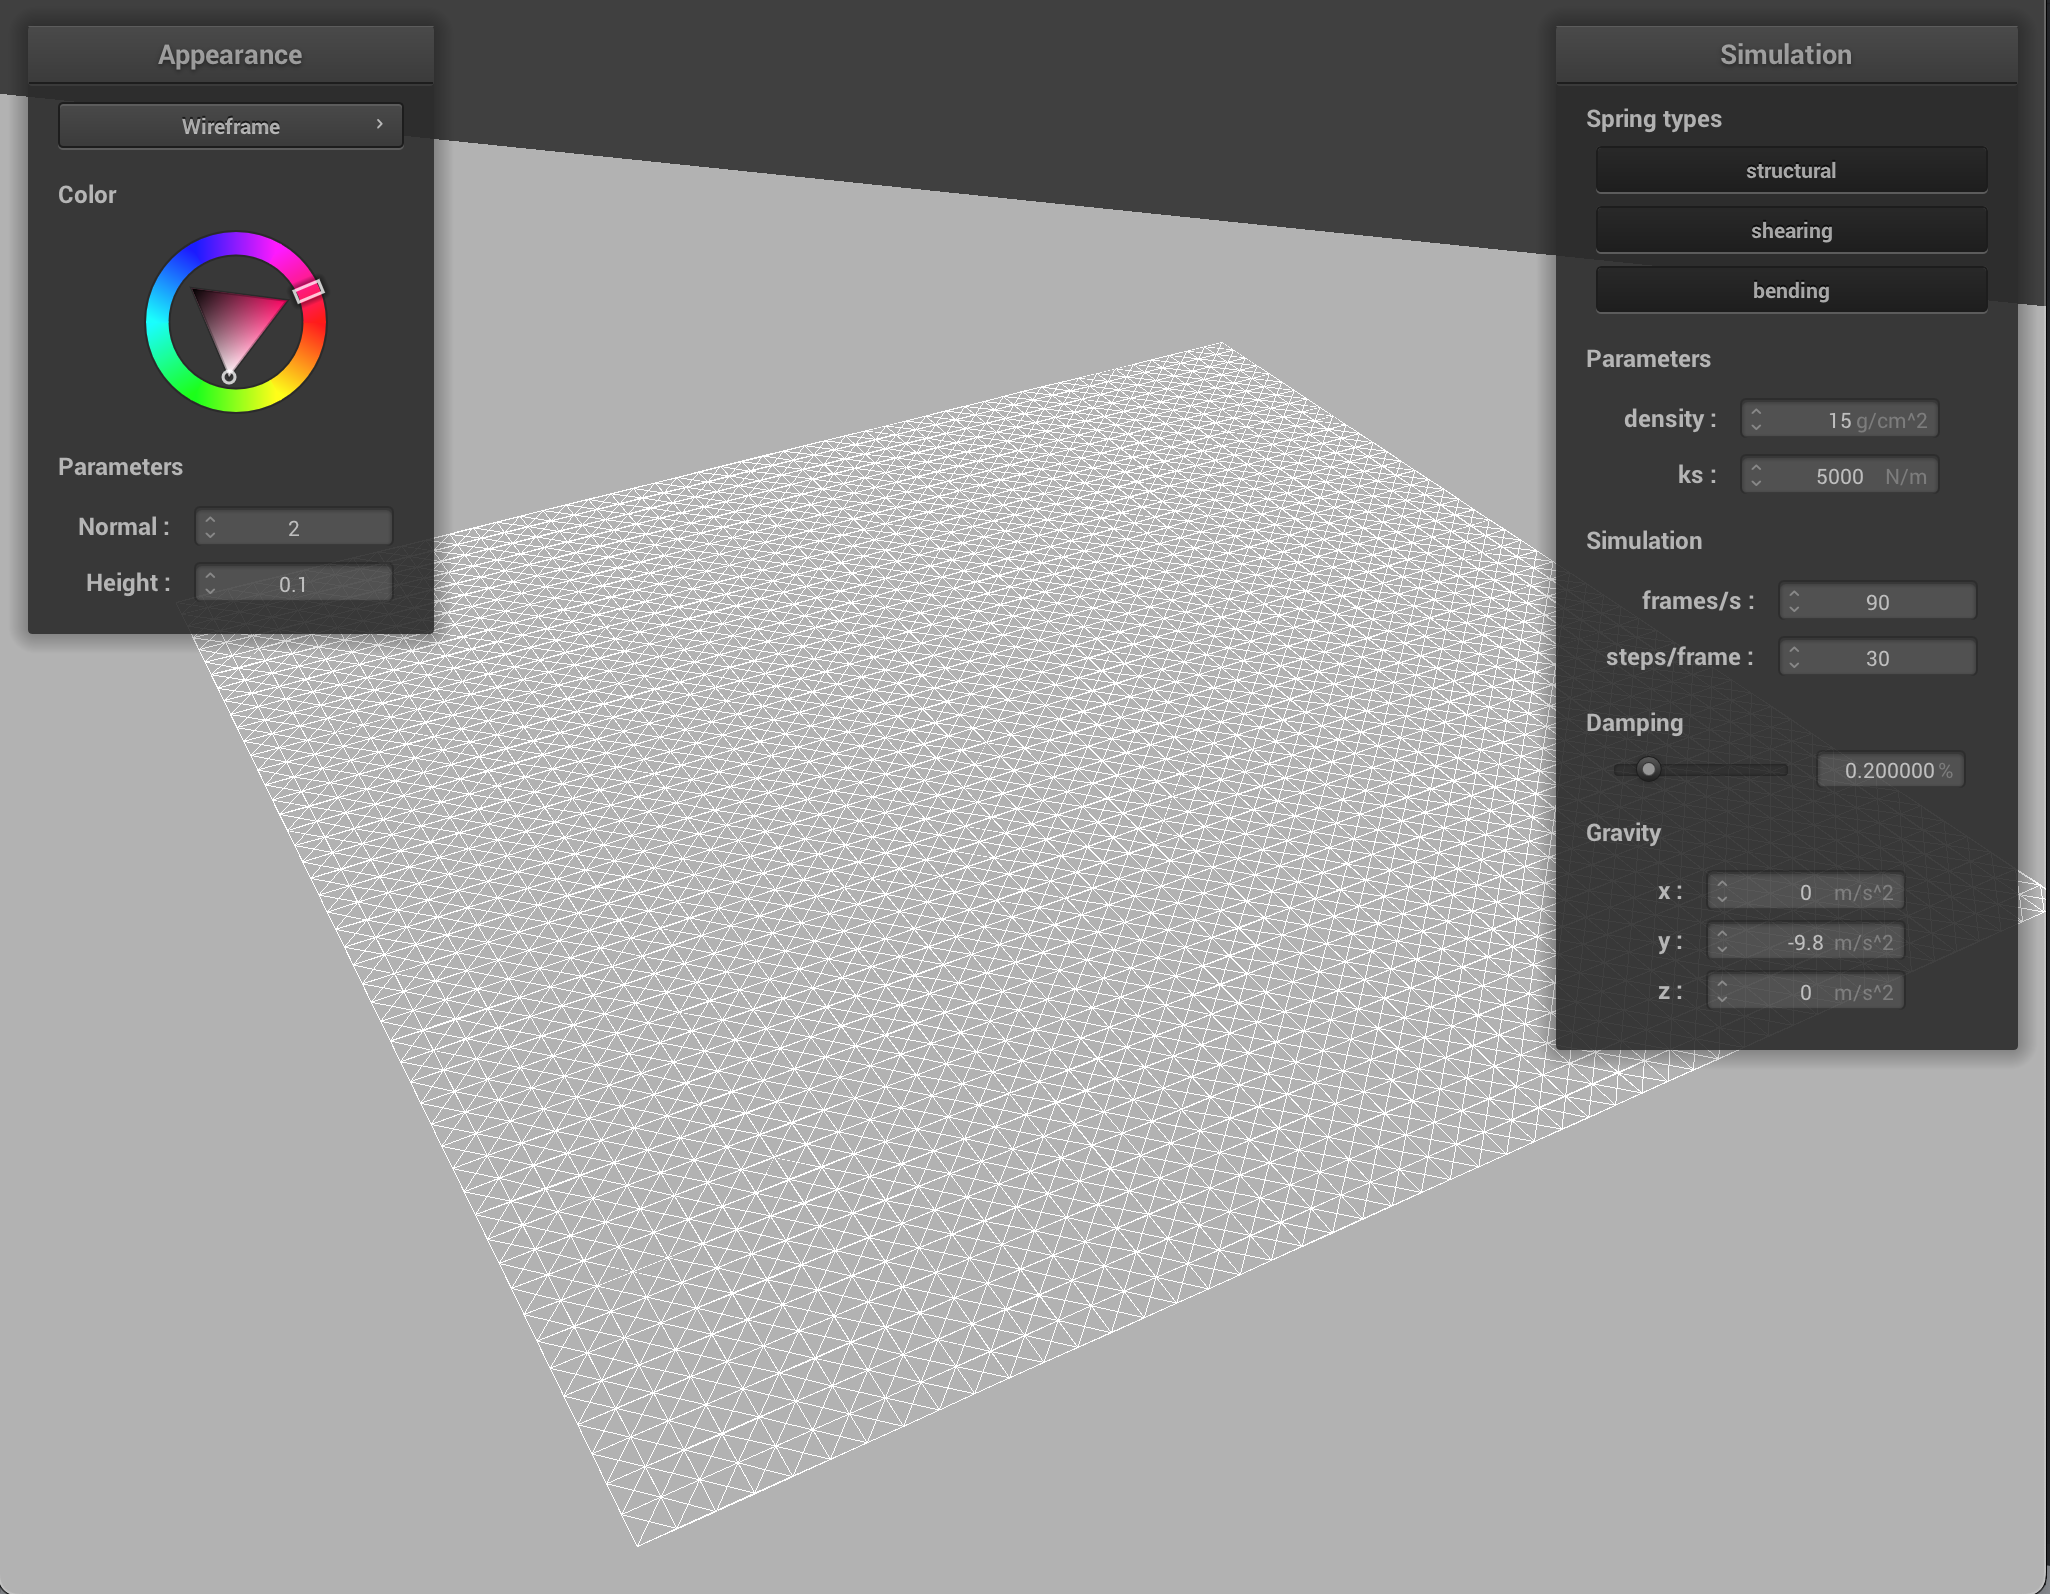
To create a flexible wire frame for the cloth, I made an evenly-spaced “grid” of masses stored in an array in row-major order starting from (0,0) up to (num_width_points, num_height_points). After the grid of masses had been created, I connected the springs to the masses. For three types of springs, there were 3 different configurations which iterated through the previously created mass grid in slightly different ways. For ease of coding and debugging, I included each type of constraint in it’s own iterator, which meant 3 separate loops, but it would be possible to reduce the number of loops by connecting all of the springs to the masses either in the initial loop creating the masses or in a single, separate loop right after for improved performance.
Part 2: Simulation via Numerical Integration
With this portion of the project, I expanded on the wire frame created in Part 1 by applying force to the points of mass and determining the appropriate movements of the springs depending on certain parameters. I first started off by applying external forces such as gravity to every point in the cloth, and then updating the springs to move appropriately based on their configurations. I used Hooke’s Law to determine the amount of force applied to each spring.
After determining how much force was applied to each point and spring, I then used Verlet Integration to calculate the new position of each point mass. I simulated the effects of energy loss (i.e, friction) by adding a damping term. Finally, I constrained the change between a point’s original position and newly calculated one to within 10% of its spring’s resting length in order to prevent my cloth from becoming too deformed.
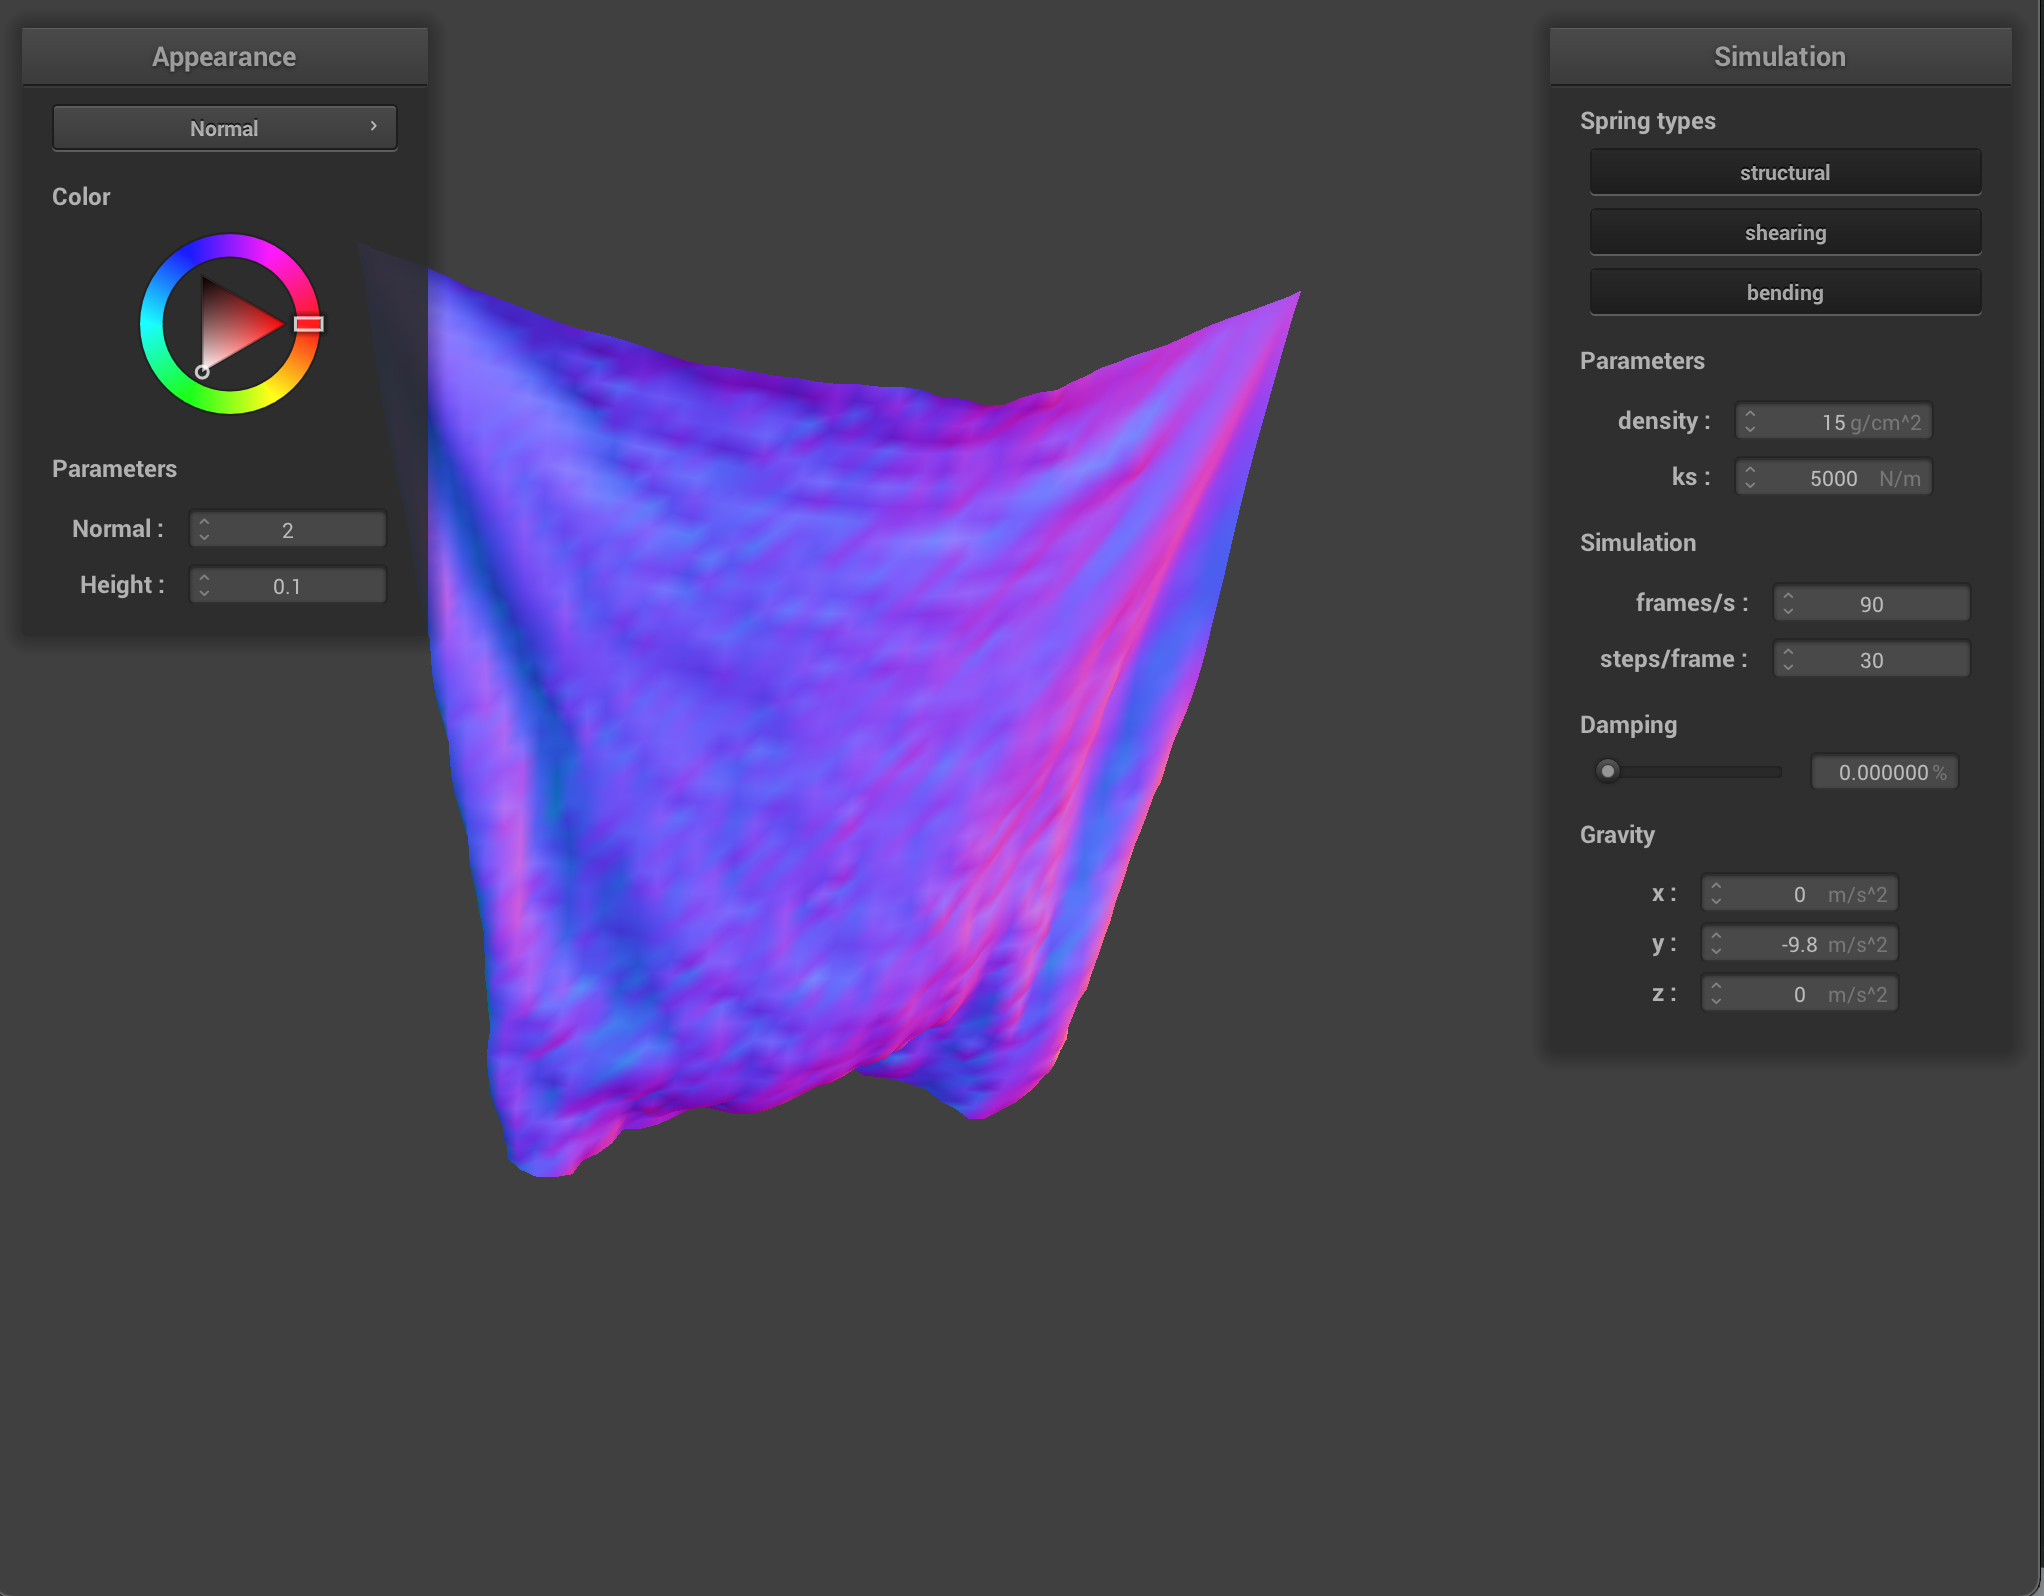
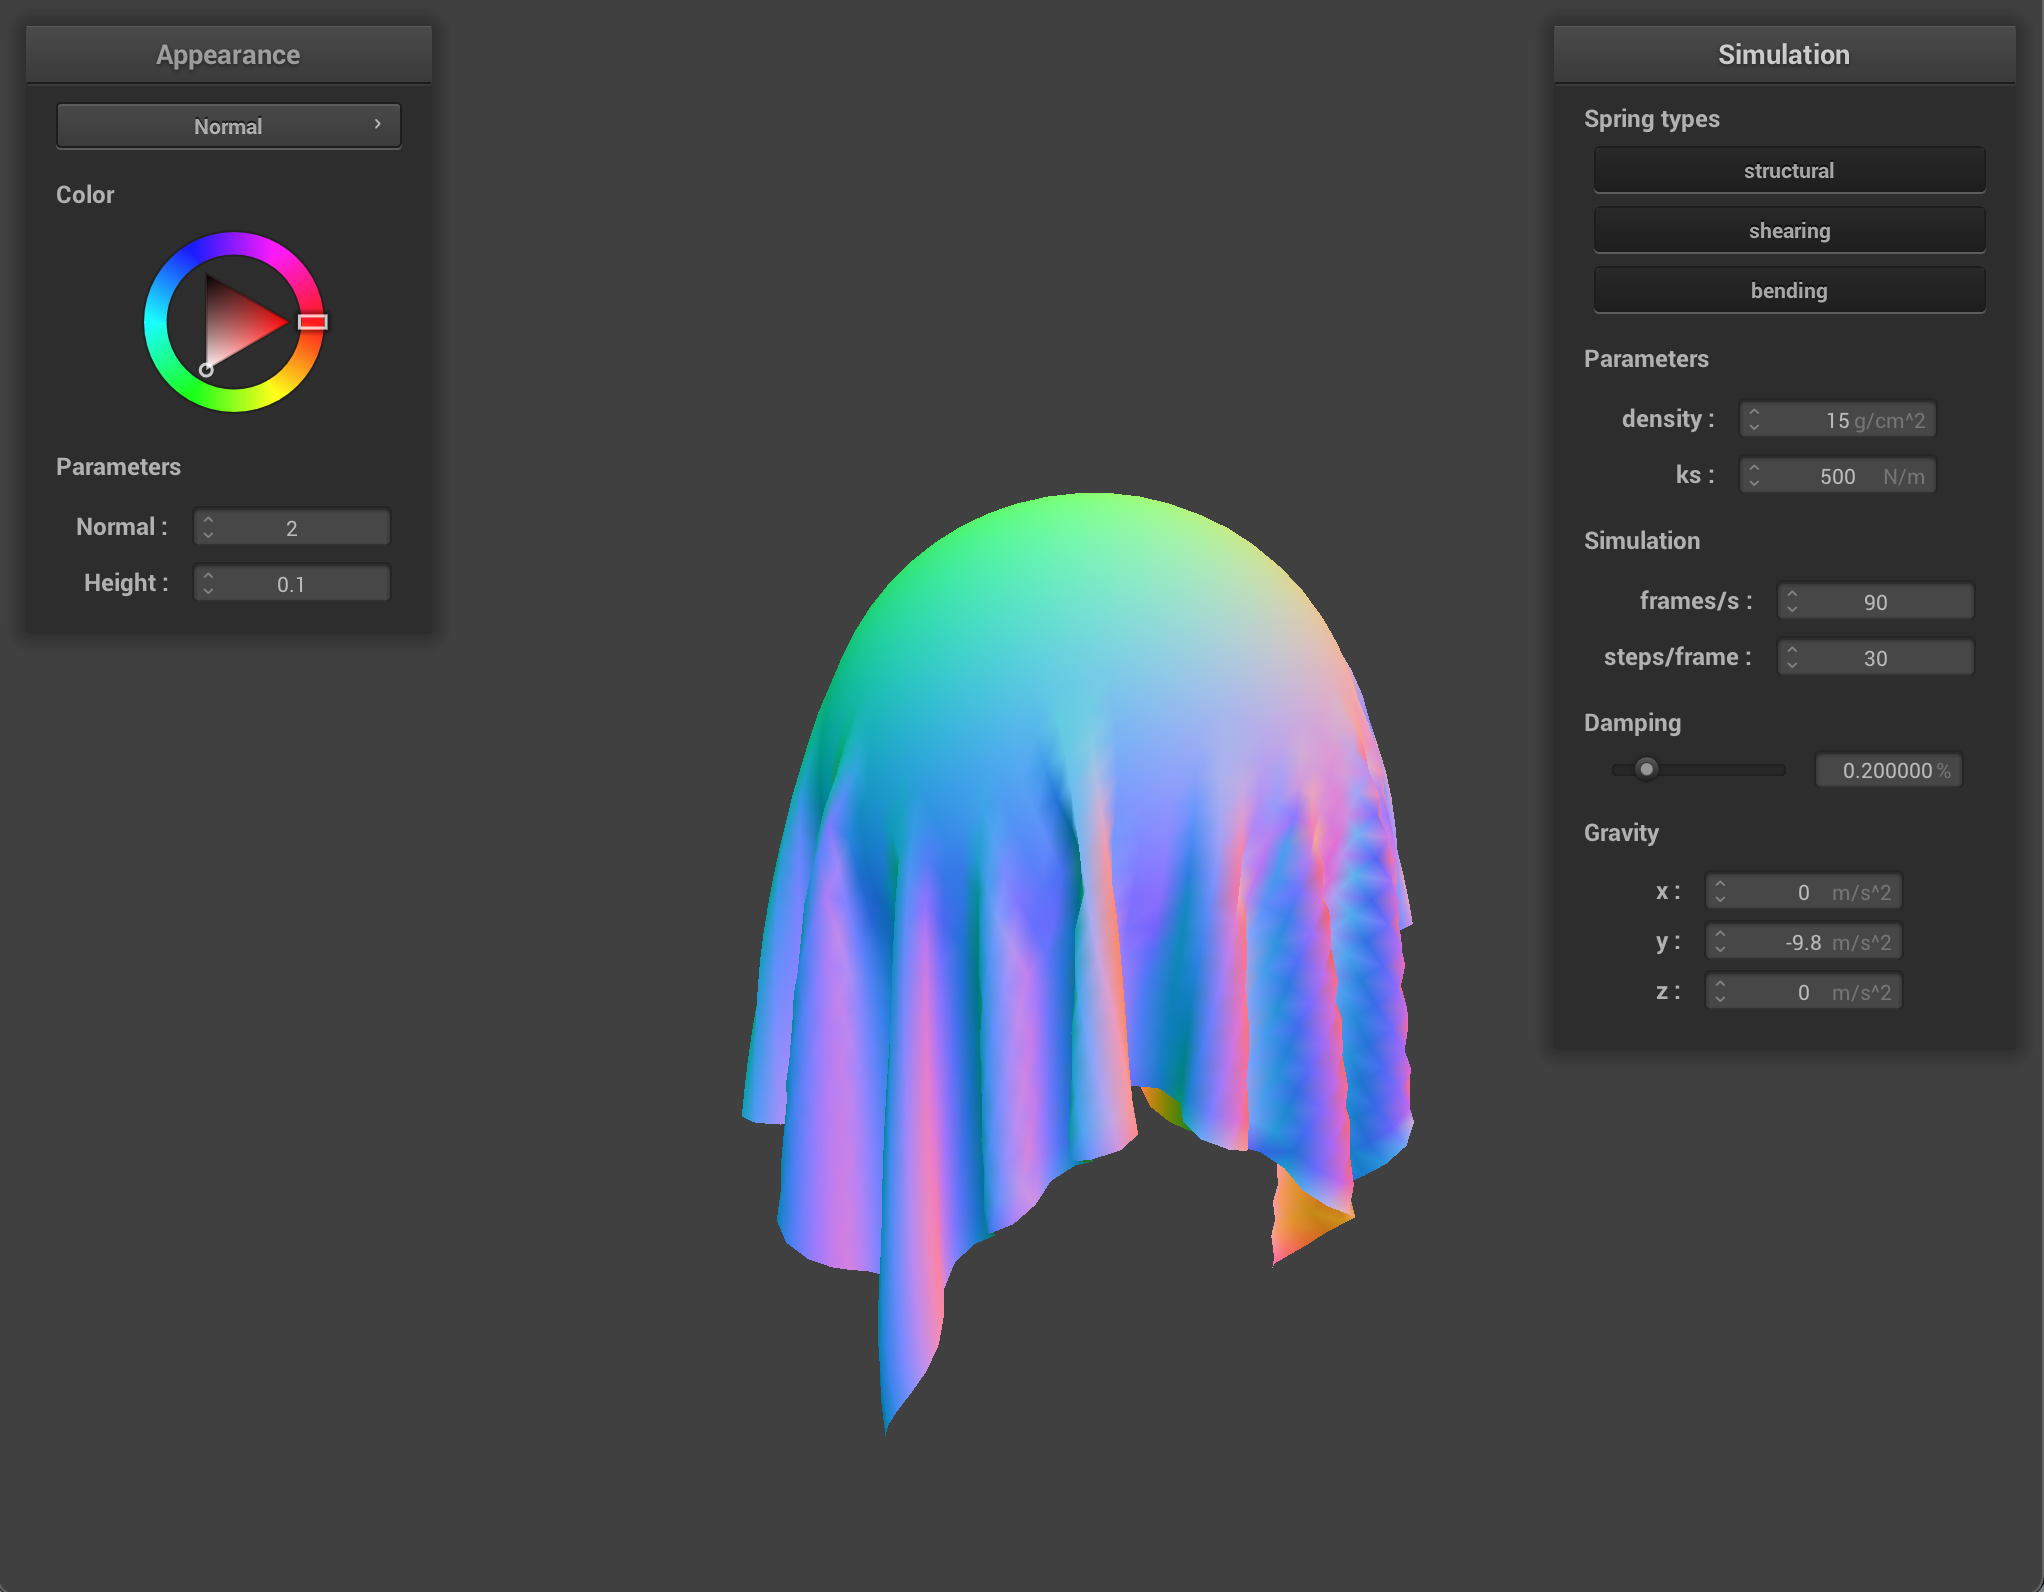
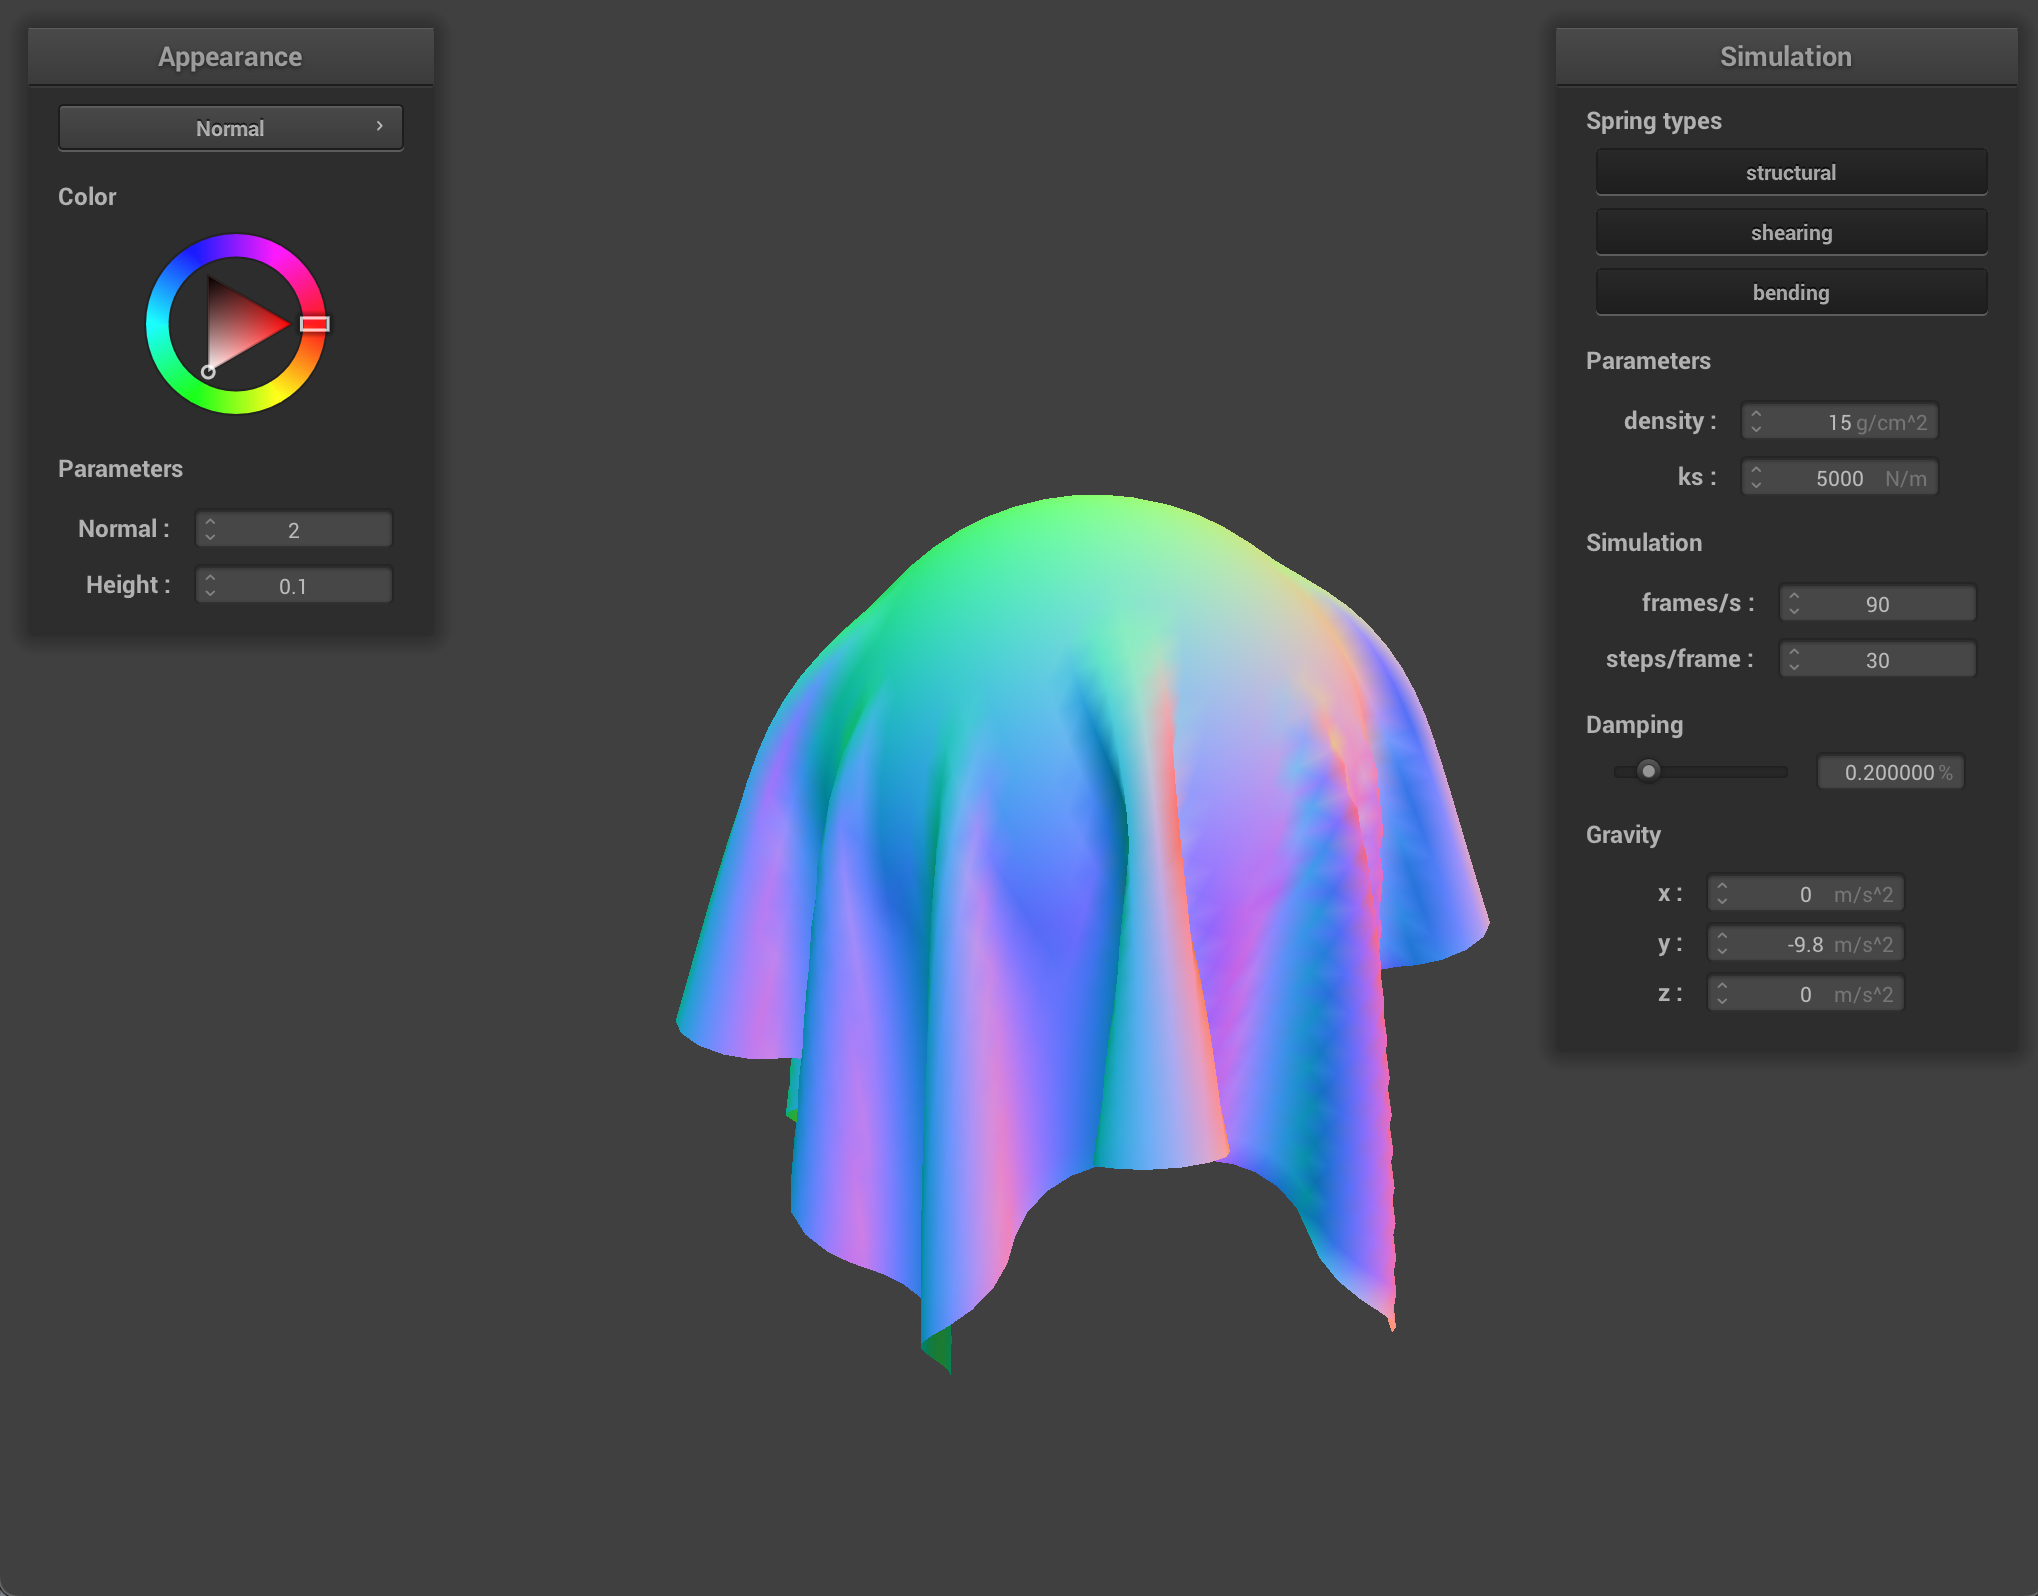
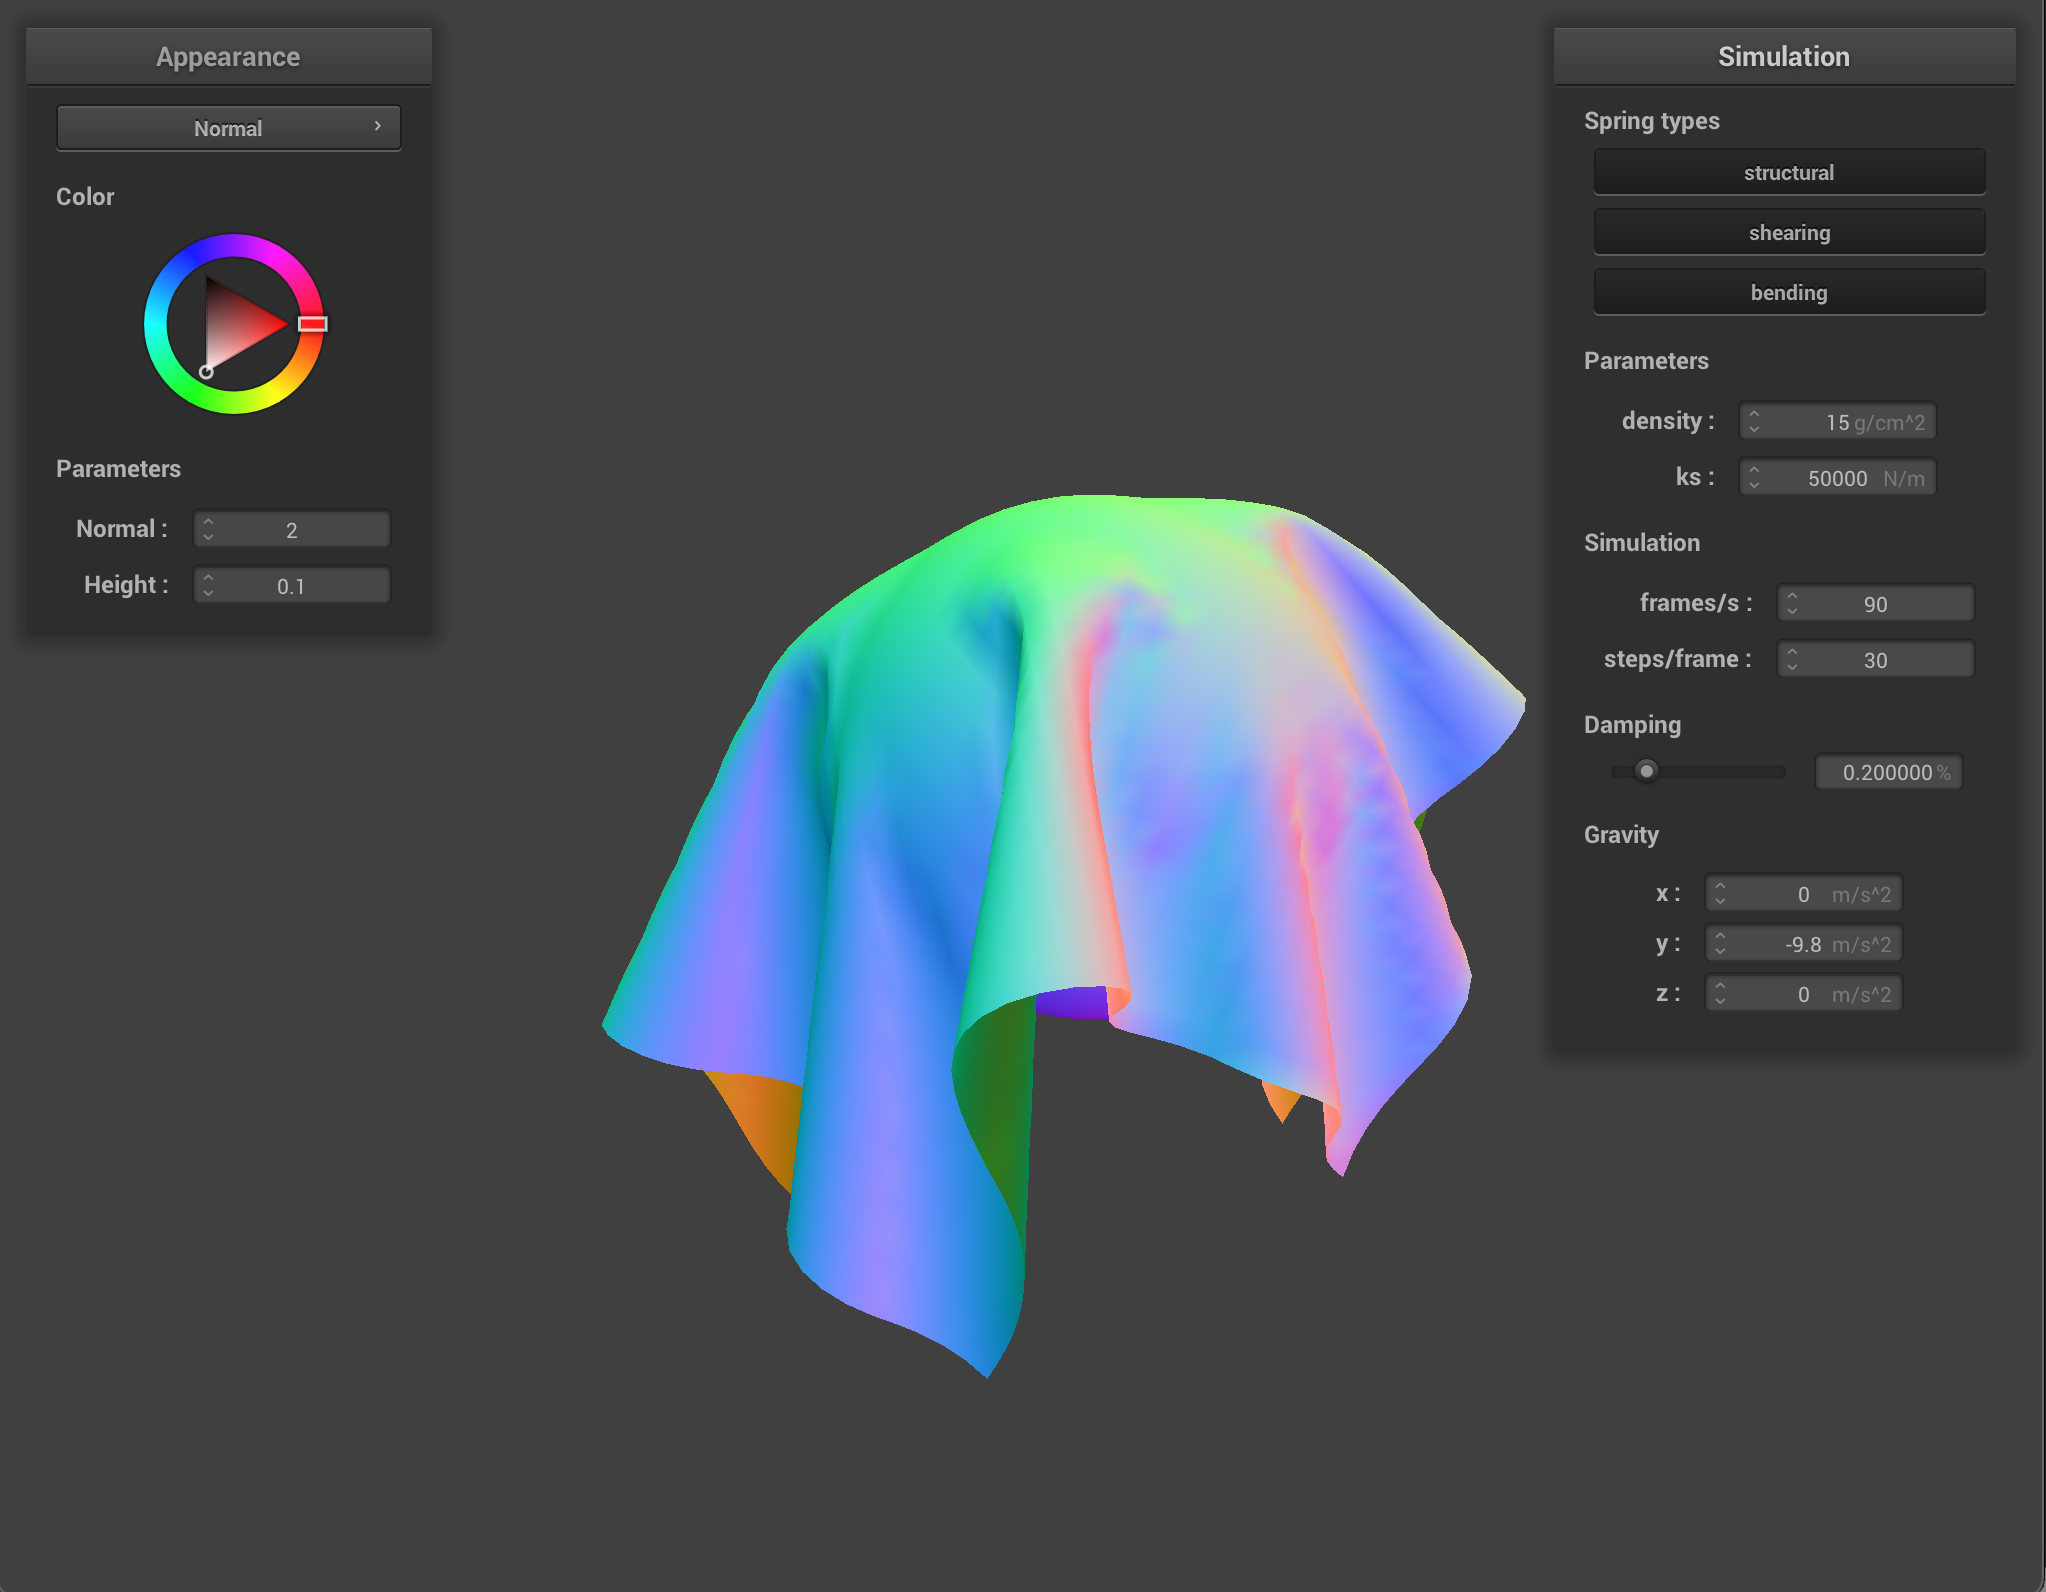
There are a few interesting parameters that change how the cloth displays.
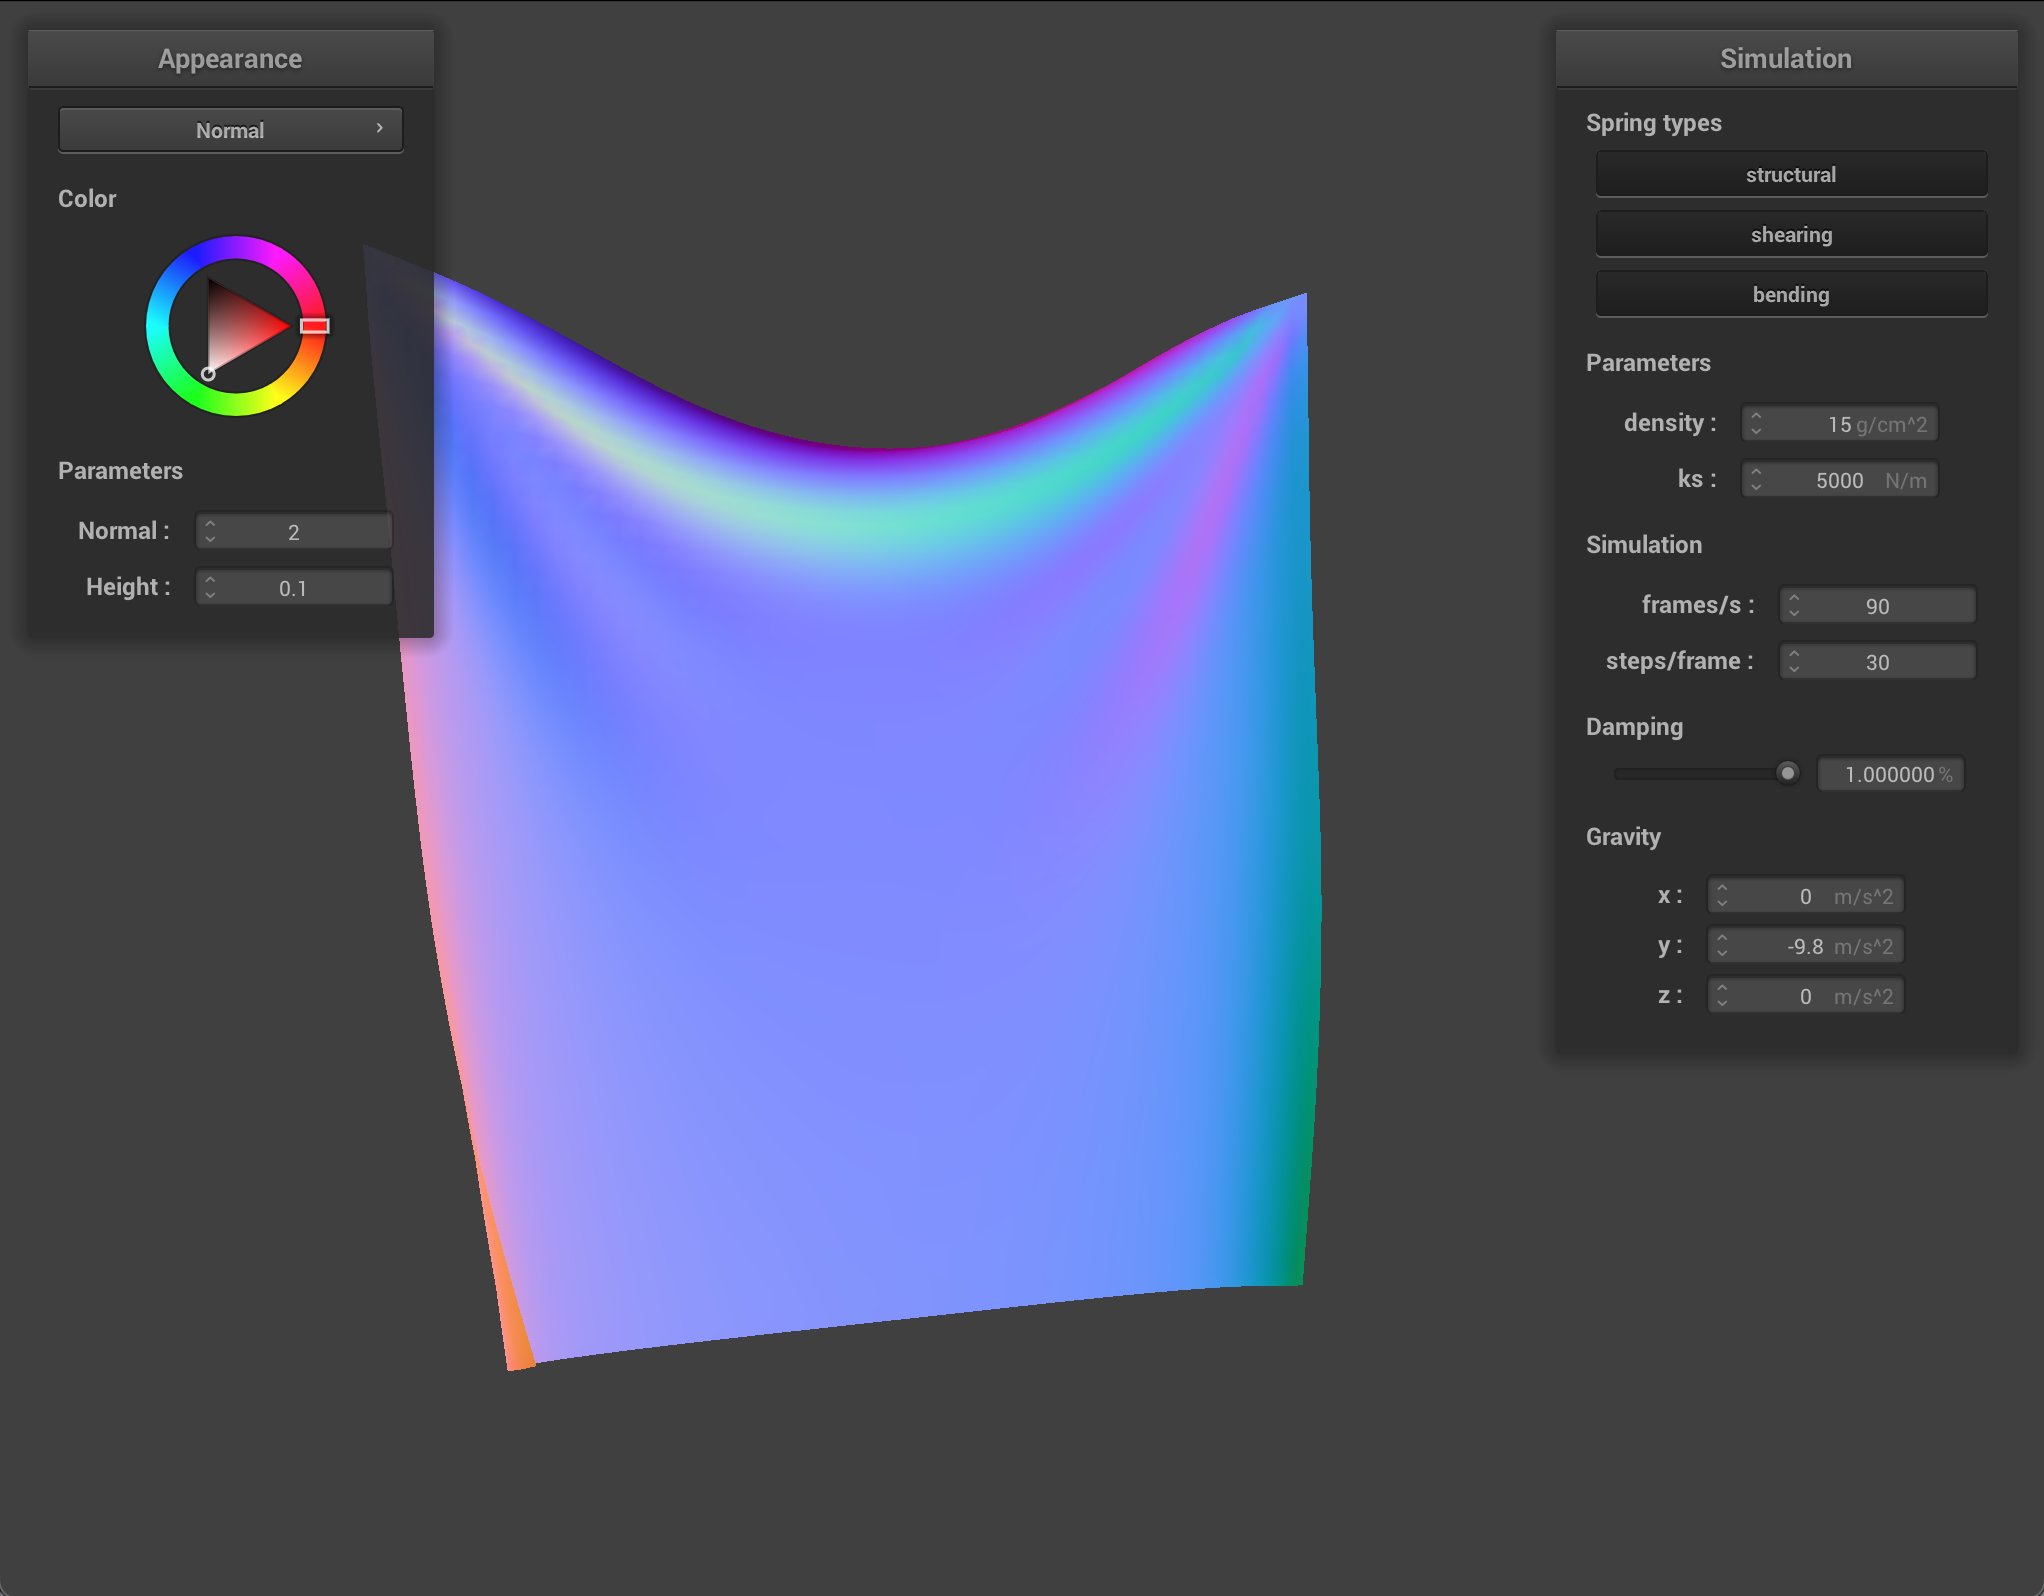
The ks constant of the spring determines how much stretch or elasticity the spring has. At very low ks, the springs are very flexible and produce a very smooth and bouncy cloth with many small ripples. At high ks, the springs are stiff and the cloth moves quite rigidly as one board-like piece.
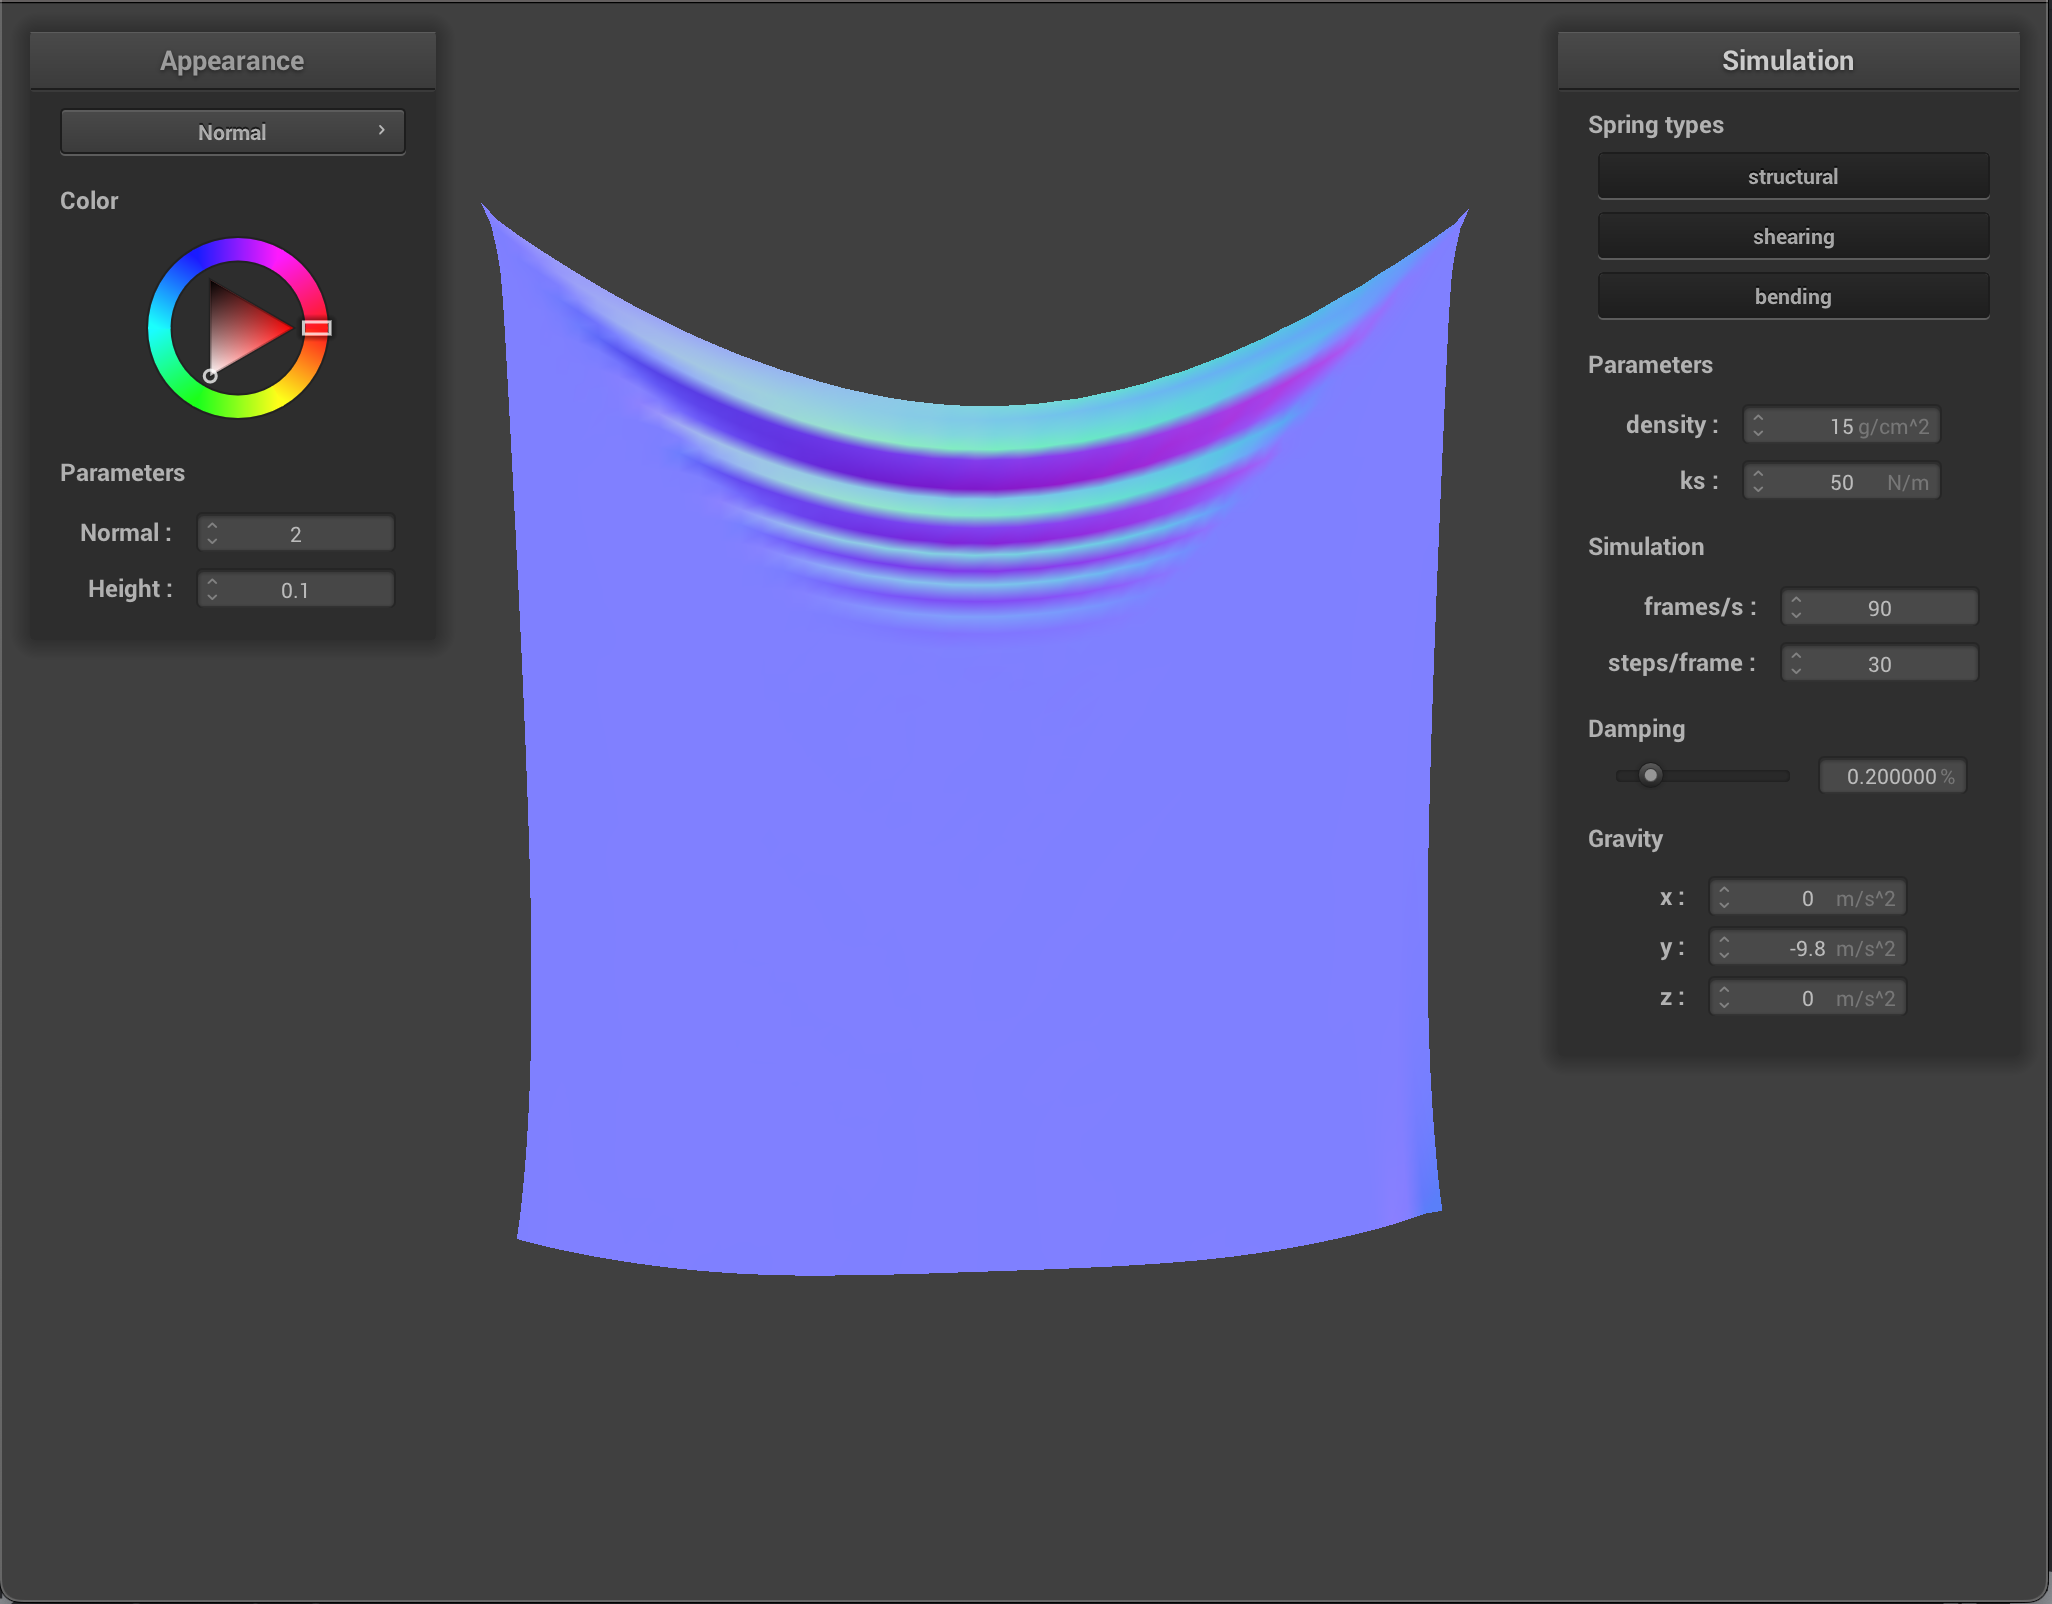
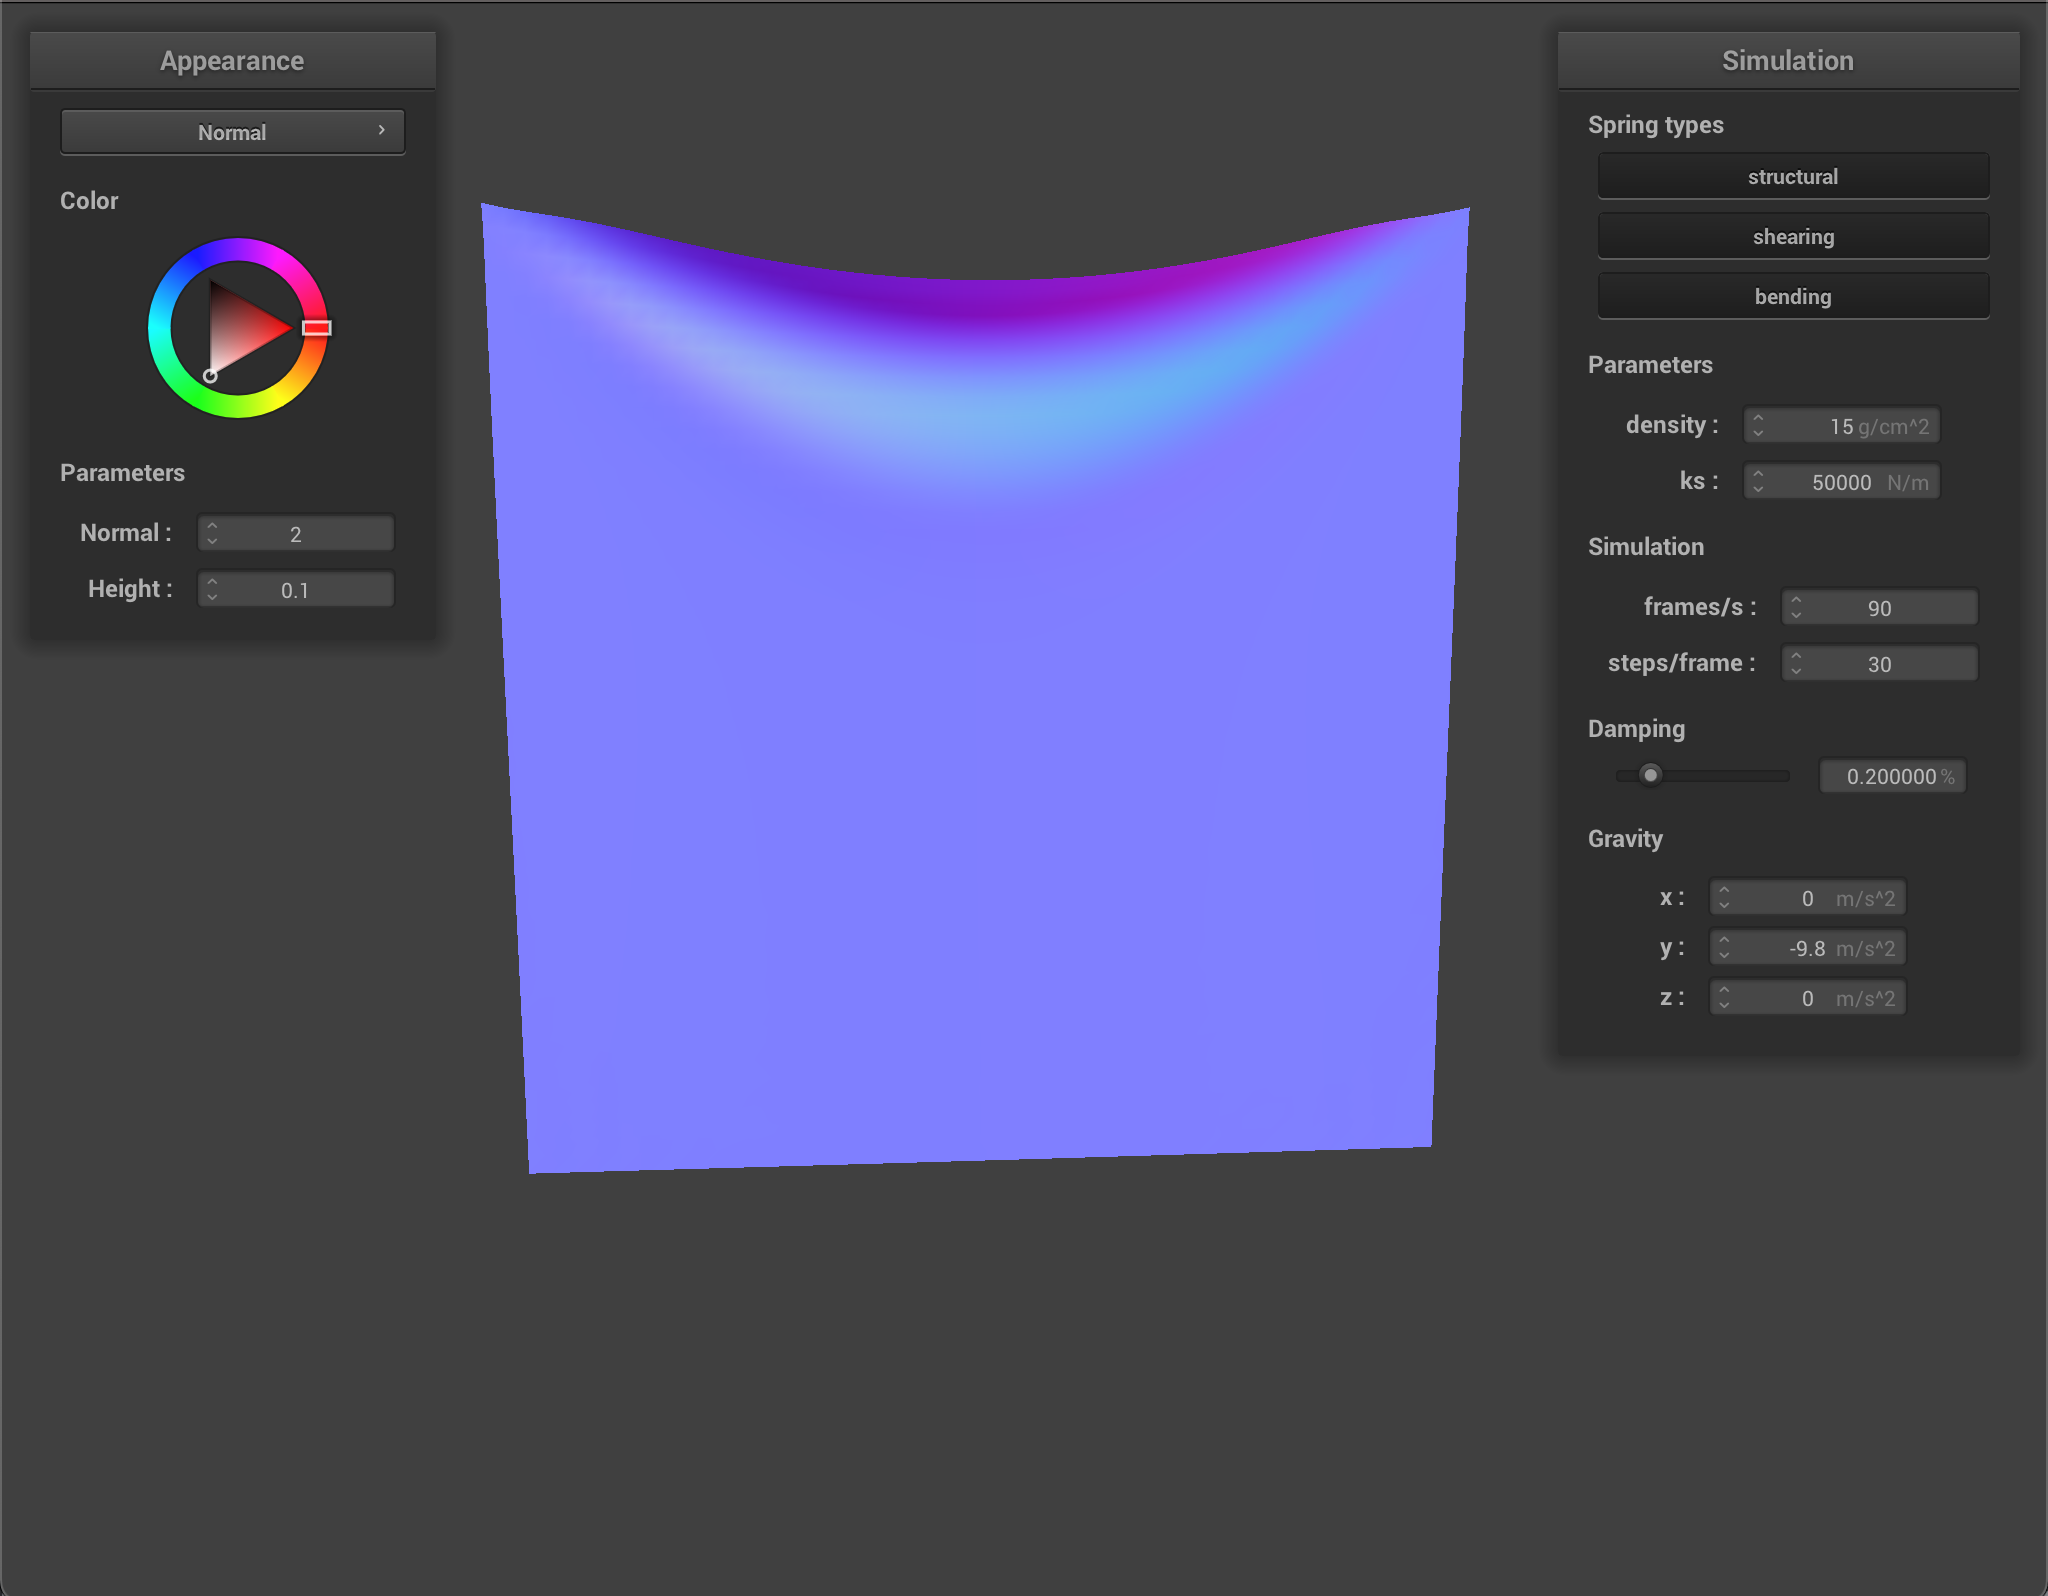
When changing the density, the amount that the cloth weighs down on the pinned points varies. With very low density, the cloth is smooth and airy, and with a high density the cloth pulls quite heavily on the pinned corners.
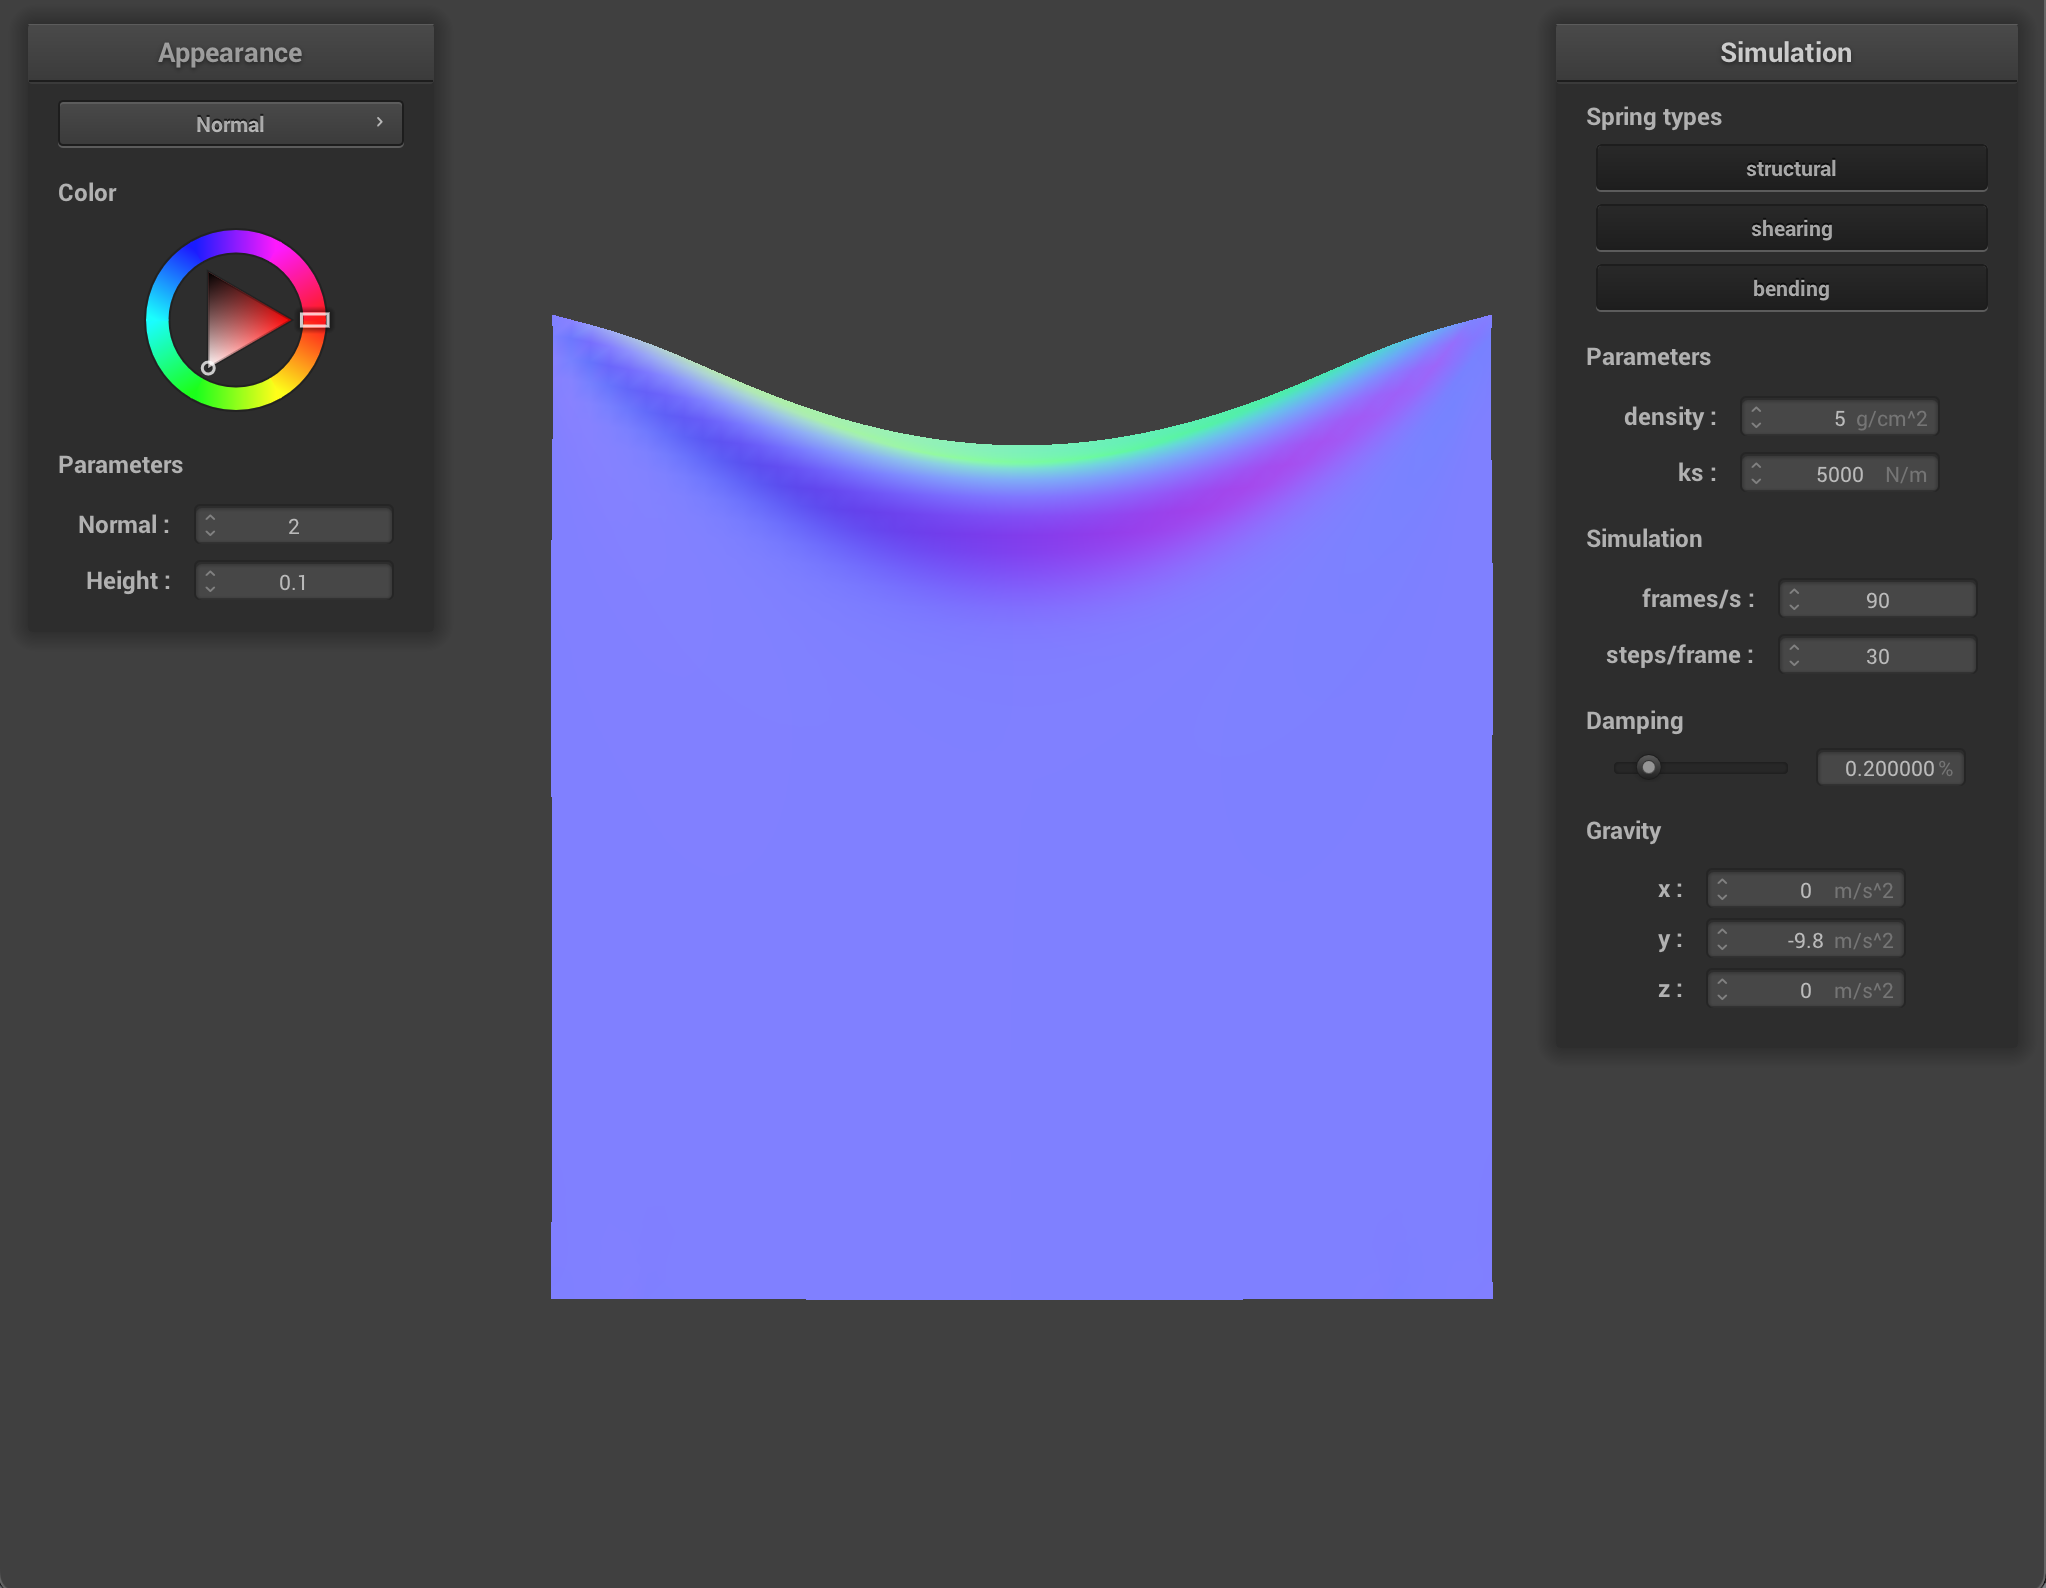
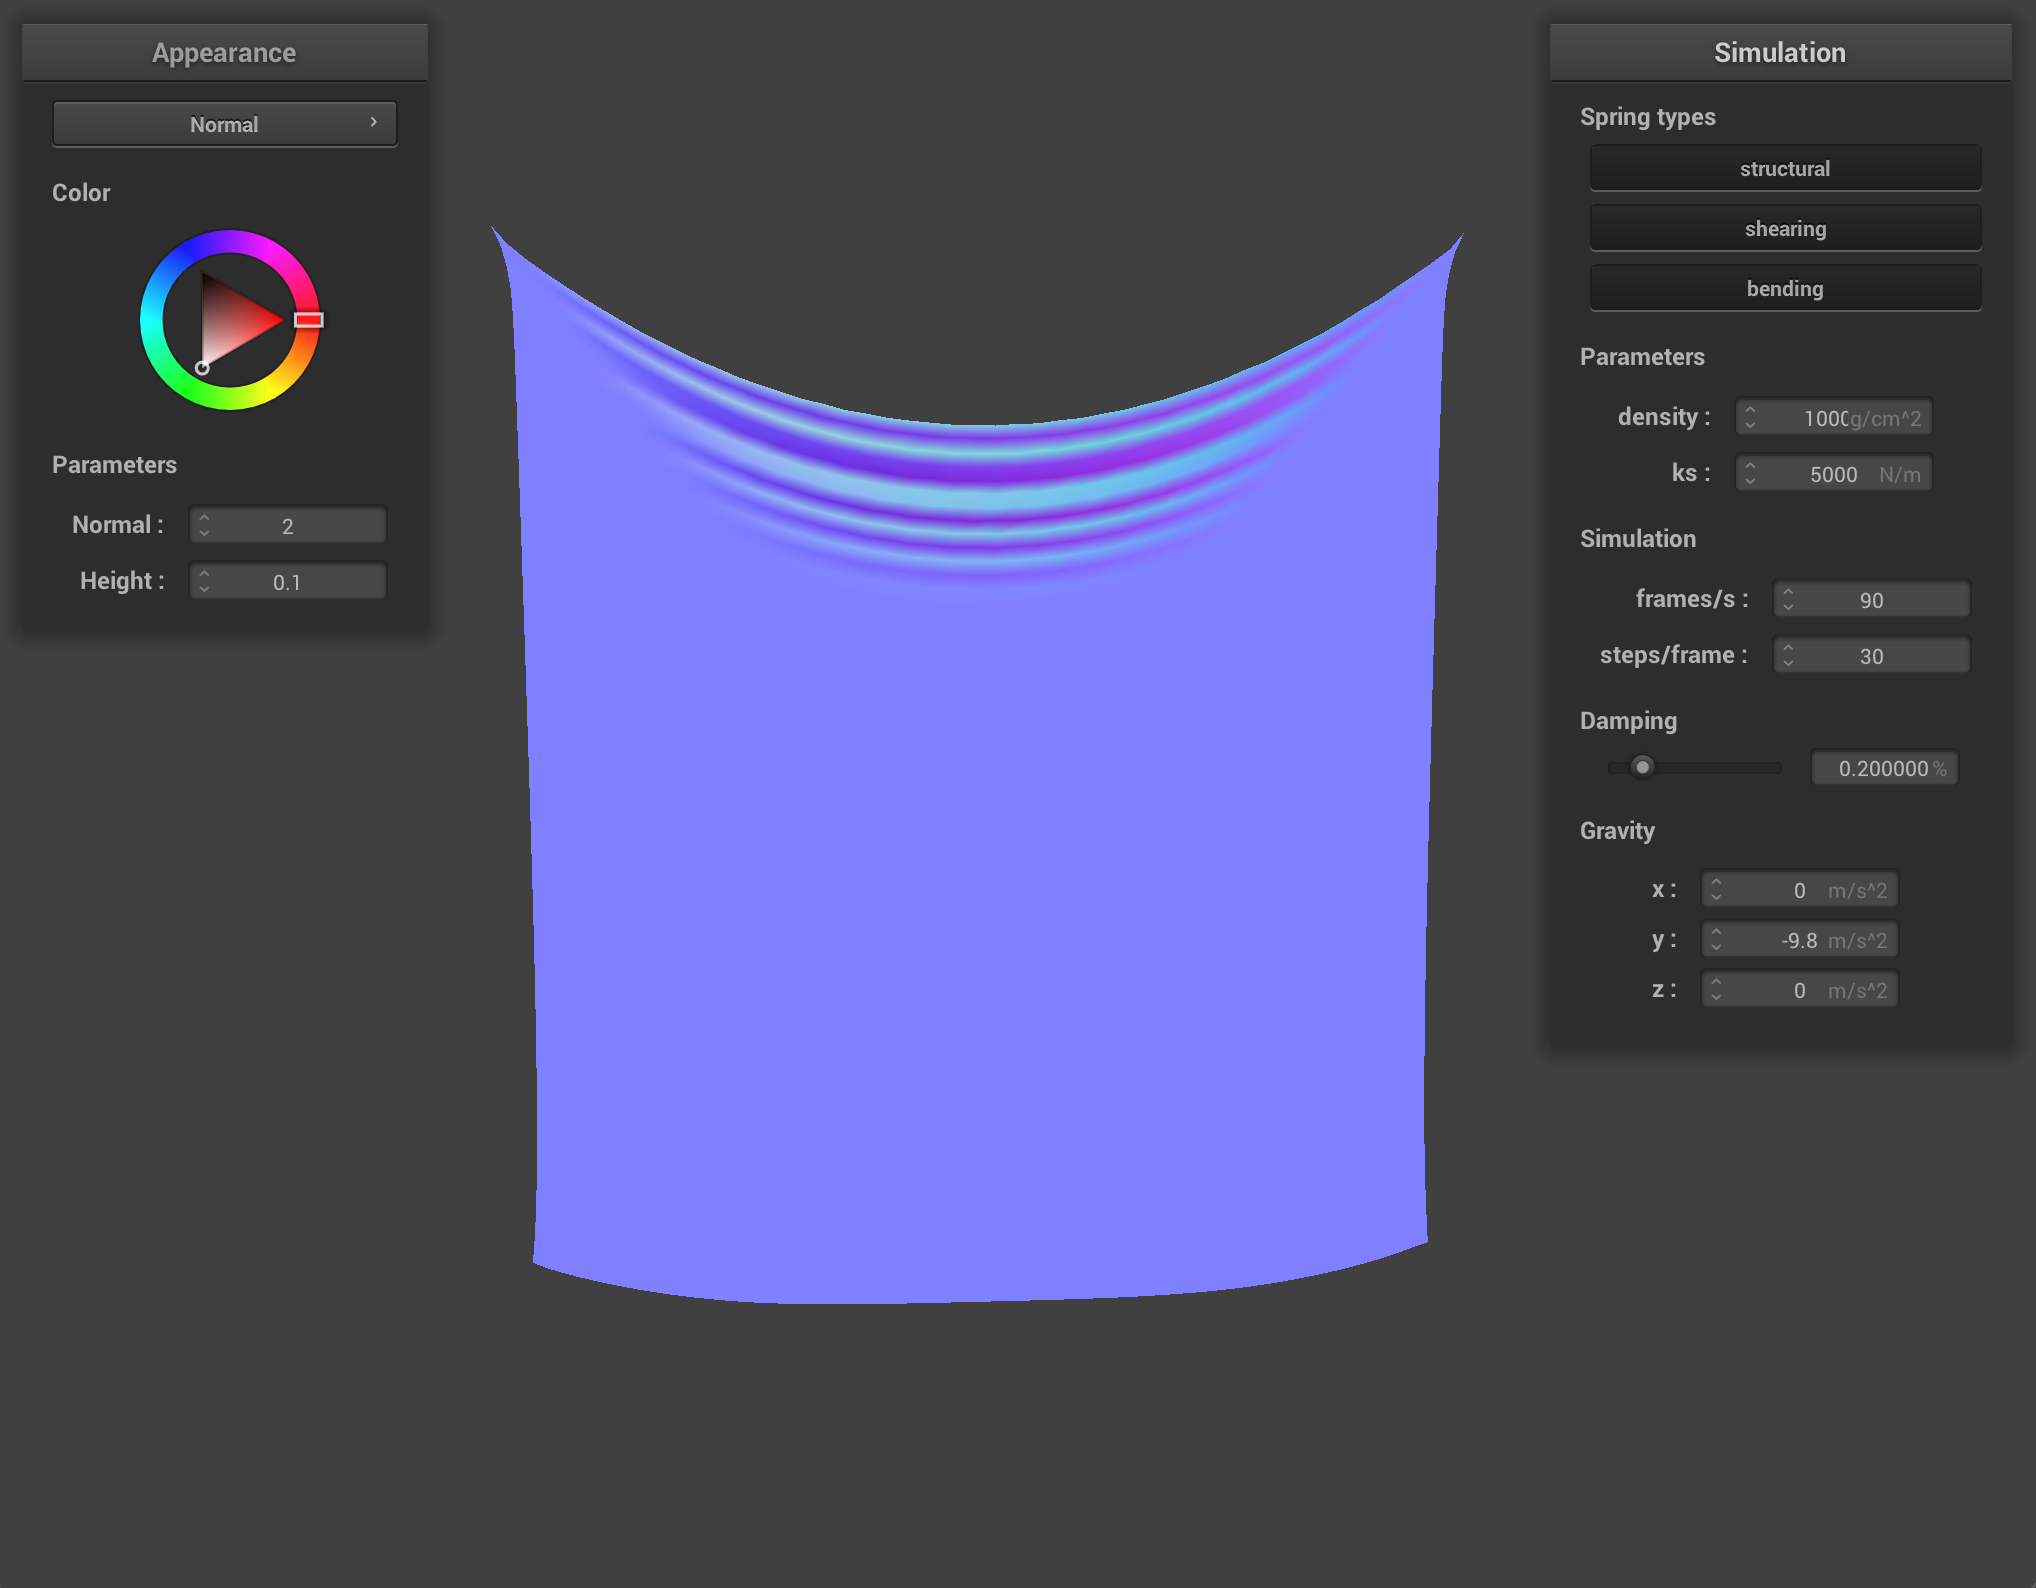
It’s interesting to note that the effect of having high density and having low ks produce a similar result after the cloth as settled
Finally, the damping parameter affects much movement the cloth has. As indicated by its name, with a high damping term the movement of the cloth becomes slow, almost nonexistent, whereas with a very low damping term the cloth moves unhindered and very quickly, swinging back and forth like a pendulum until it finally reaches it’s resting state after a long while. If there is no damping at all, the cloth will continuously move instead of decelerating.
Part 3: Handling Collision with Other Objects
For this part, I handled the collision of the cloth with other objects by checking updated point mass locations to ensure they aren’t colliding with any objects in *collision_objects.
To implement the sphere intersection, I first computed the vector between the sphere’s origin and the new position of the point mass. If the magnitude of the vector was less than the magnitude of the radius, then I corrected the position to sit tangent to the sphere (plus a little wiggle room to account for friction.)
To handle the intersection of the cloth and the plane was a little trickier. I first had to calculate the distance of both the old and the new positions of point mass relative to a point on the plane. Handily, if one of the points has intersected the plane and the other hasn’t, their signs are opposite and multiplying them together results in a negative number. The next step was to calculate the tangent point on the plane using the normal, dot products, and direction of our previously calculated distance. Finally, I assembled the correction vector, adjusted slightly by SURFACE_OFFSET and accounting for friction, to return a point slightly above the plane so that the cloth can rest on top of it without clipping through.
I was able to get the mesh to sit nice and flush against the plane, with no significant flickering and not clipping through the bounds at all.
It is somewhat easier to see how manipulating the parameters changes the behavior of the cloth now that it can interact with objects.
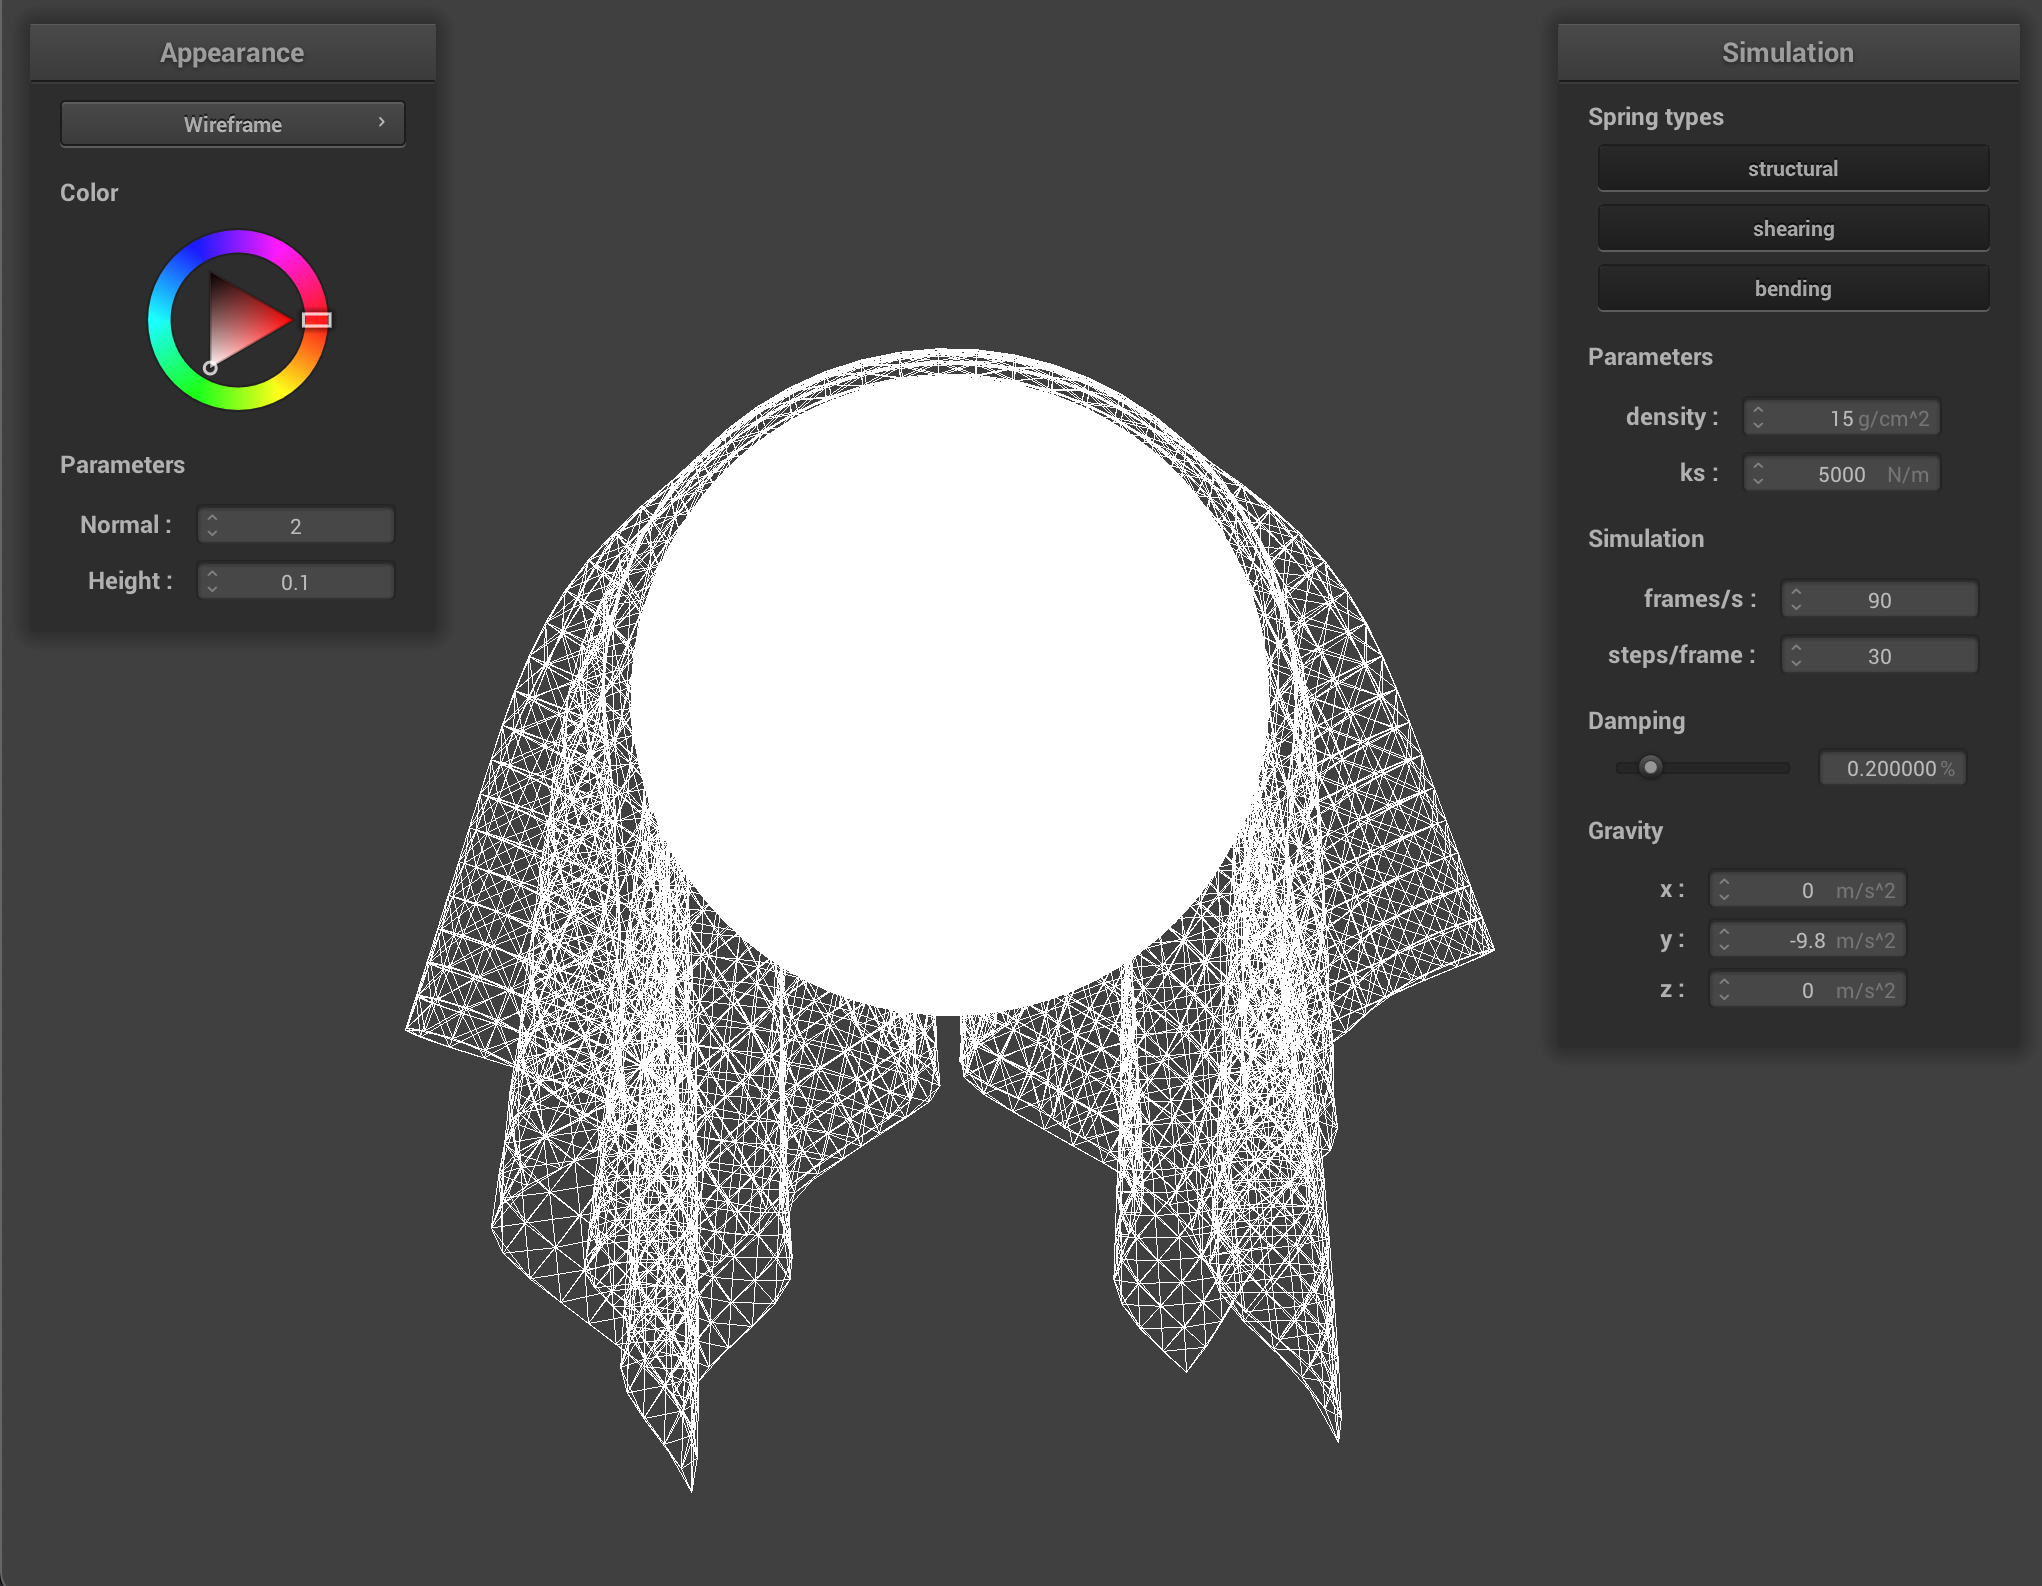
By changing the ks value, the cloth rests on the sphere differently. With a high ks, the cloth gets heavy and starts to slide off, not quite conforming to the sphere. With a low ks, the cloth has more give to it as the springs are more flexible.
Part 4: Handling Self-Collisions
For self-collisions, I handled the points where the cloth was coming into contact with itself by implementing a hash map. Point-masses that were mapped to the same bin in the hash-map were in very close proximity, so I could calculate whether they needed their change in position needed to be corrected. I chose a polynomial hash function with prime coefficients. To calculate whether the point-masses were going to collide, I checked to see if the distance between them was less than twice the thickness of the cloth, and if it was, I corrected it to be exactly double the thickness. This way, the cloth can’t pass through itself.
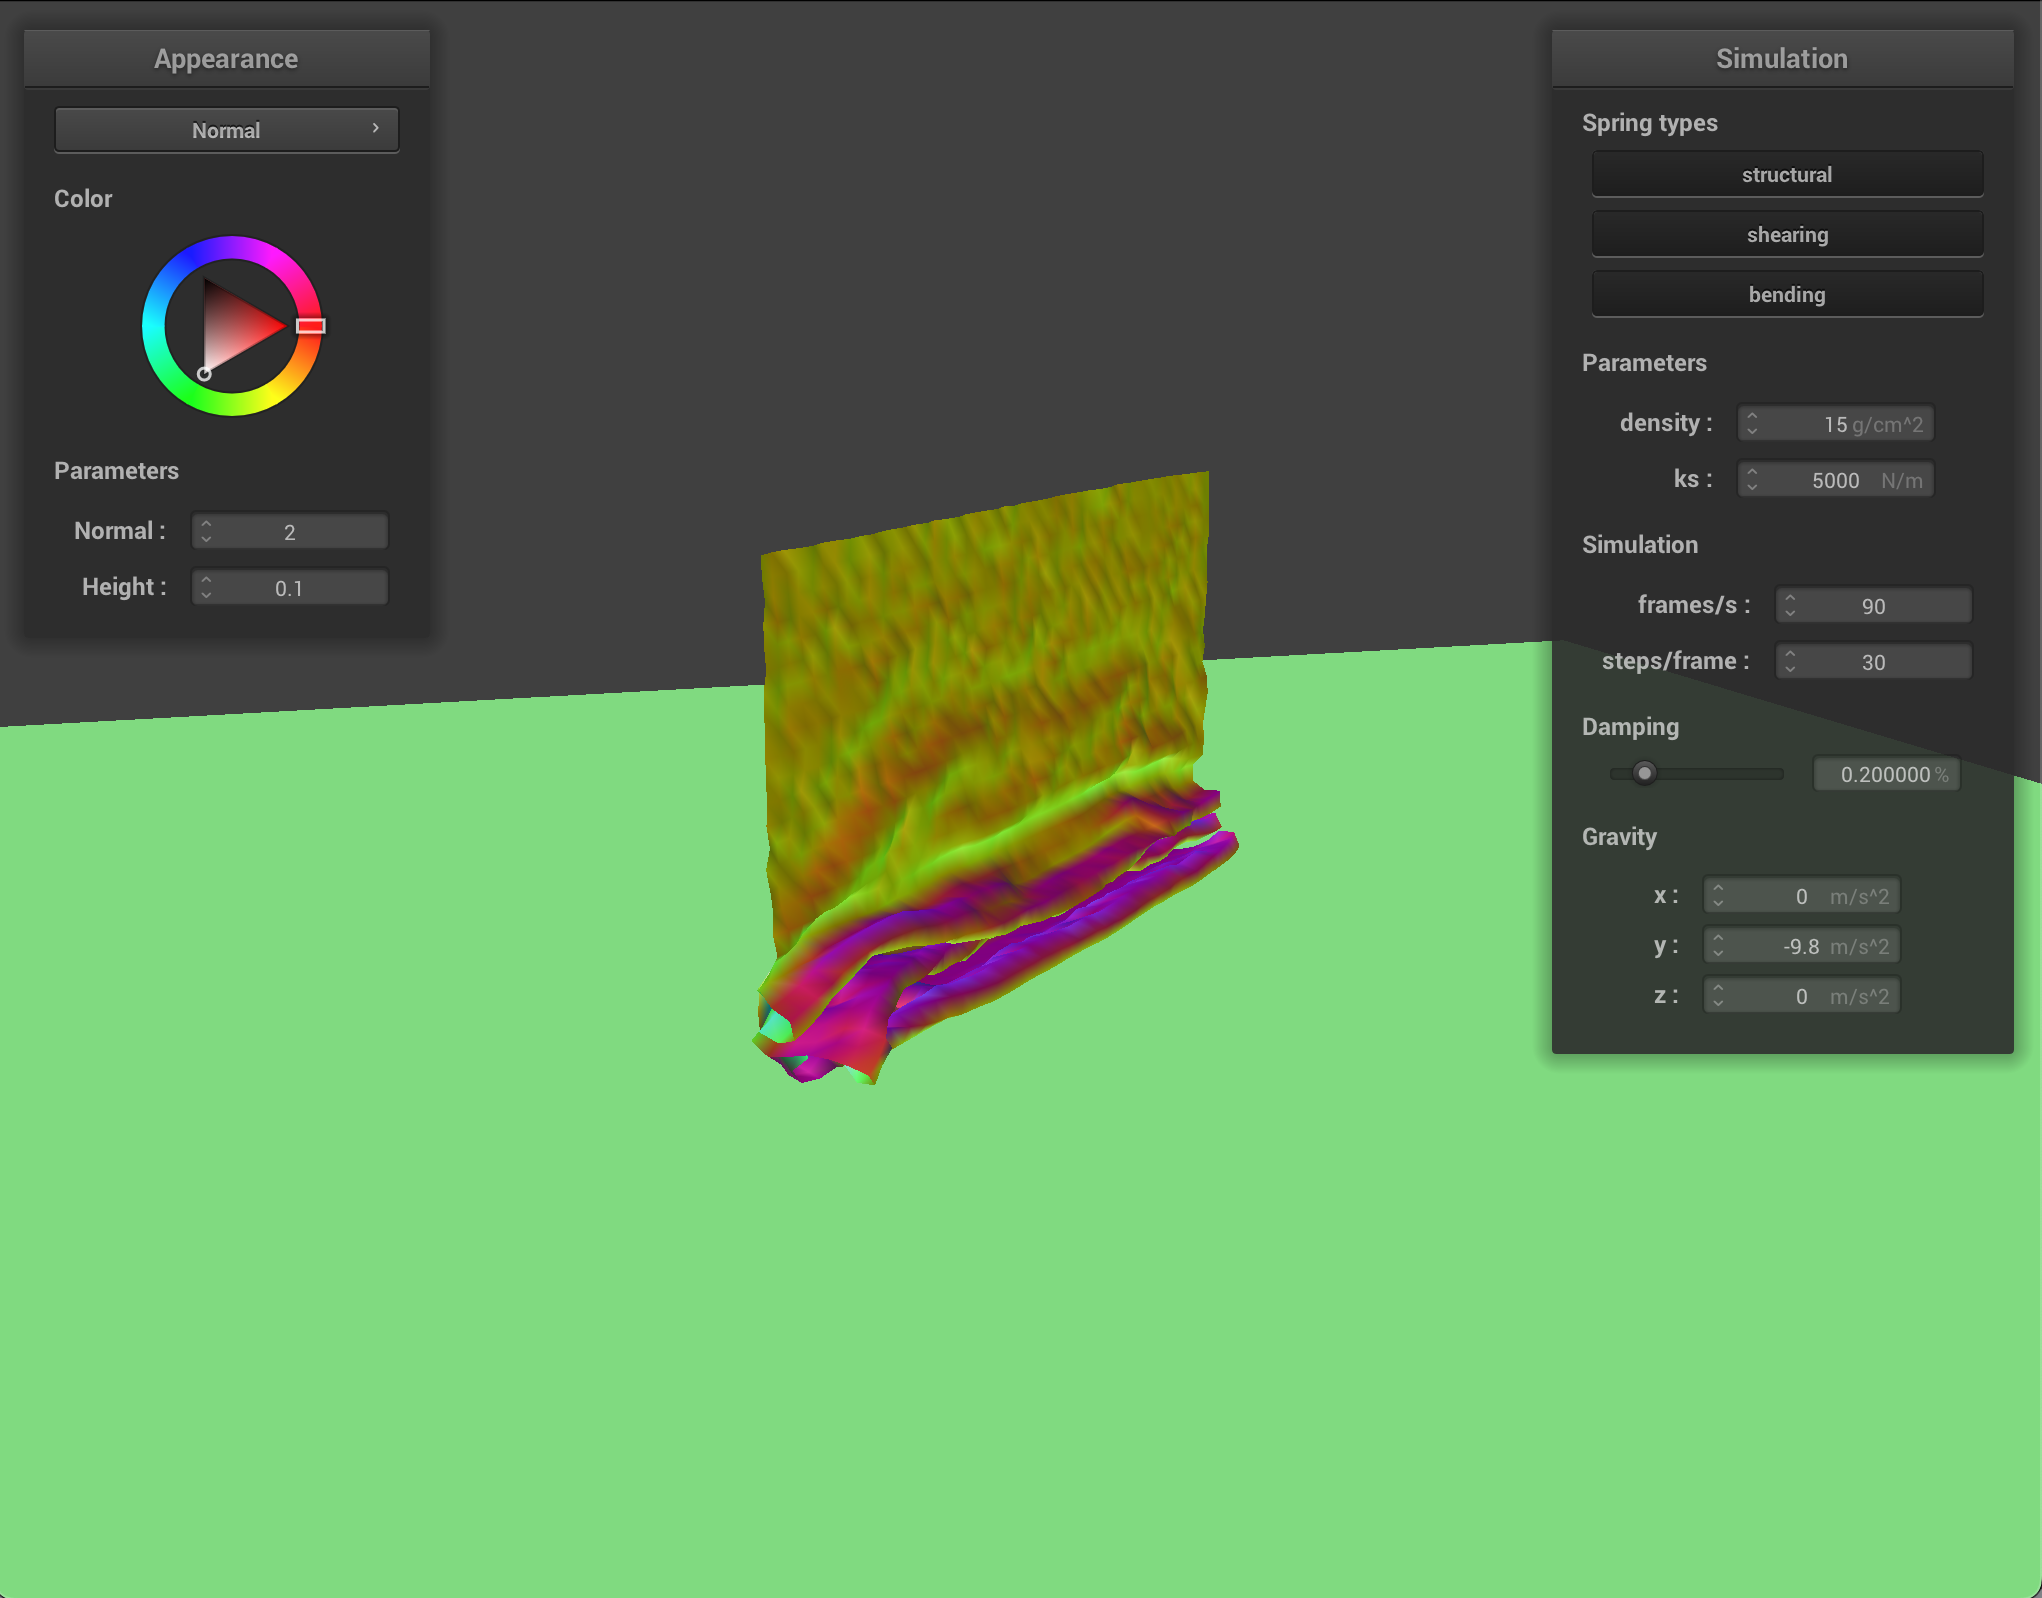
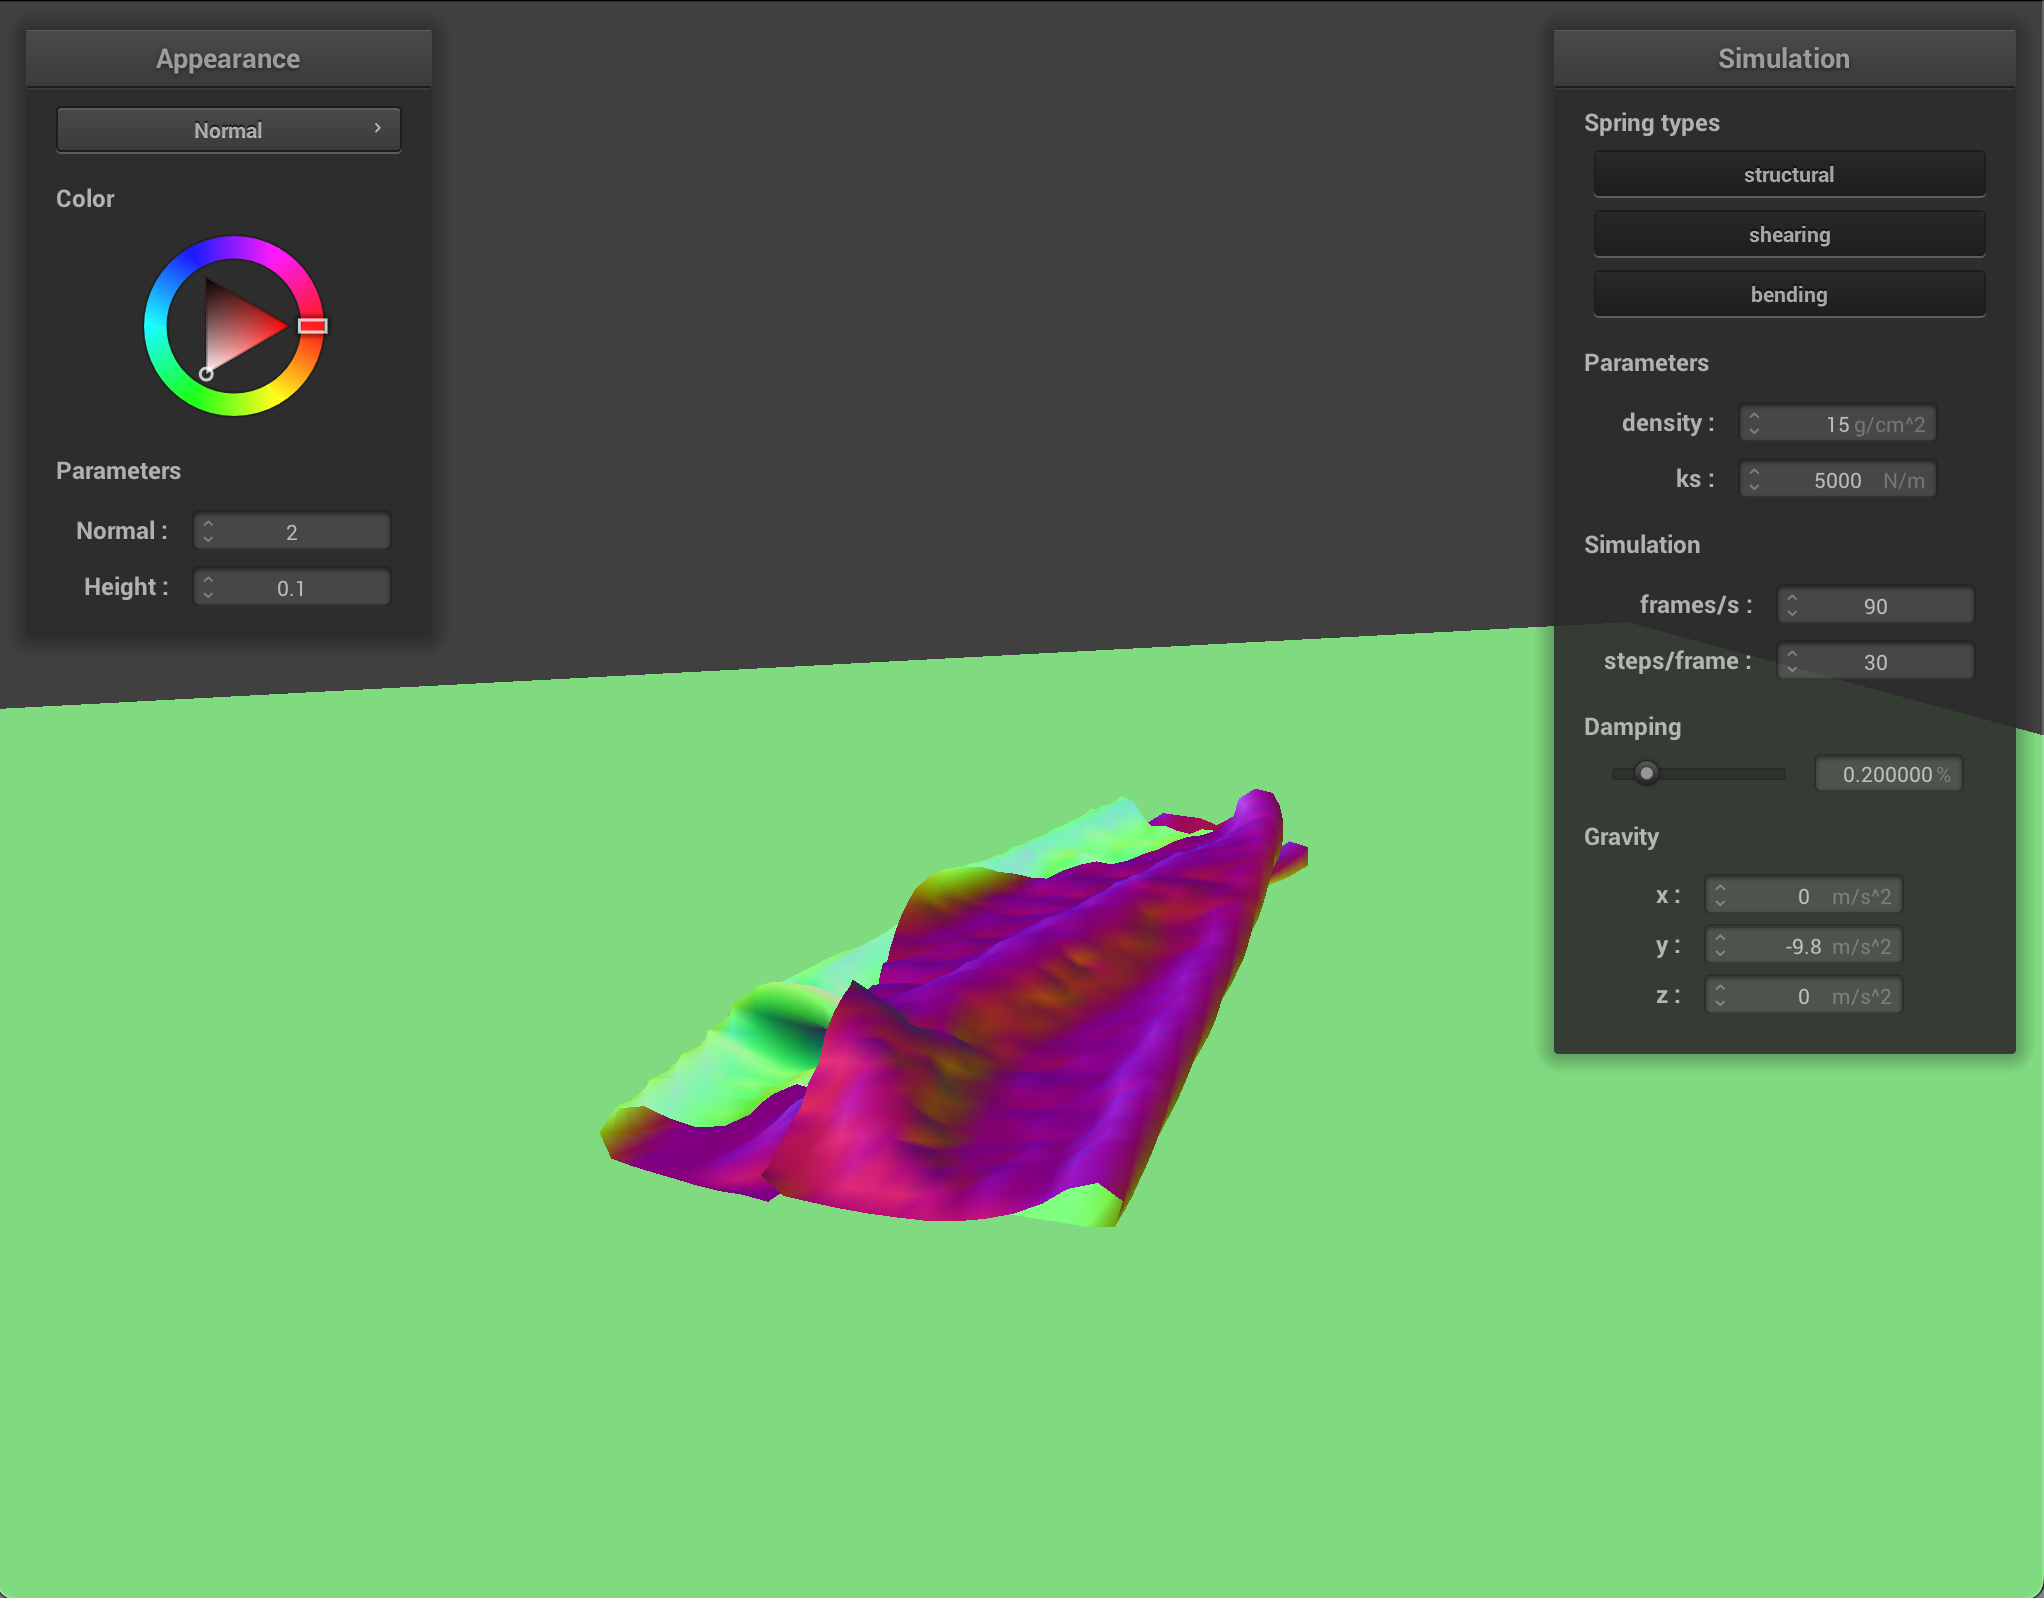
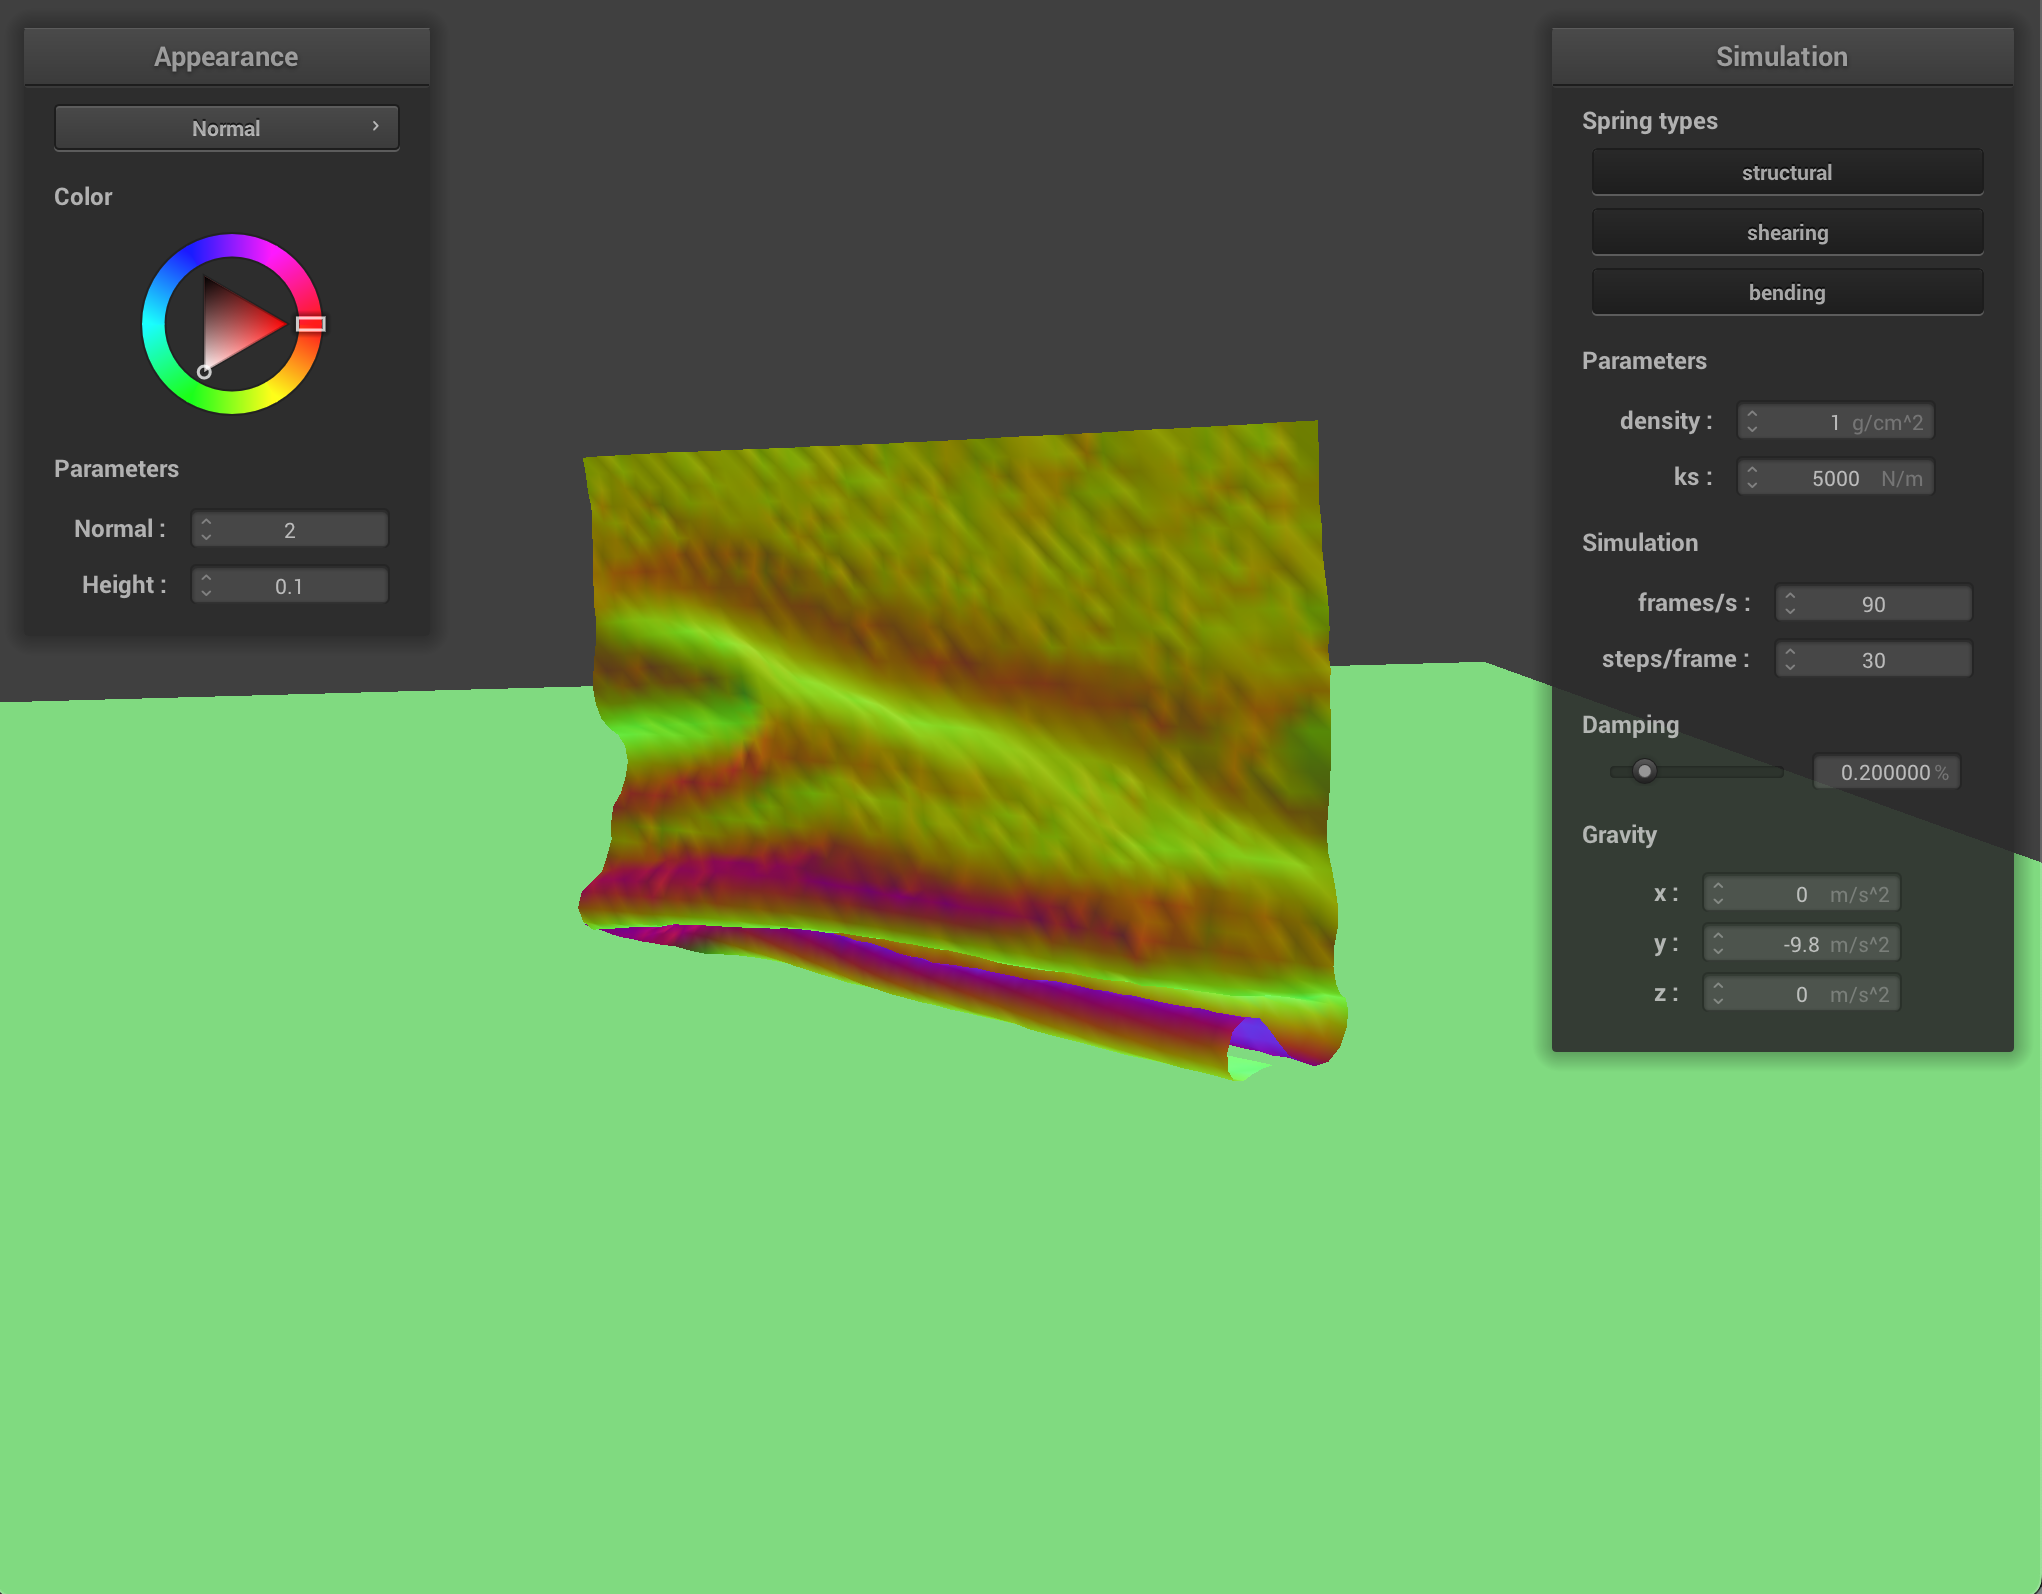
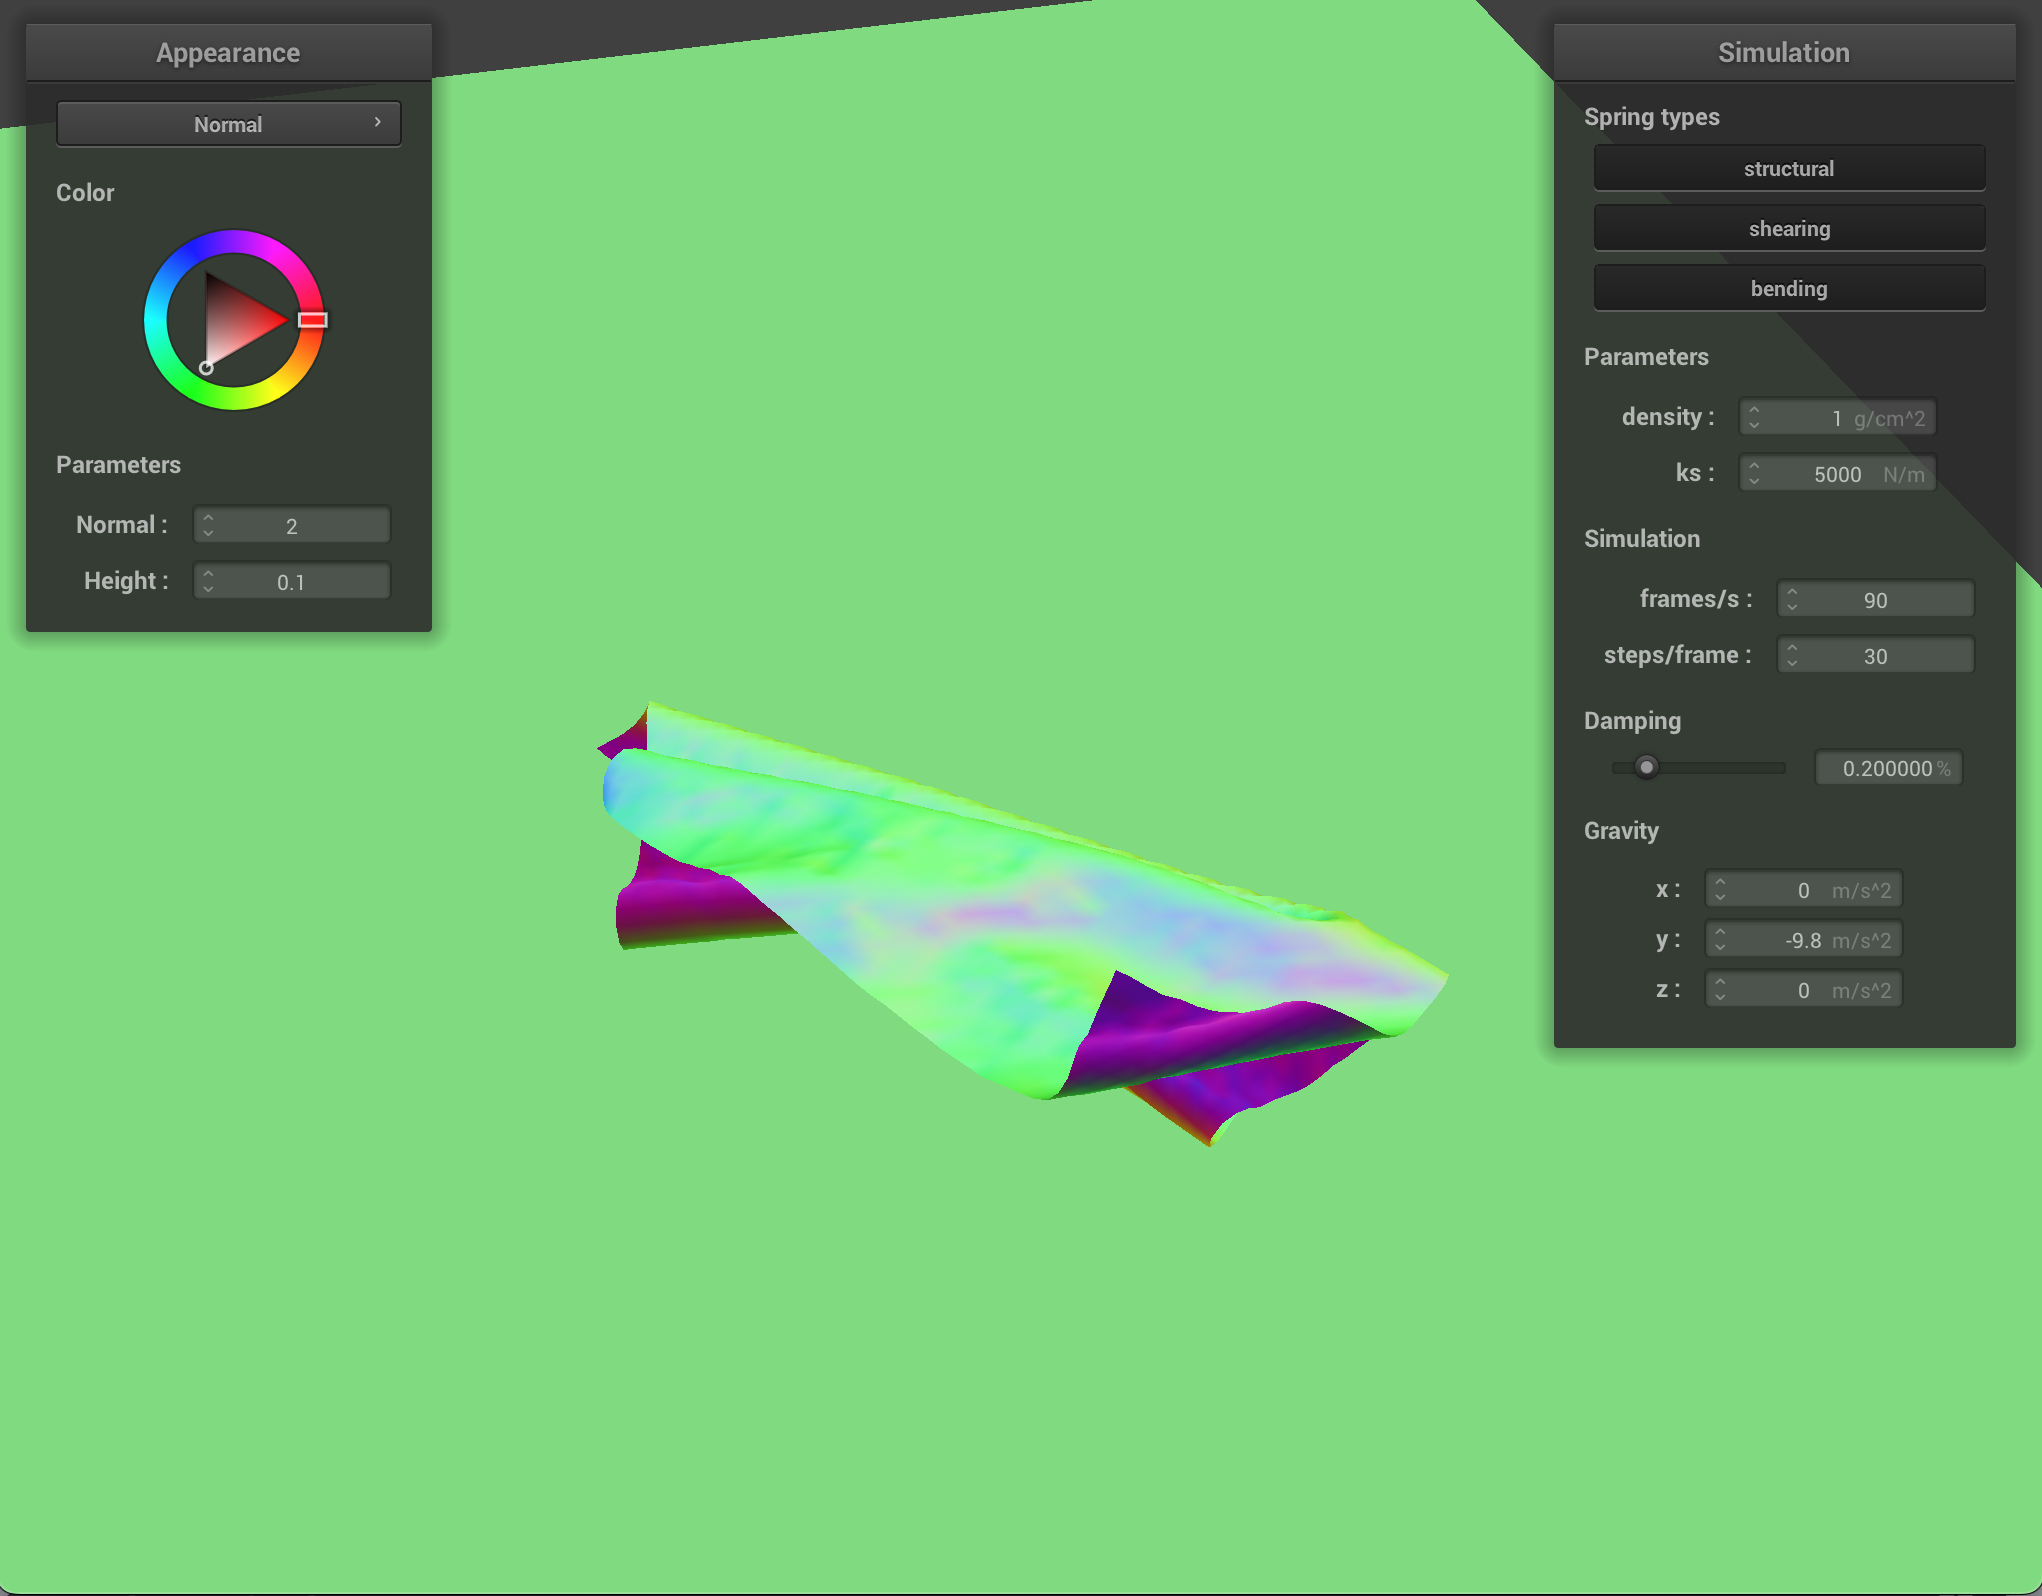
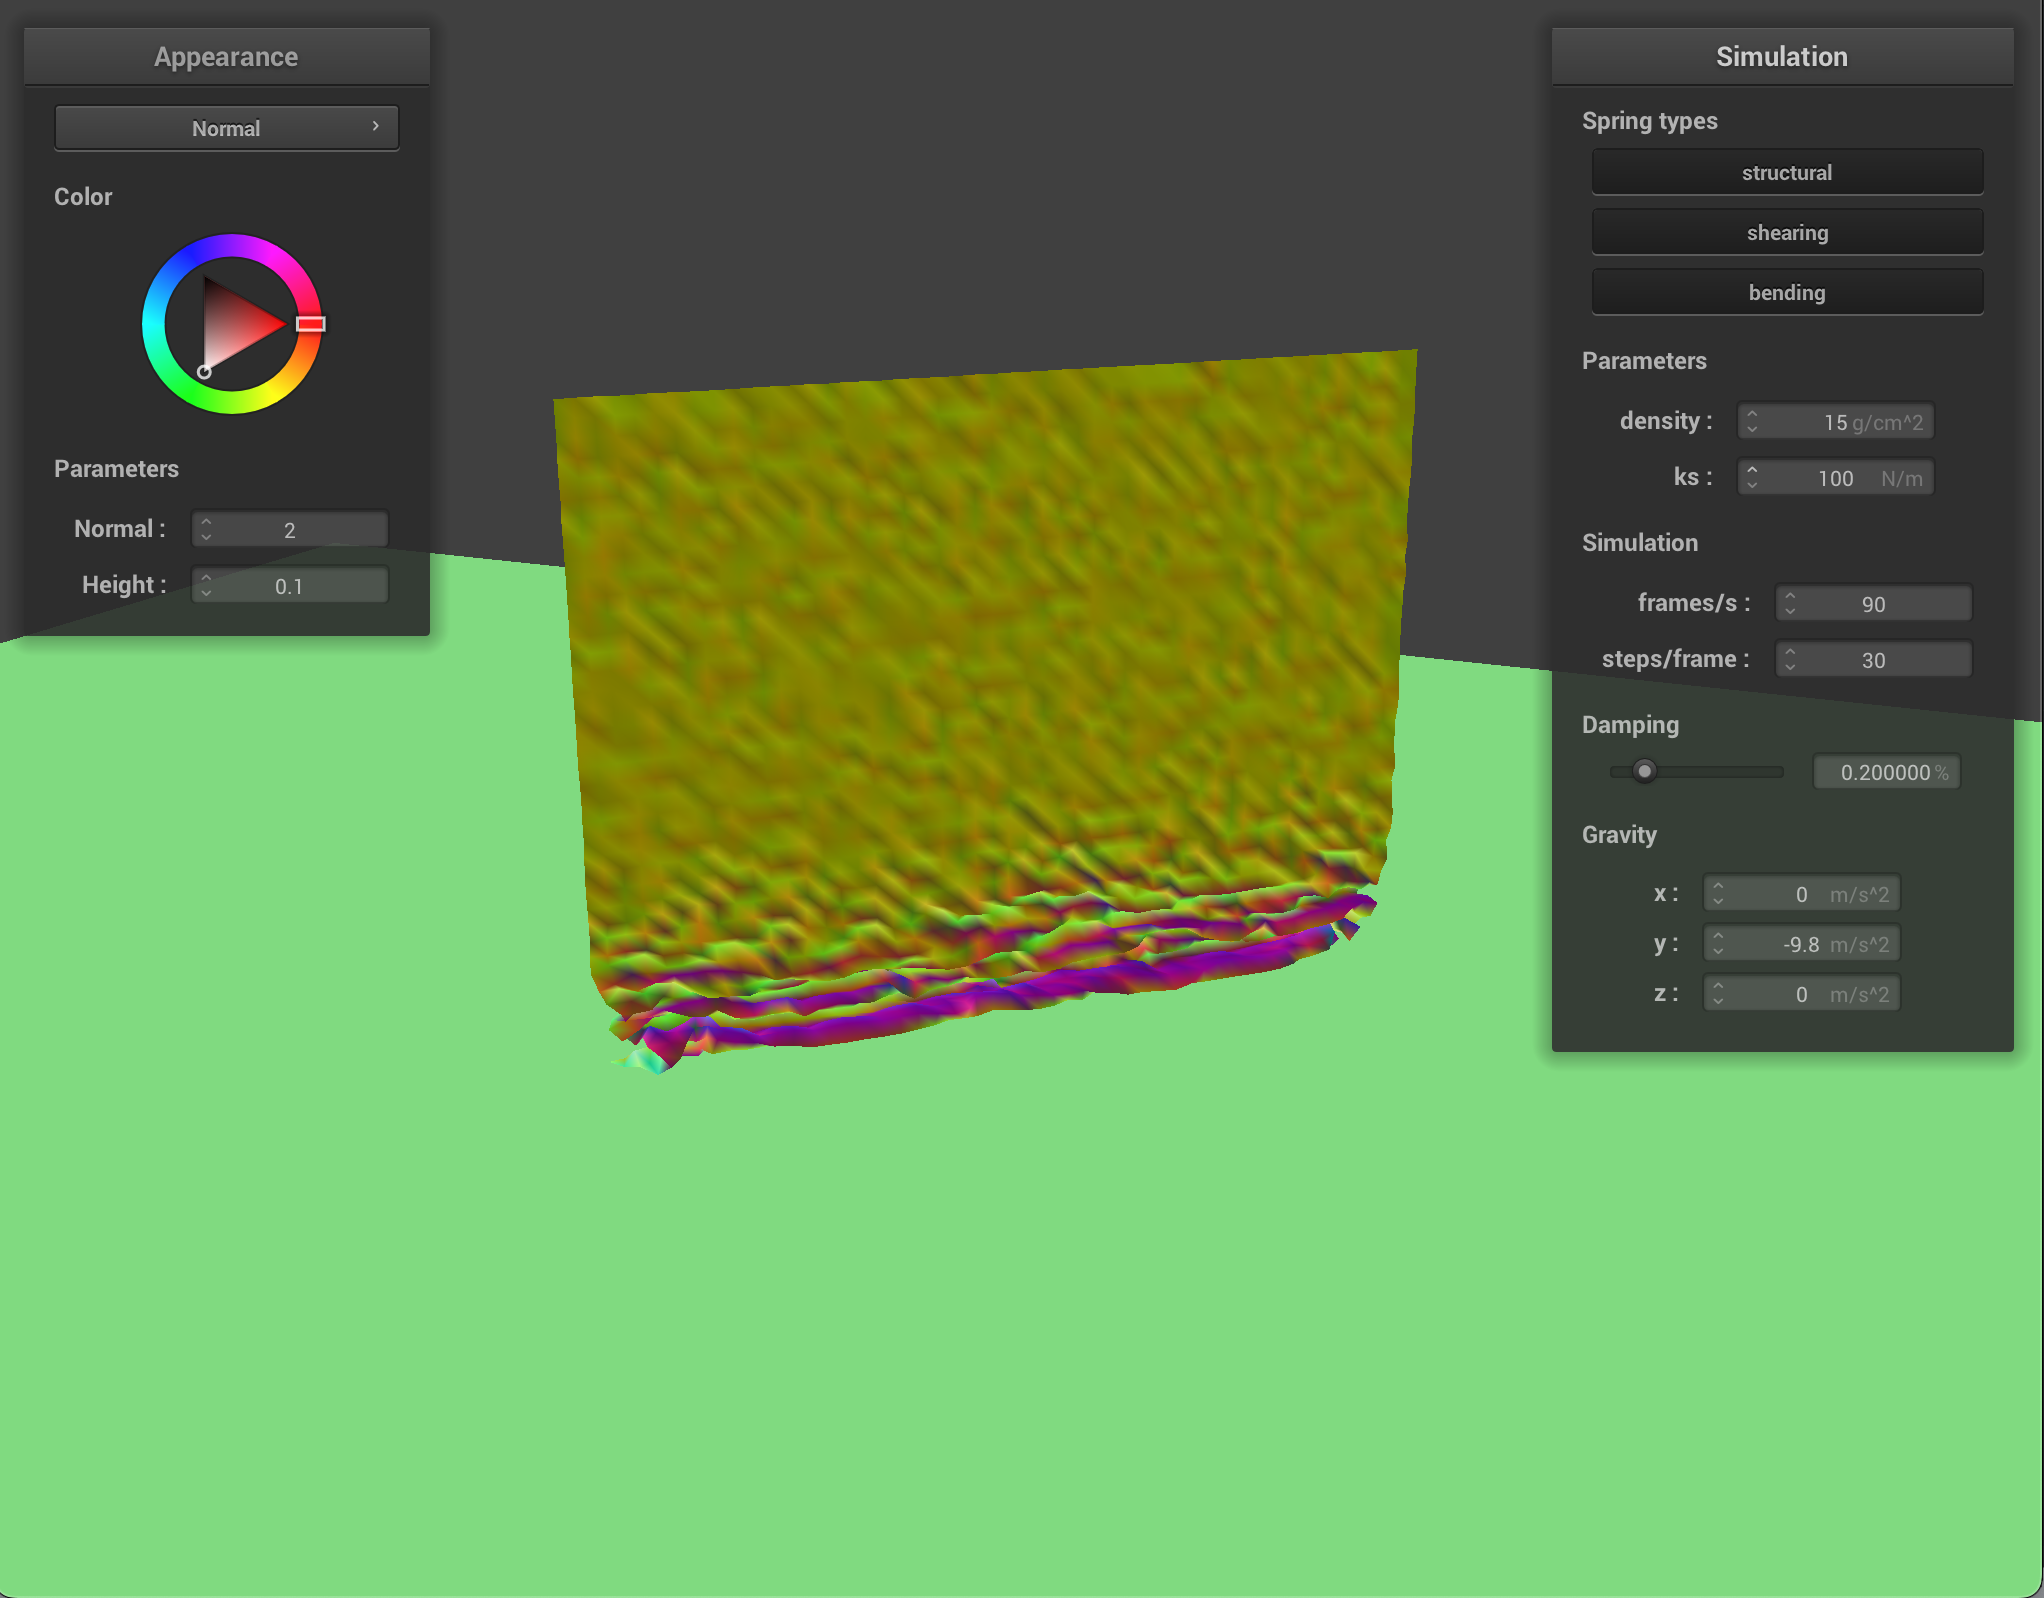
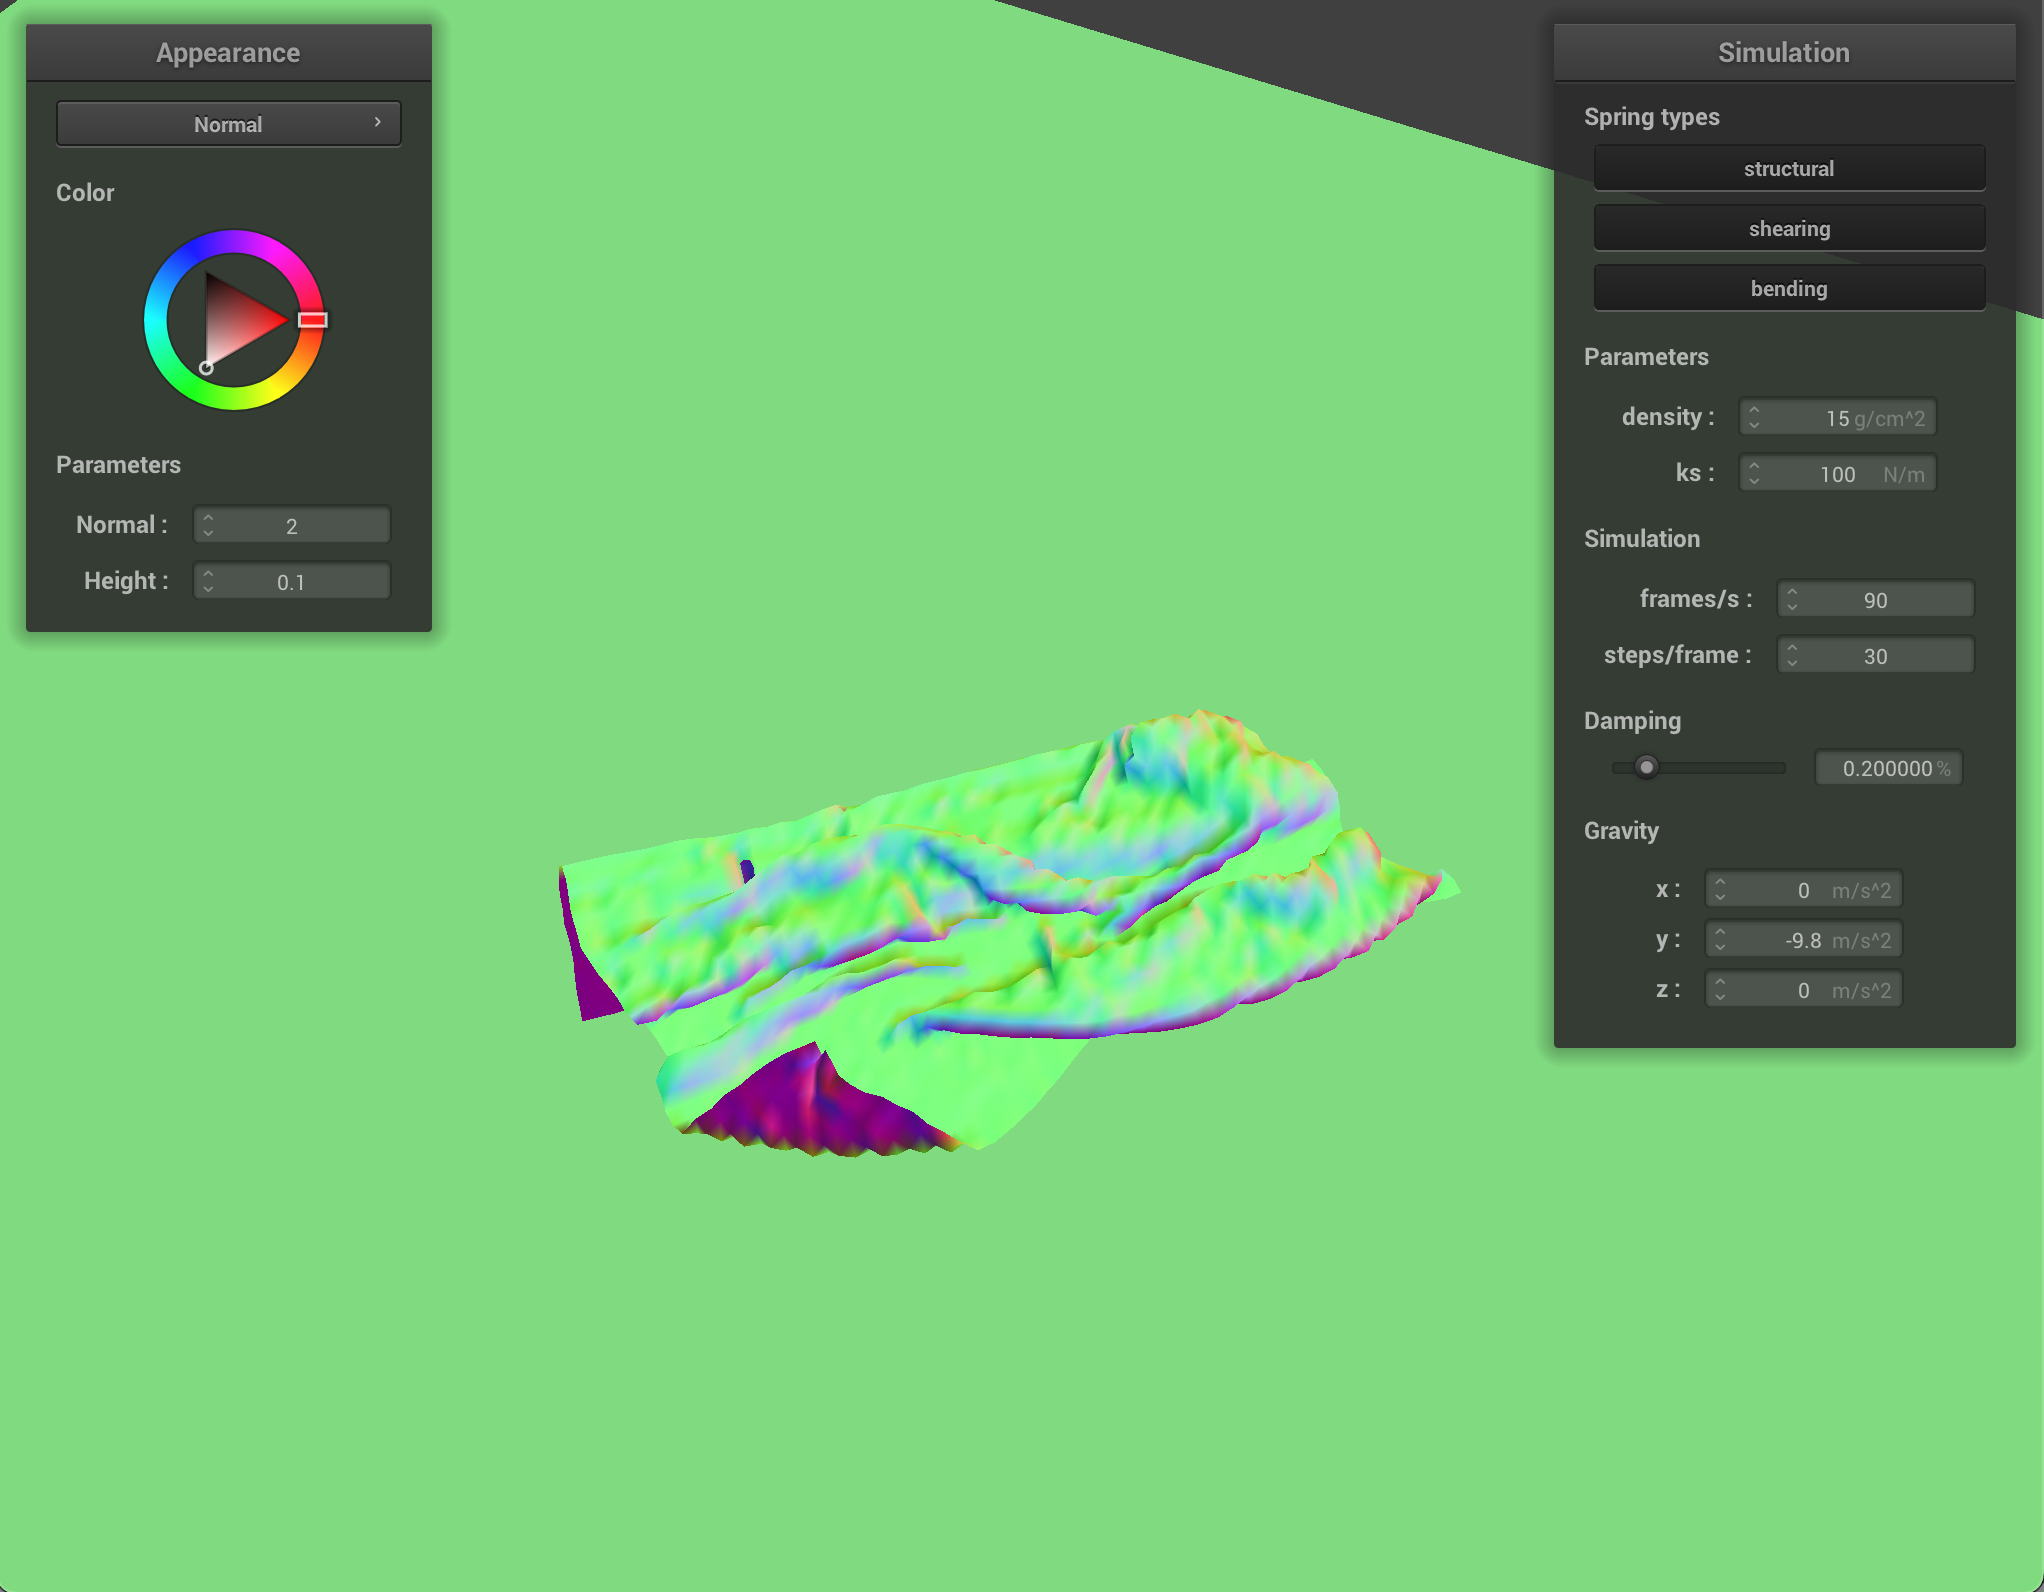
- Show us at least 3 screenshots that document how your cloth falls and folds on itself, starting with an early, initial self-collision and ending with the cloth at a more restful state (even if it is still slightly bouncy on the ground).
As with other parts, varying the parameters alters how the cloth behaves. Density alters how much the cloth folds in on itself. With a low density, the quality of the cloth is less textured and folds on itself in loose, large swaths. With a high density, however the cloth has many tiny folds.
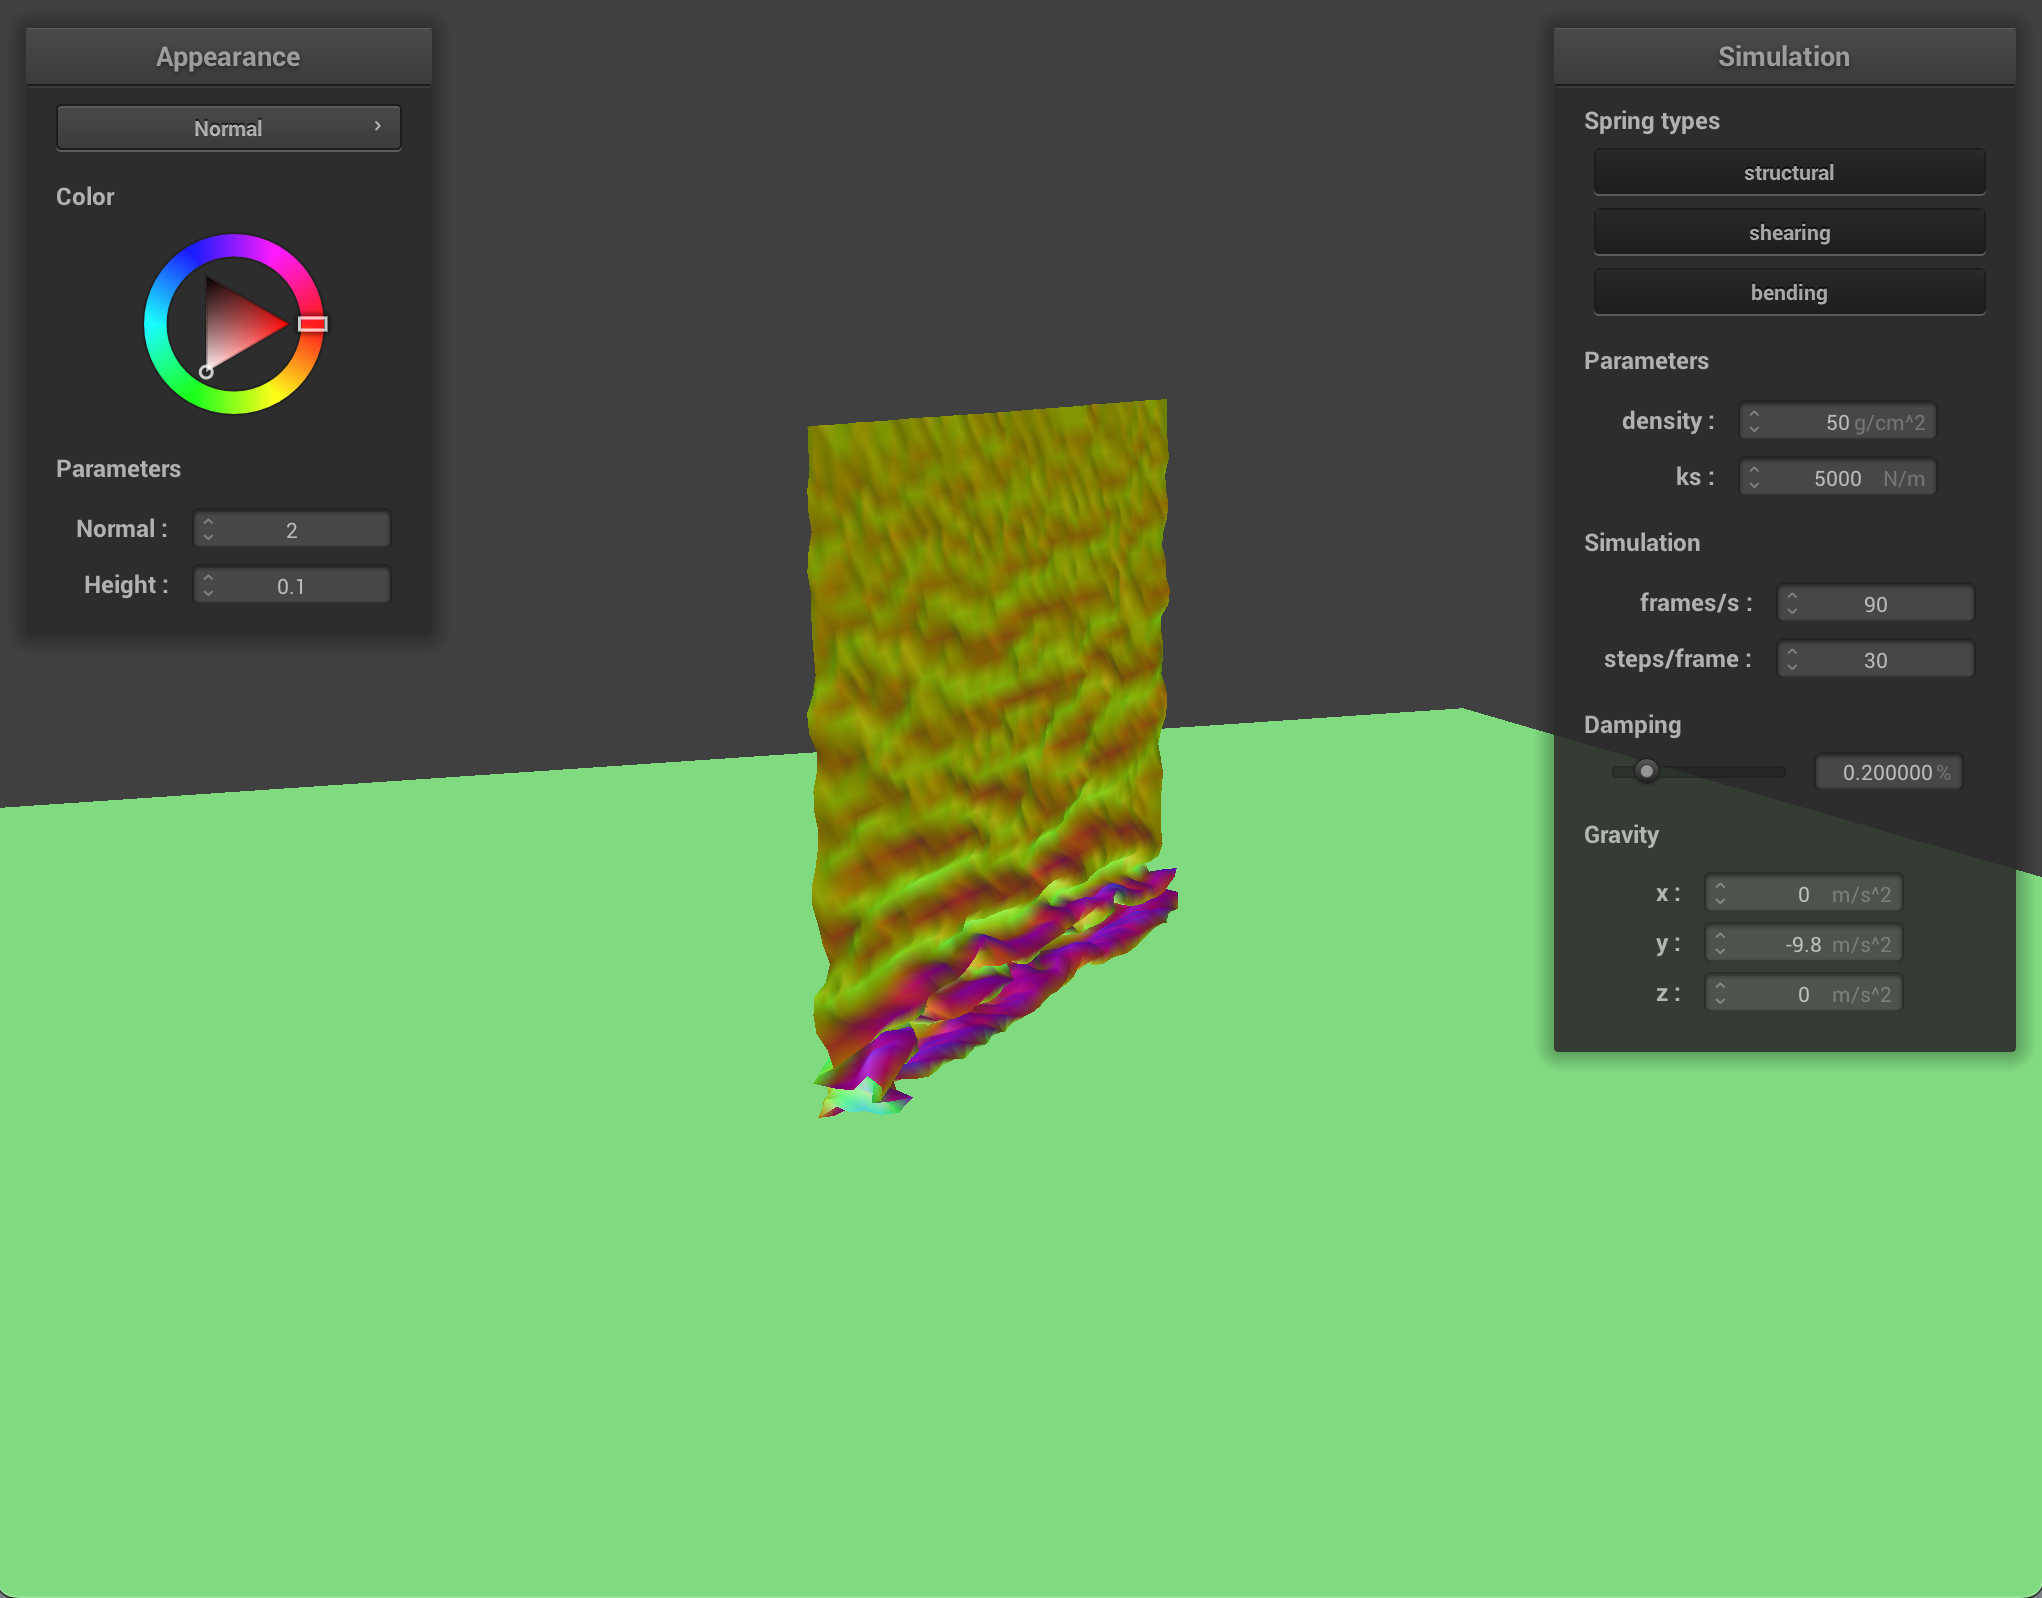
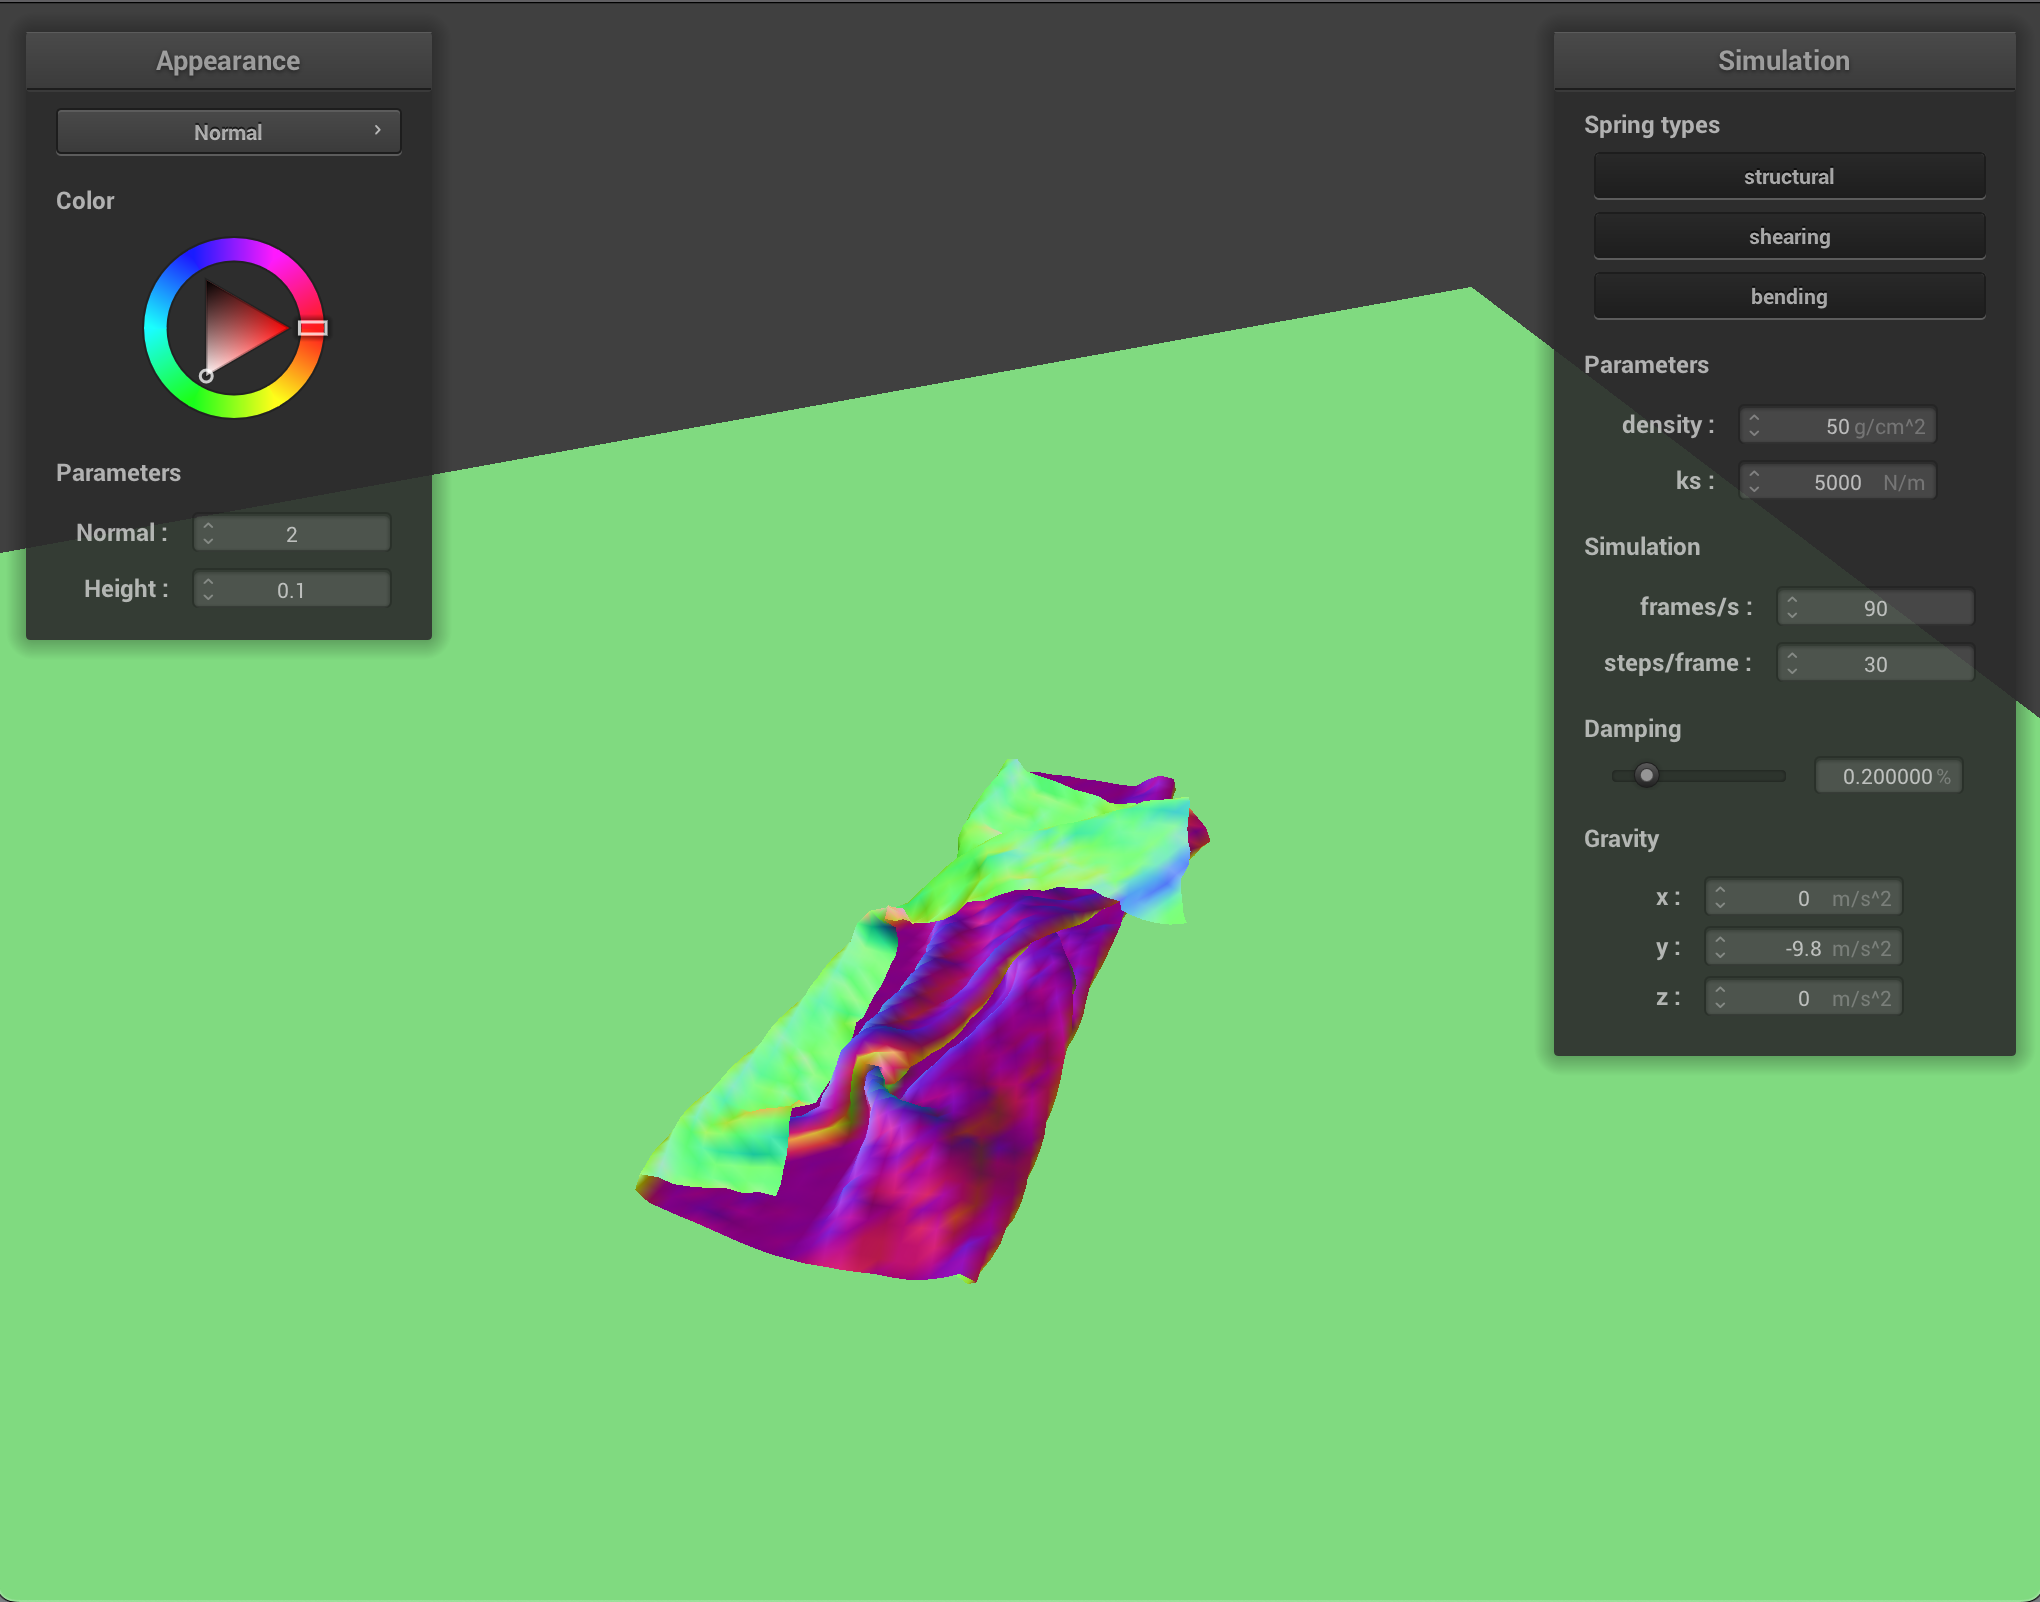
With a low ks, the cloth reacts to itself much more, with a lot of small folds. At rest, it rests in more of a clump, with lots of folds, whereas with a high ks, the cloth has more of a structure it maintains even as it folds in on itself. At rest with high ks, the cloth lays mostly flat and smooth.
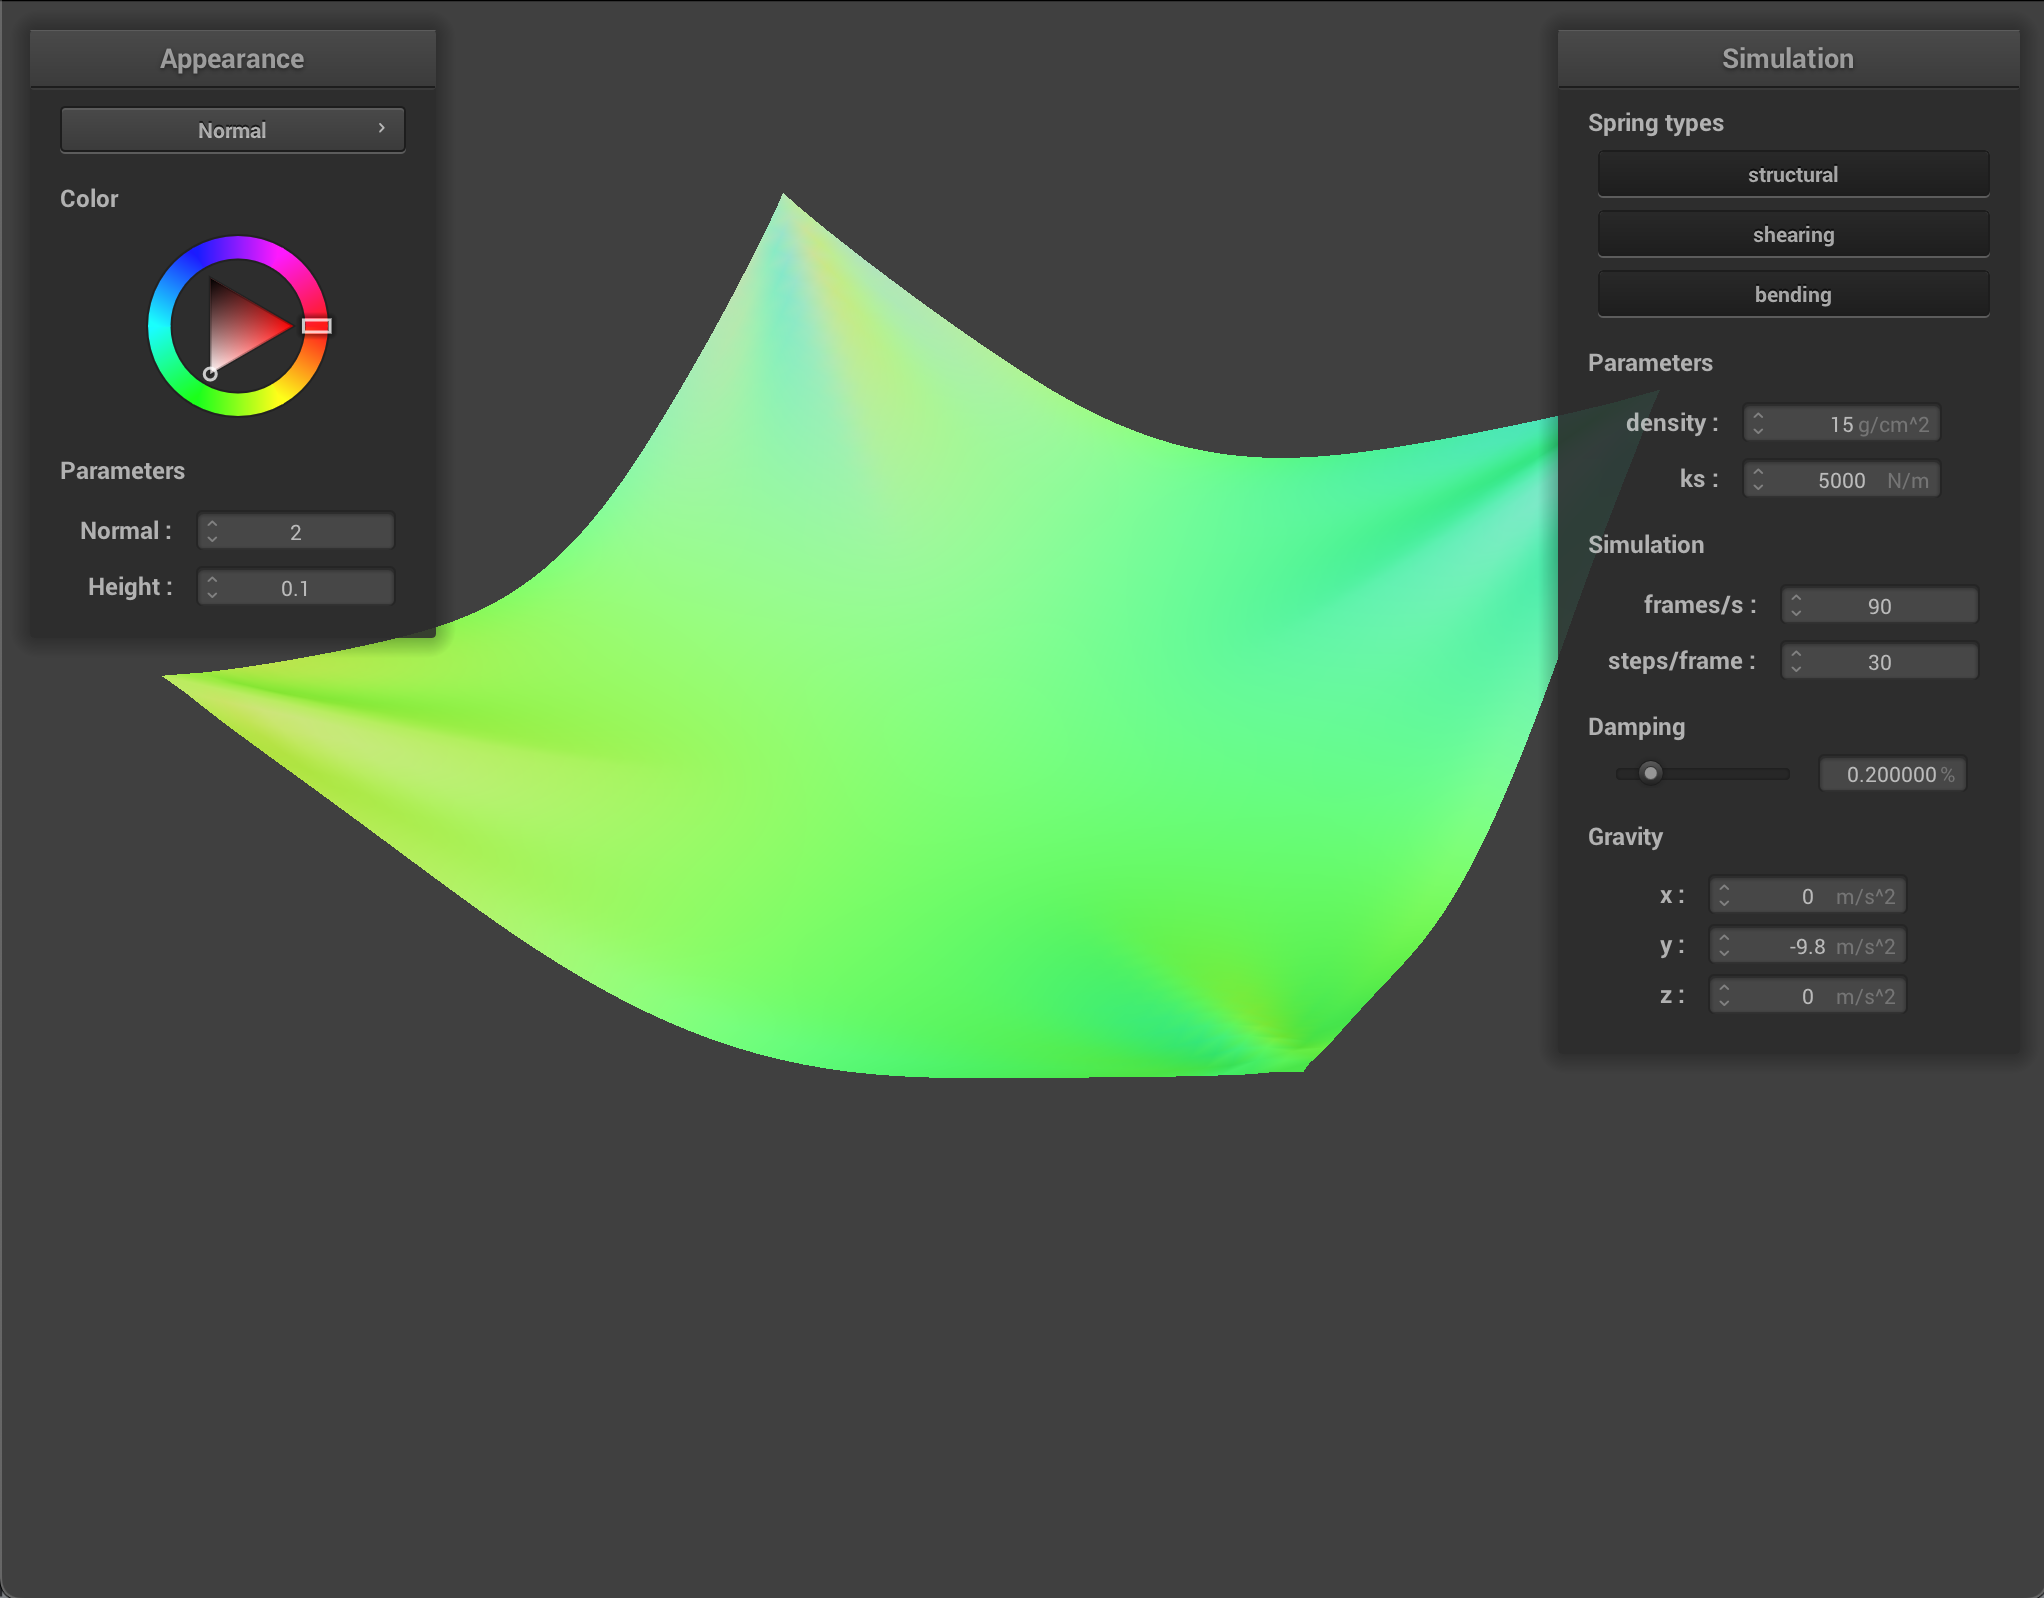
Part 5: Shaders
For the final part of the project I implemented shaders in GLSL. Shaders are separate files from your main program that handle specific computations related to just one section of the path from an input vertex to the output vertex in parallel to other computations. For example, there can be separate calculations for the effects of different sources of lighting in one or several shader files and the actual texture and texture’s response to the light in another shader file. Vertex shaders affect the actual physical location of the points on the object while fragment shaders alter color and light. With vertex shaders, you can simulate actual textures from a texture map by displacing points on your object according to the map. Shaders output just one vector so they are easy to use in conjunction with each other.
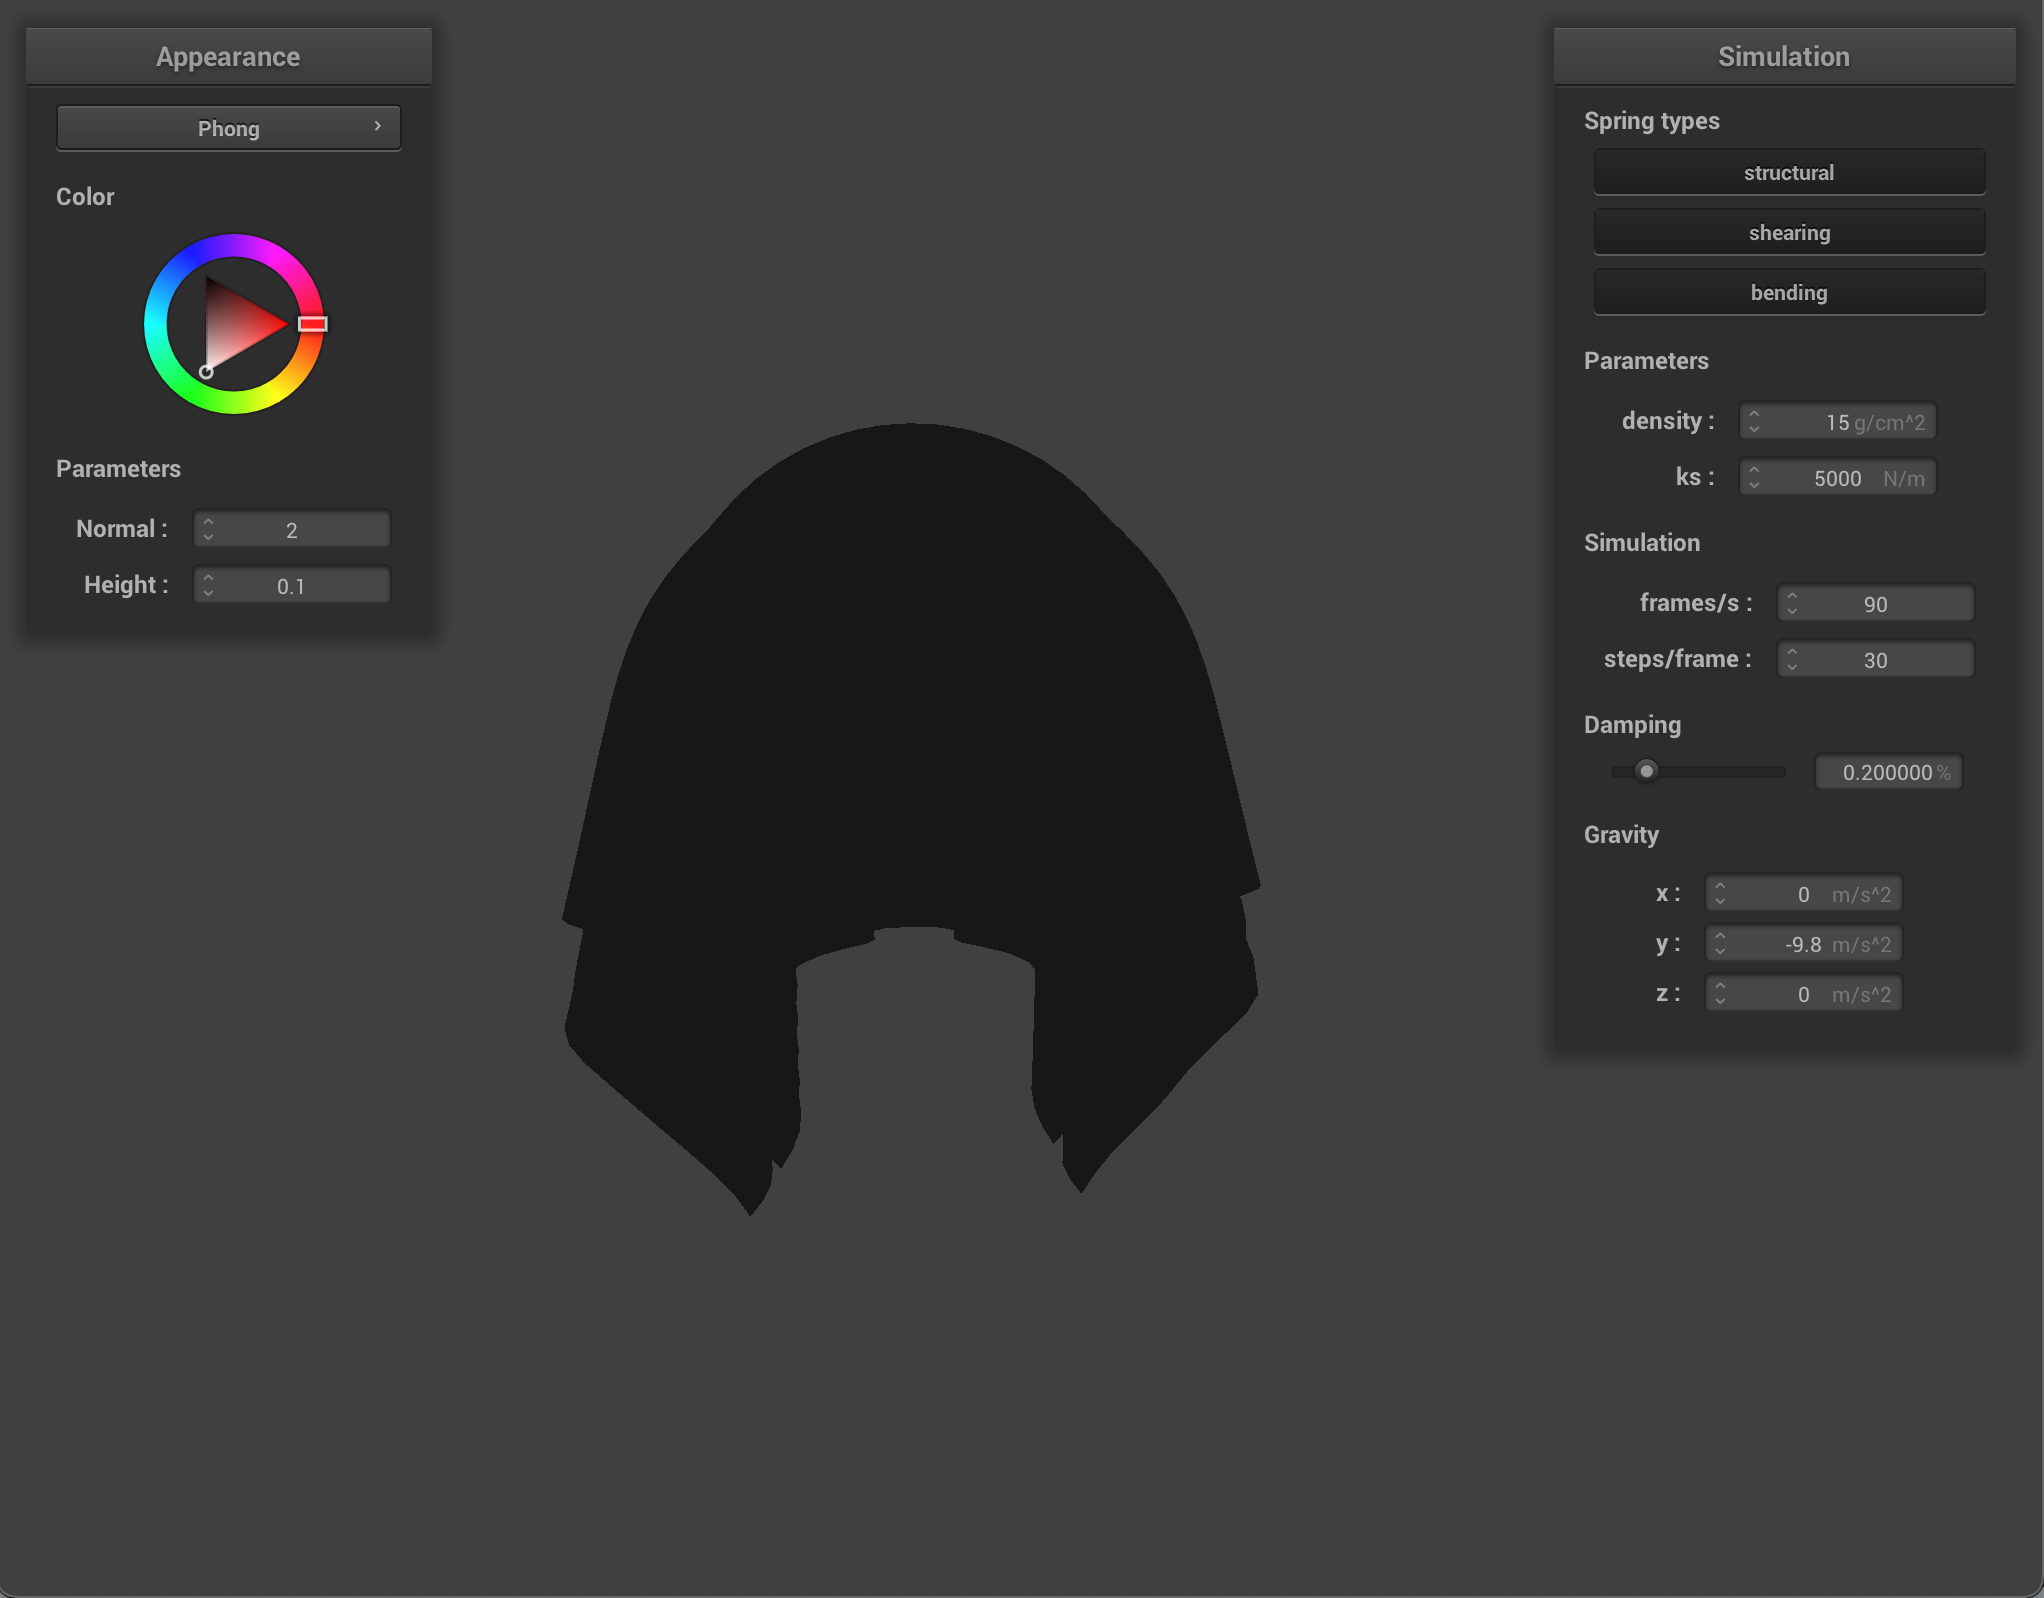
To handle the lighting aspect of all of the shaders used in this project, I used Blinn-Phong shading. Blinn-Phong shading takes into account diffuse lighting, ambient light, and specular lighting to create a more realistic reaction to light. You can alter the coefficients and weights of the Blinn-Phong model to simulate different materials and scenarios according to the results you desire. For example, with Blinn-Phong shading I was able to make my object look like it was wet or under very intense or very faint light depending on the parameters of the equation.
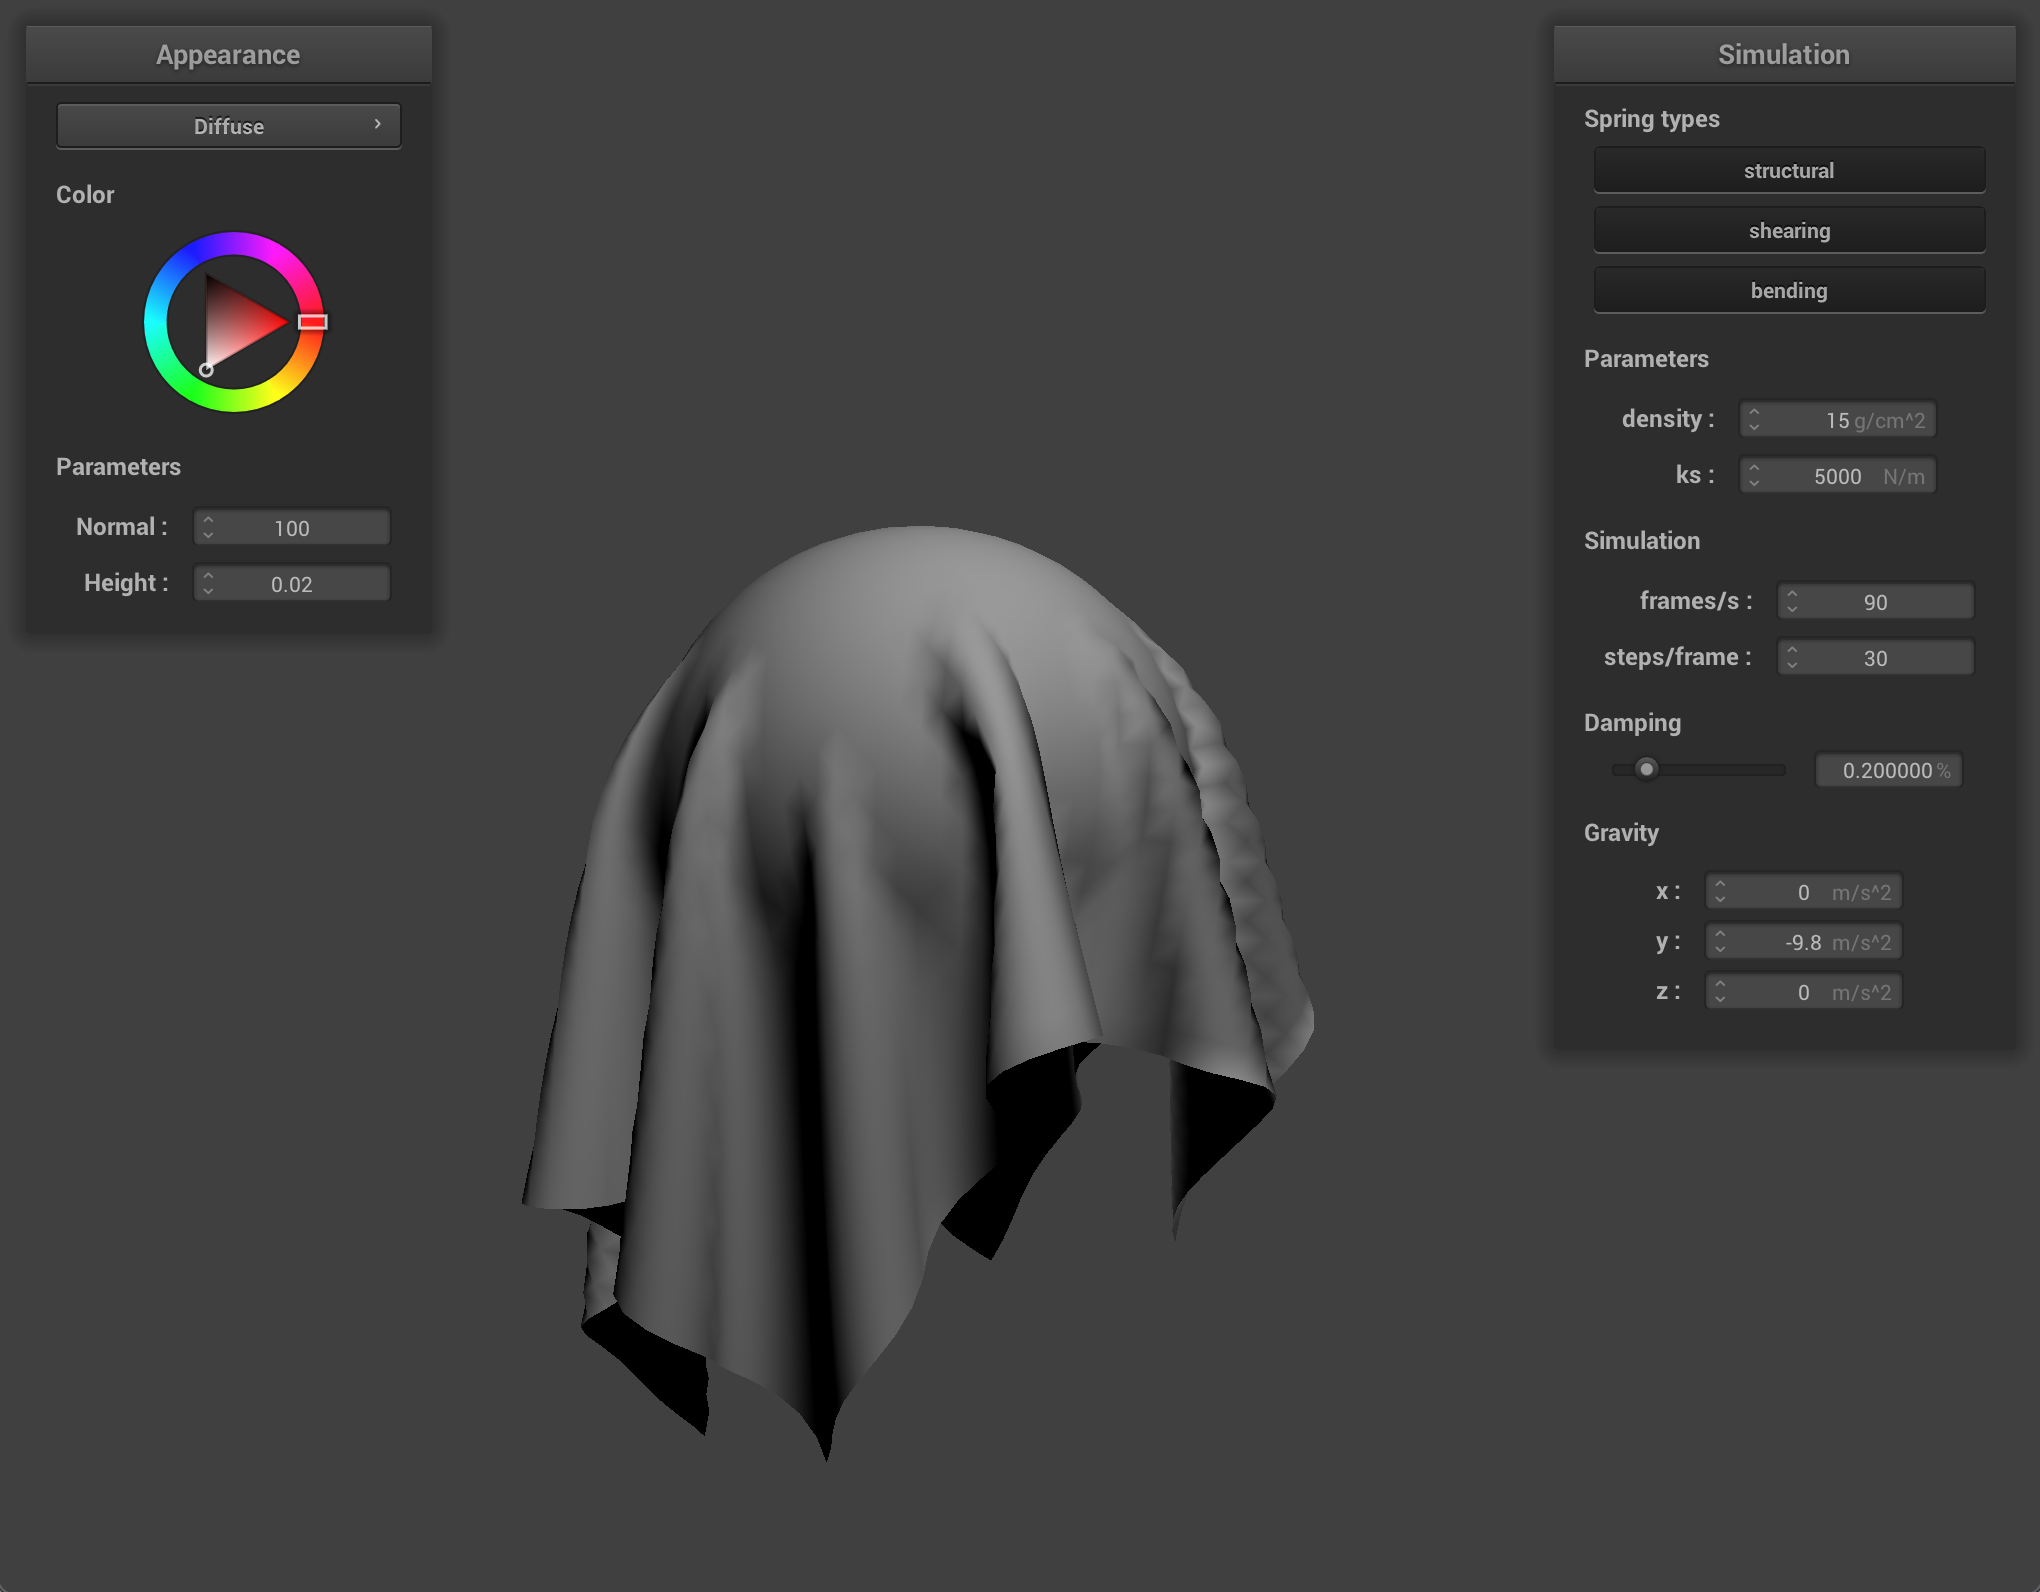
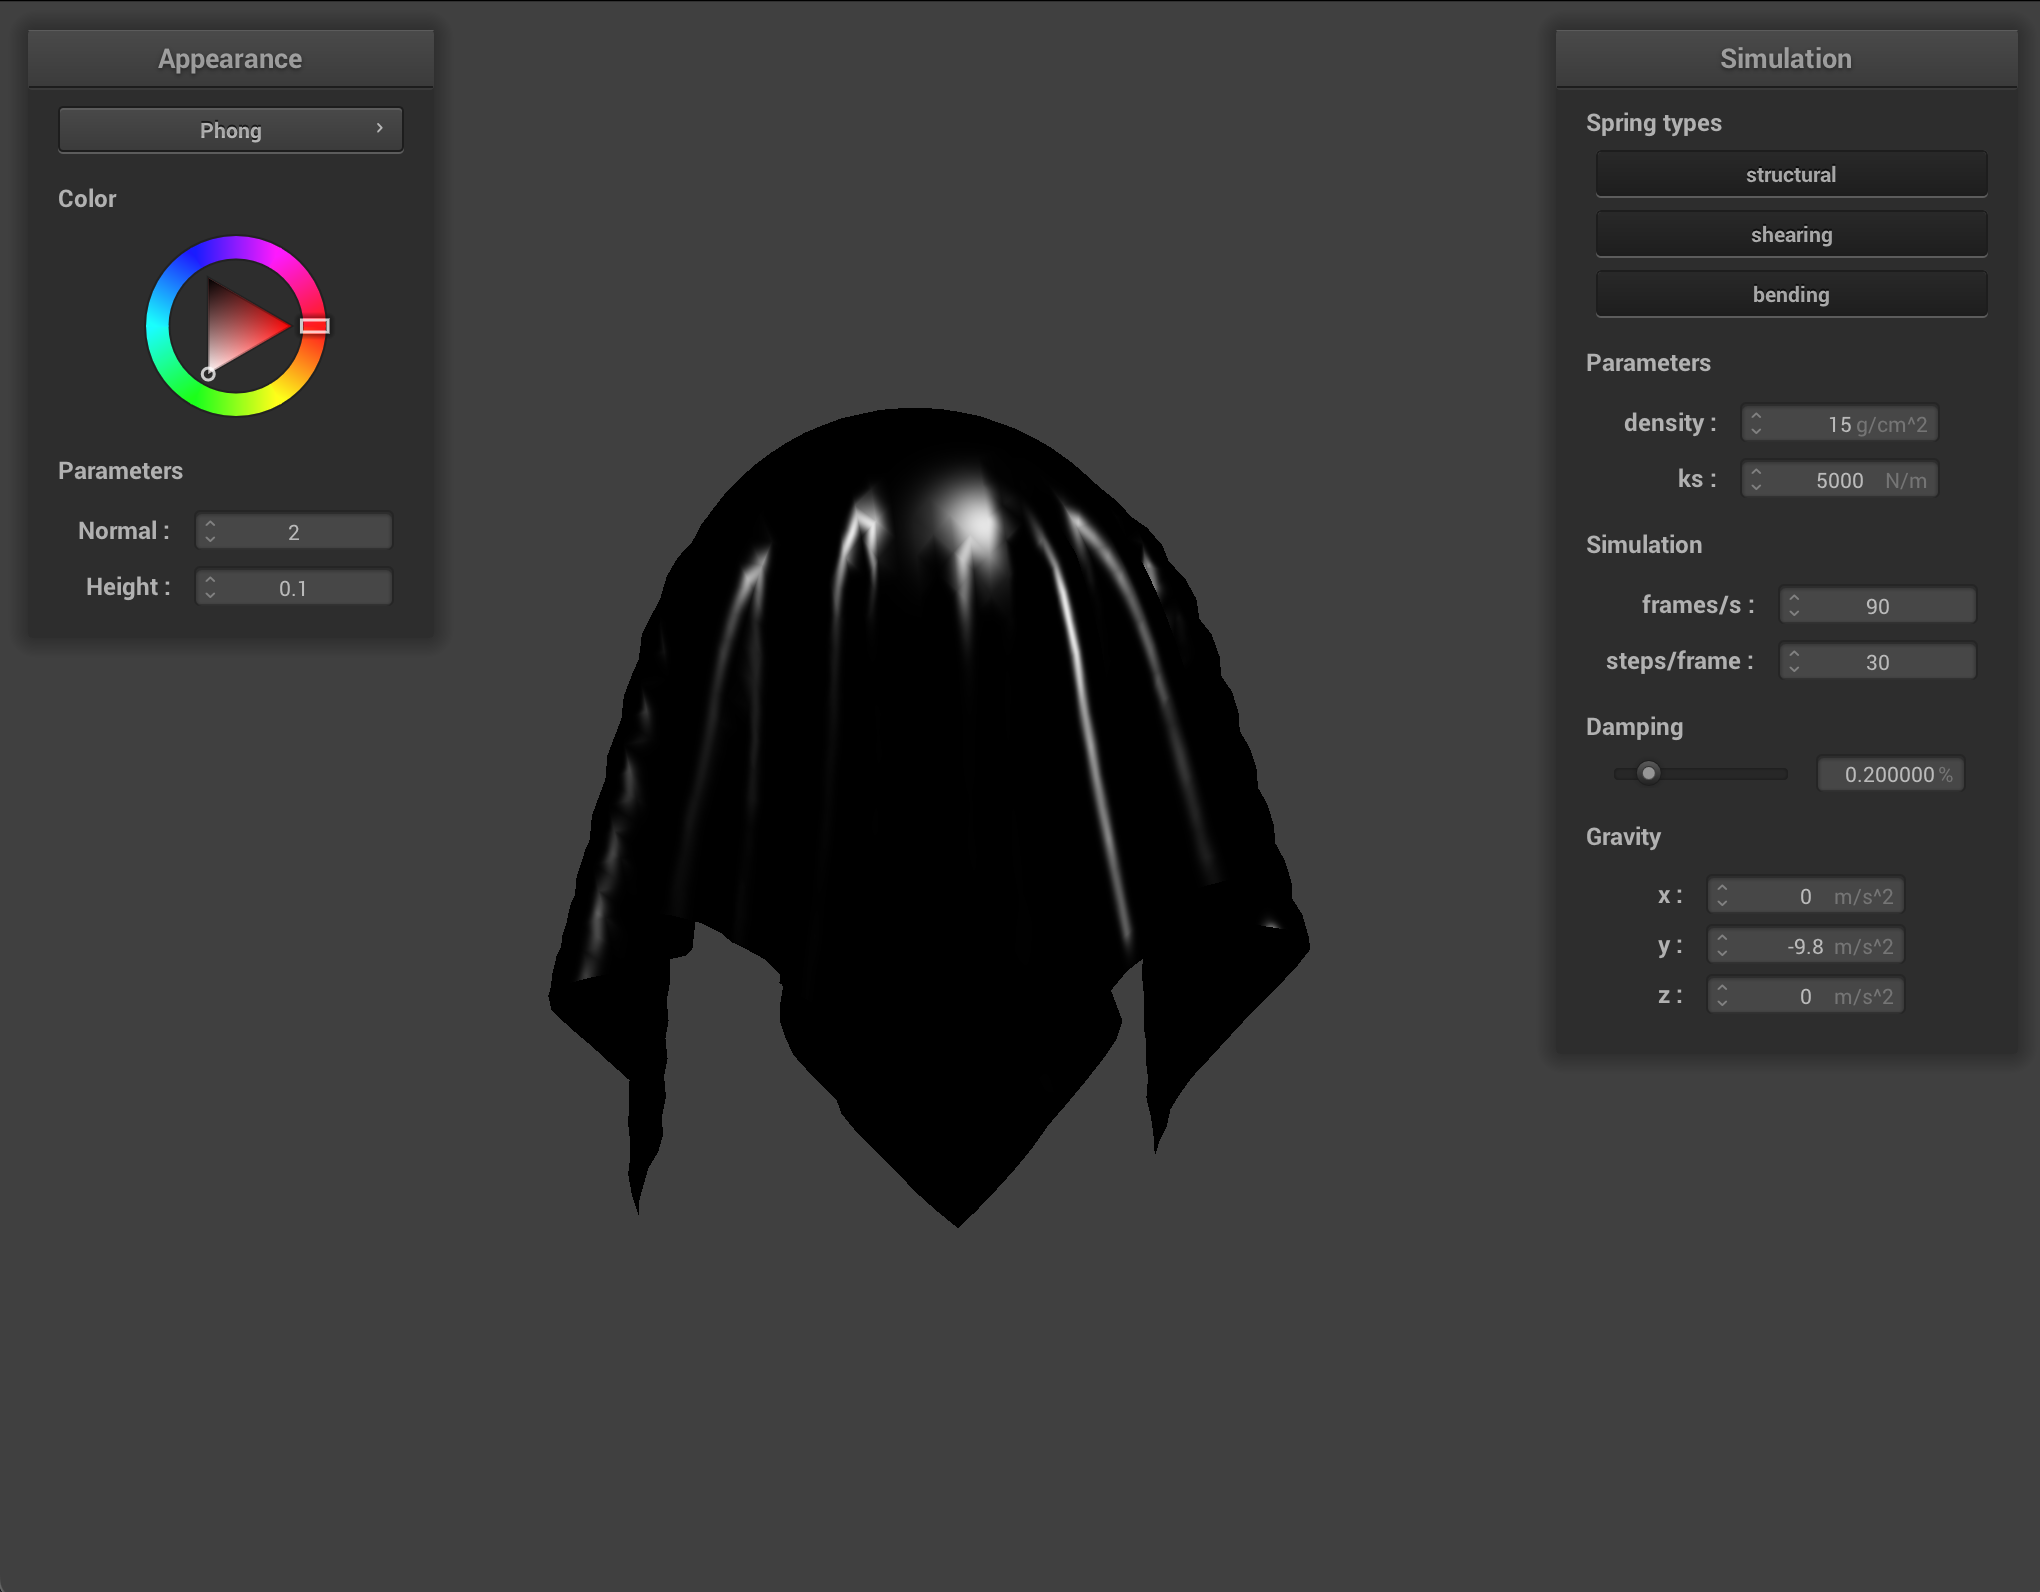
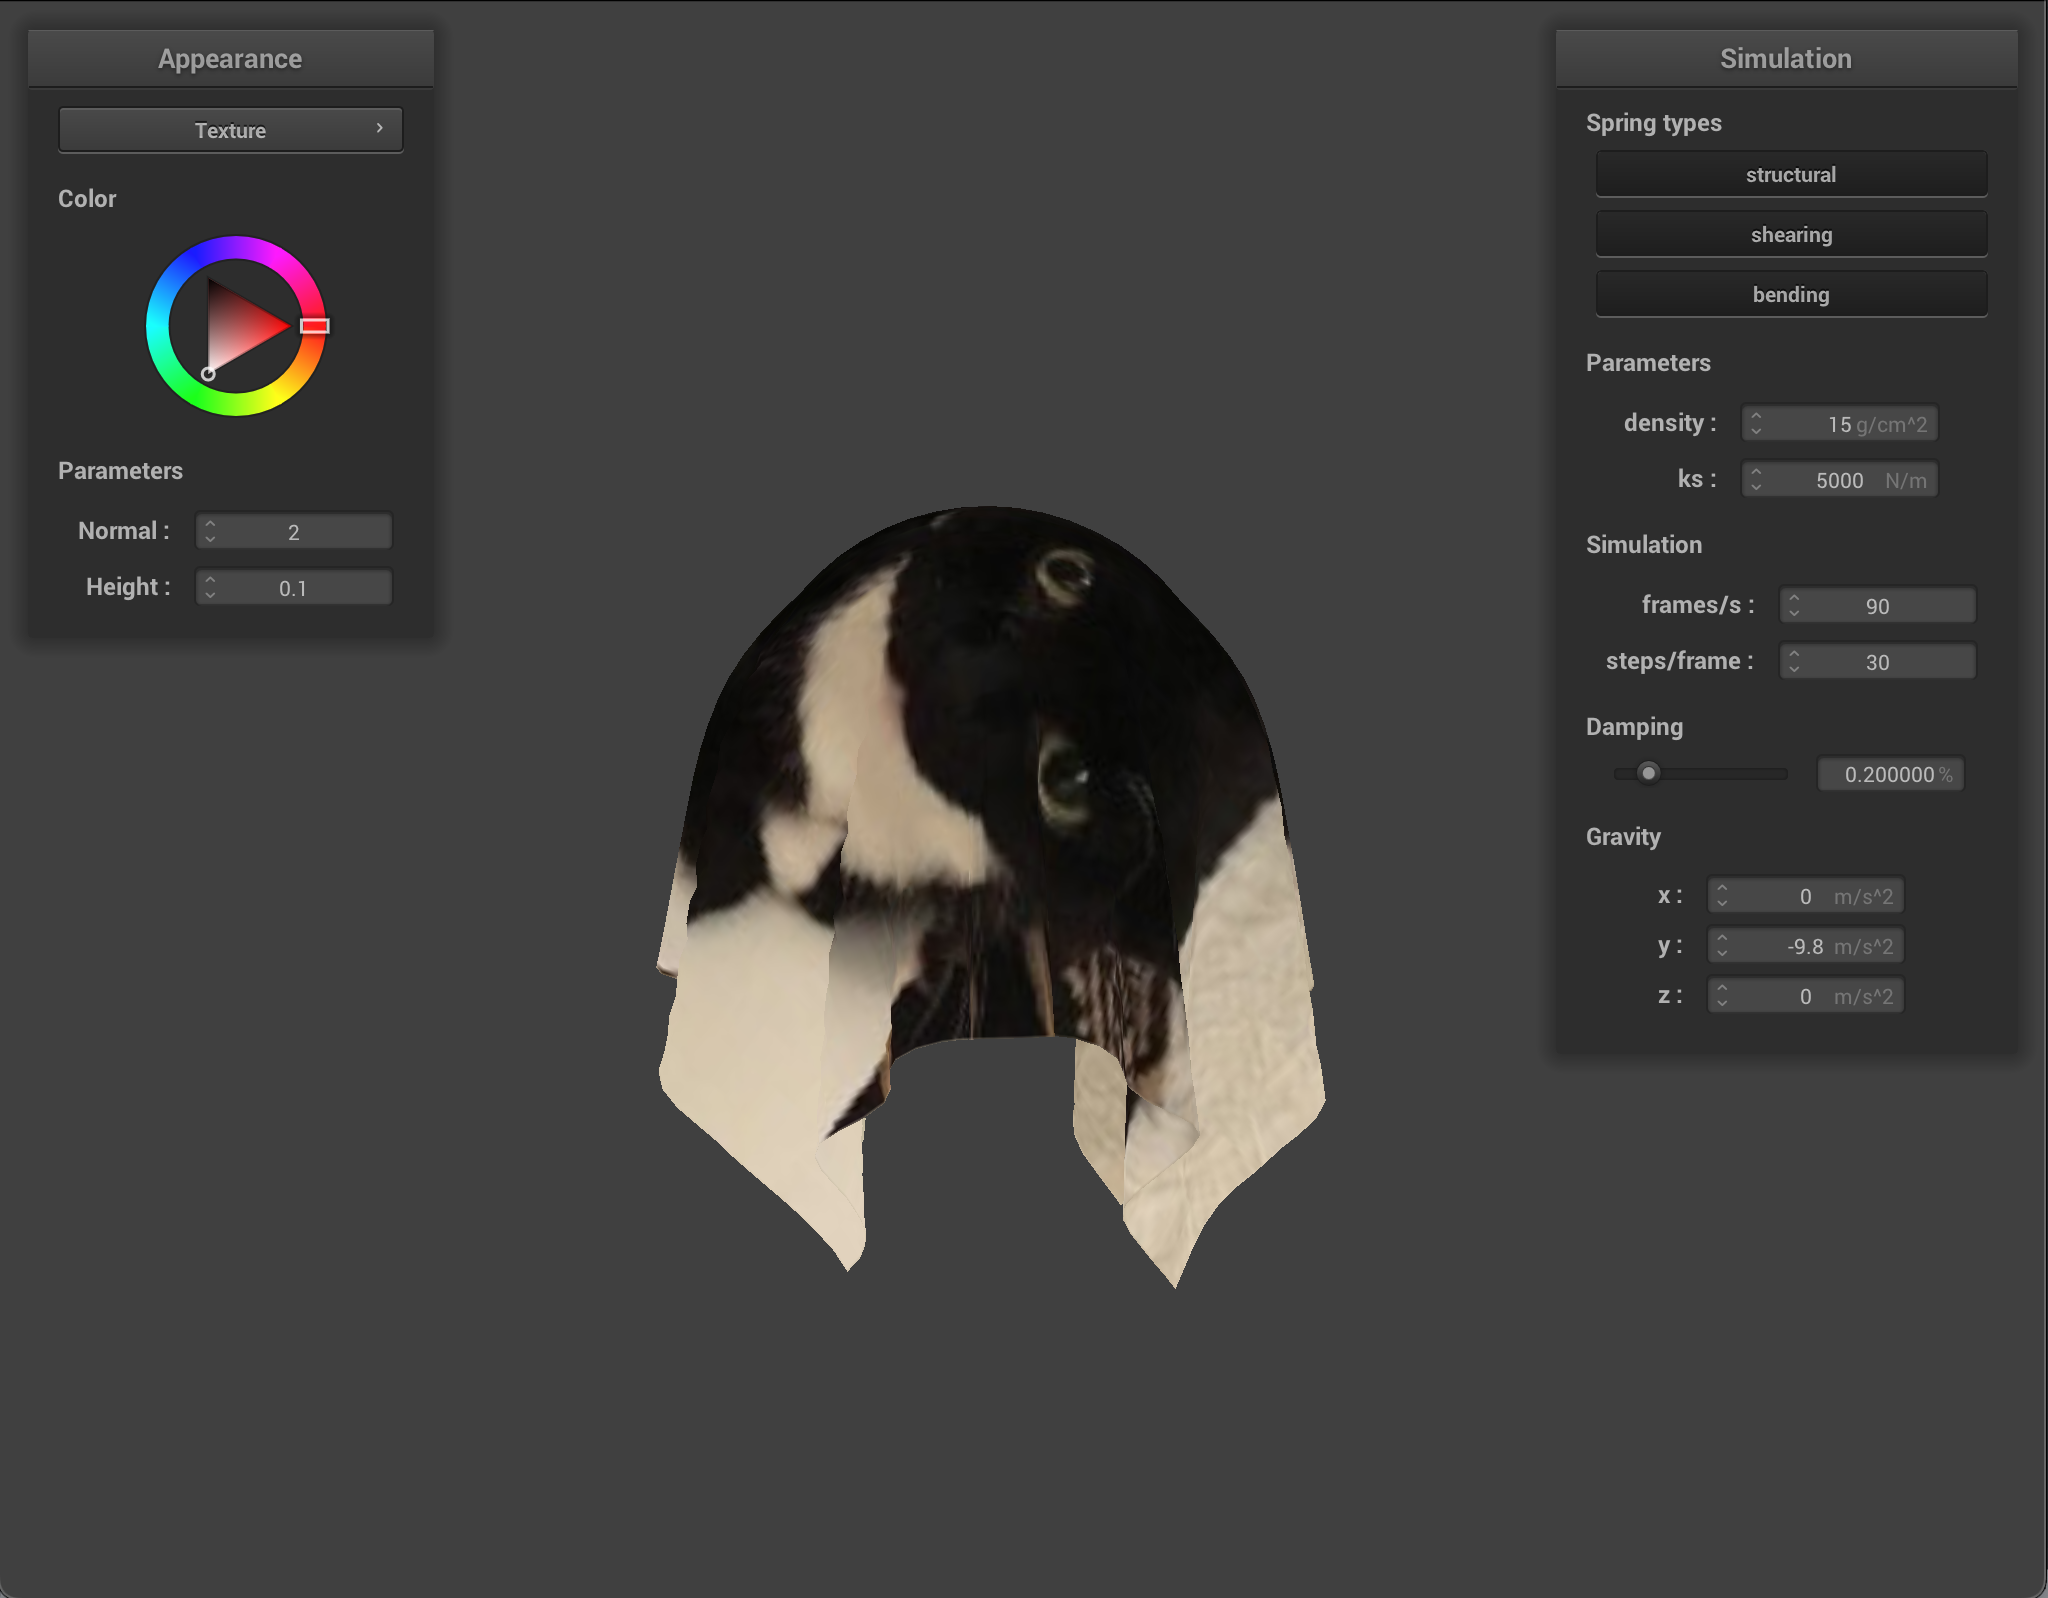
Texture mapping directly maps a texture onto the surface of the cloth. It works with any picture, but sometimes results in something whacky. If you had a maxwell blanket and put it over a sphere, it’d look something like this!
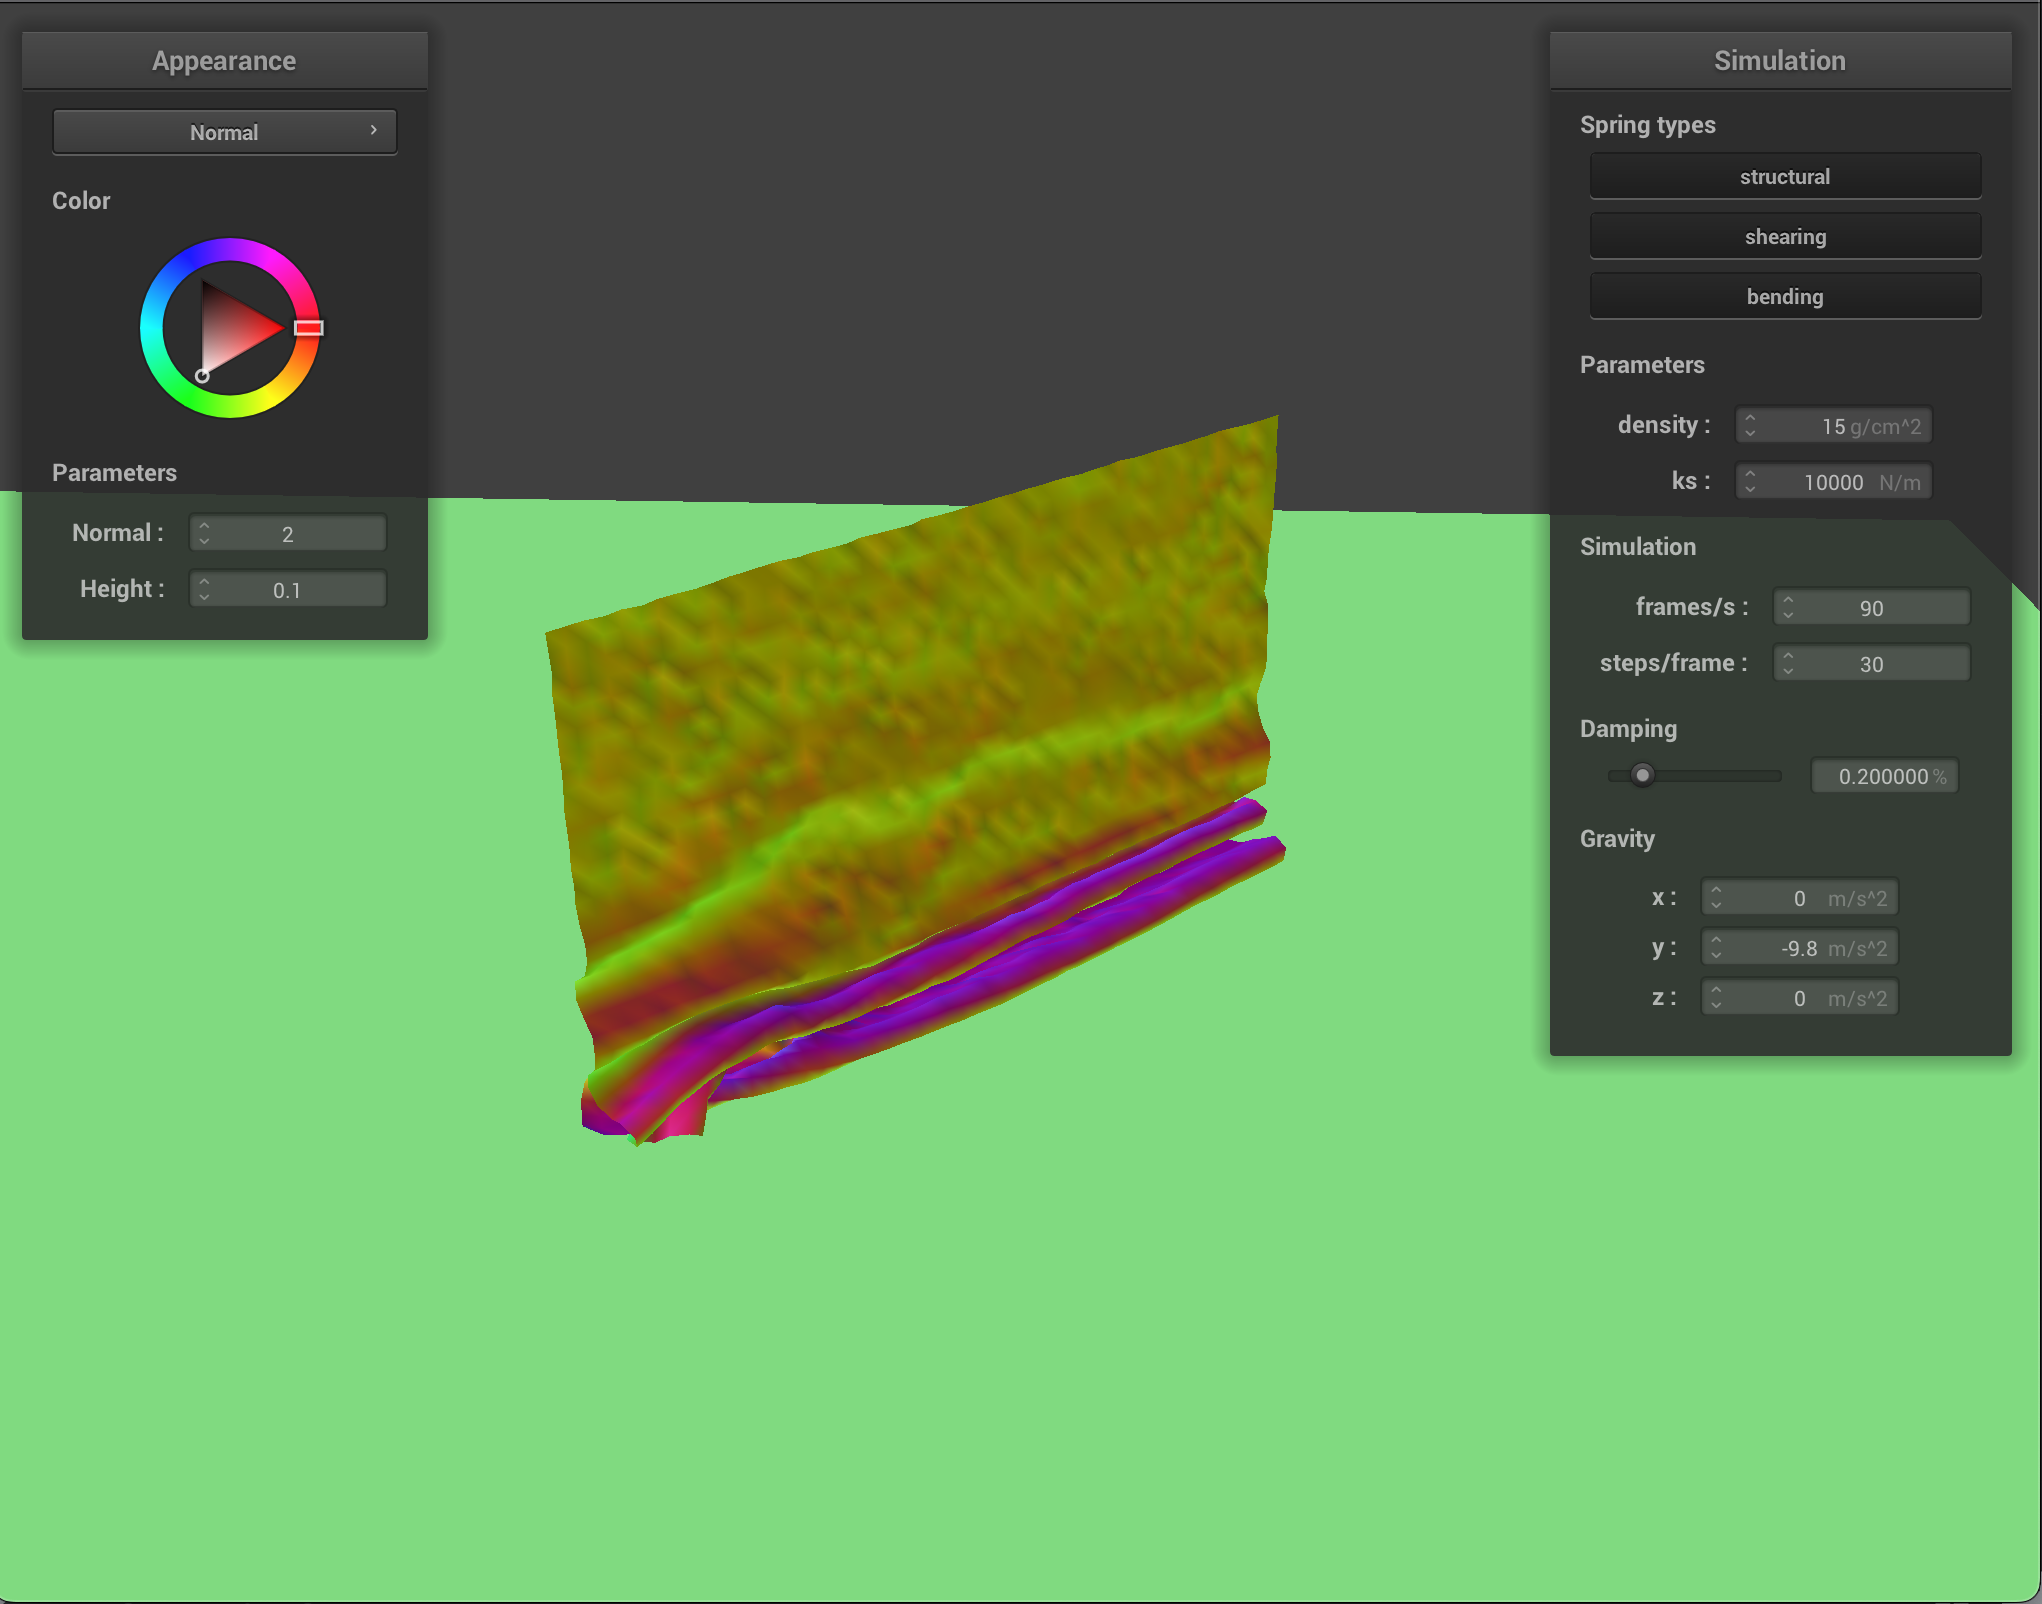
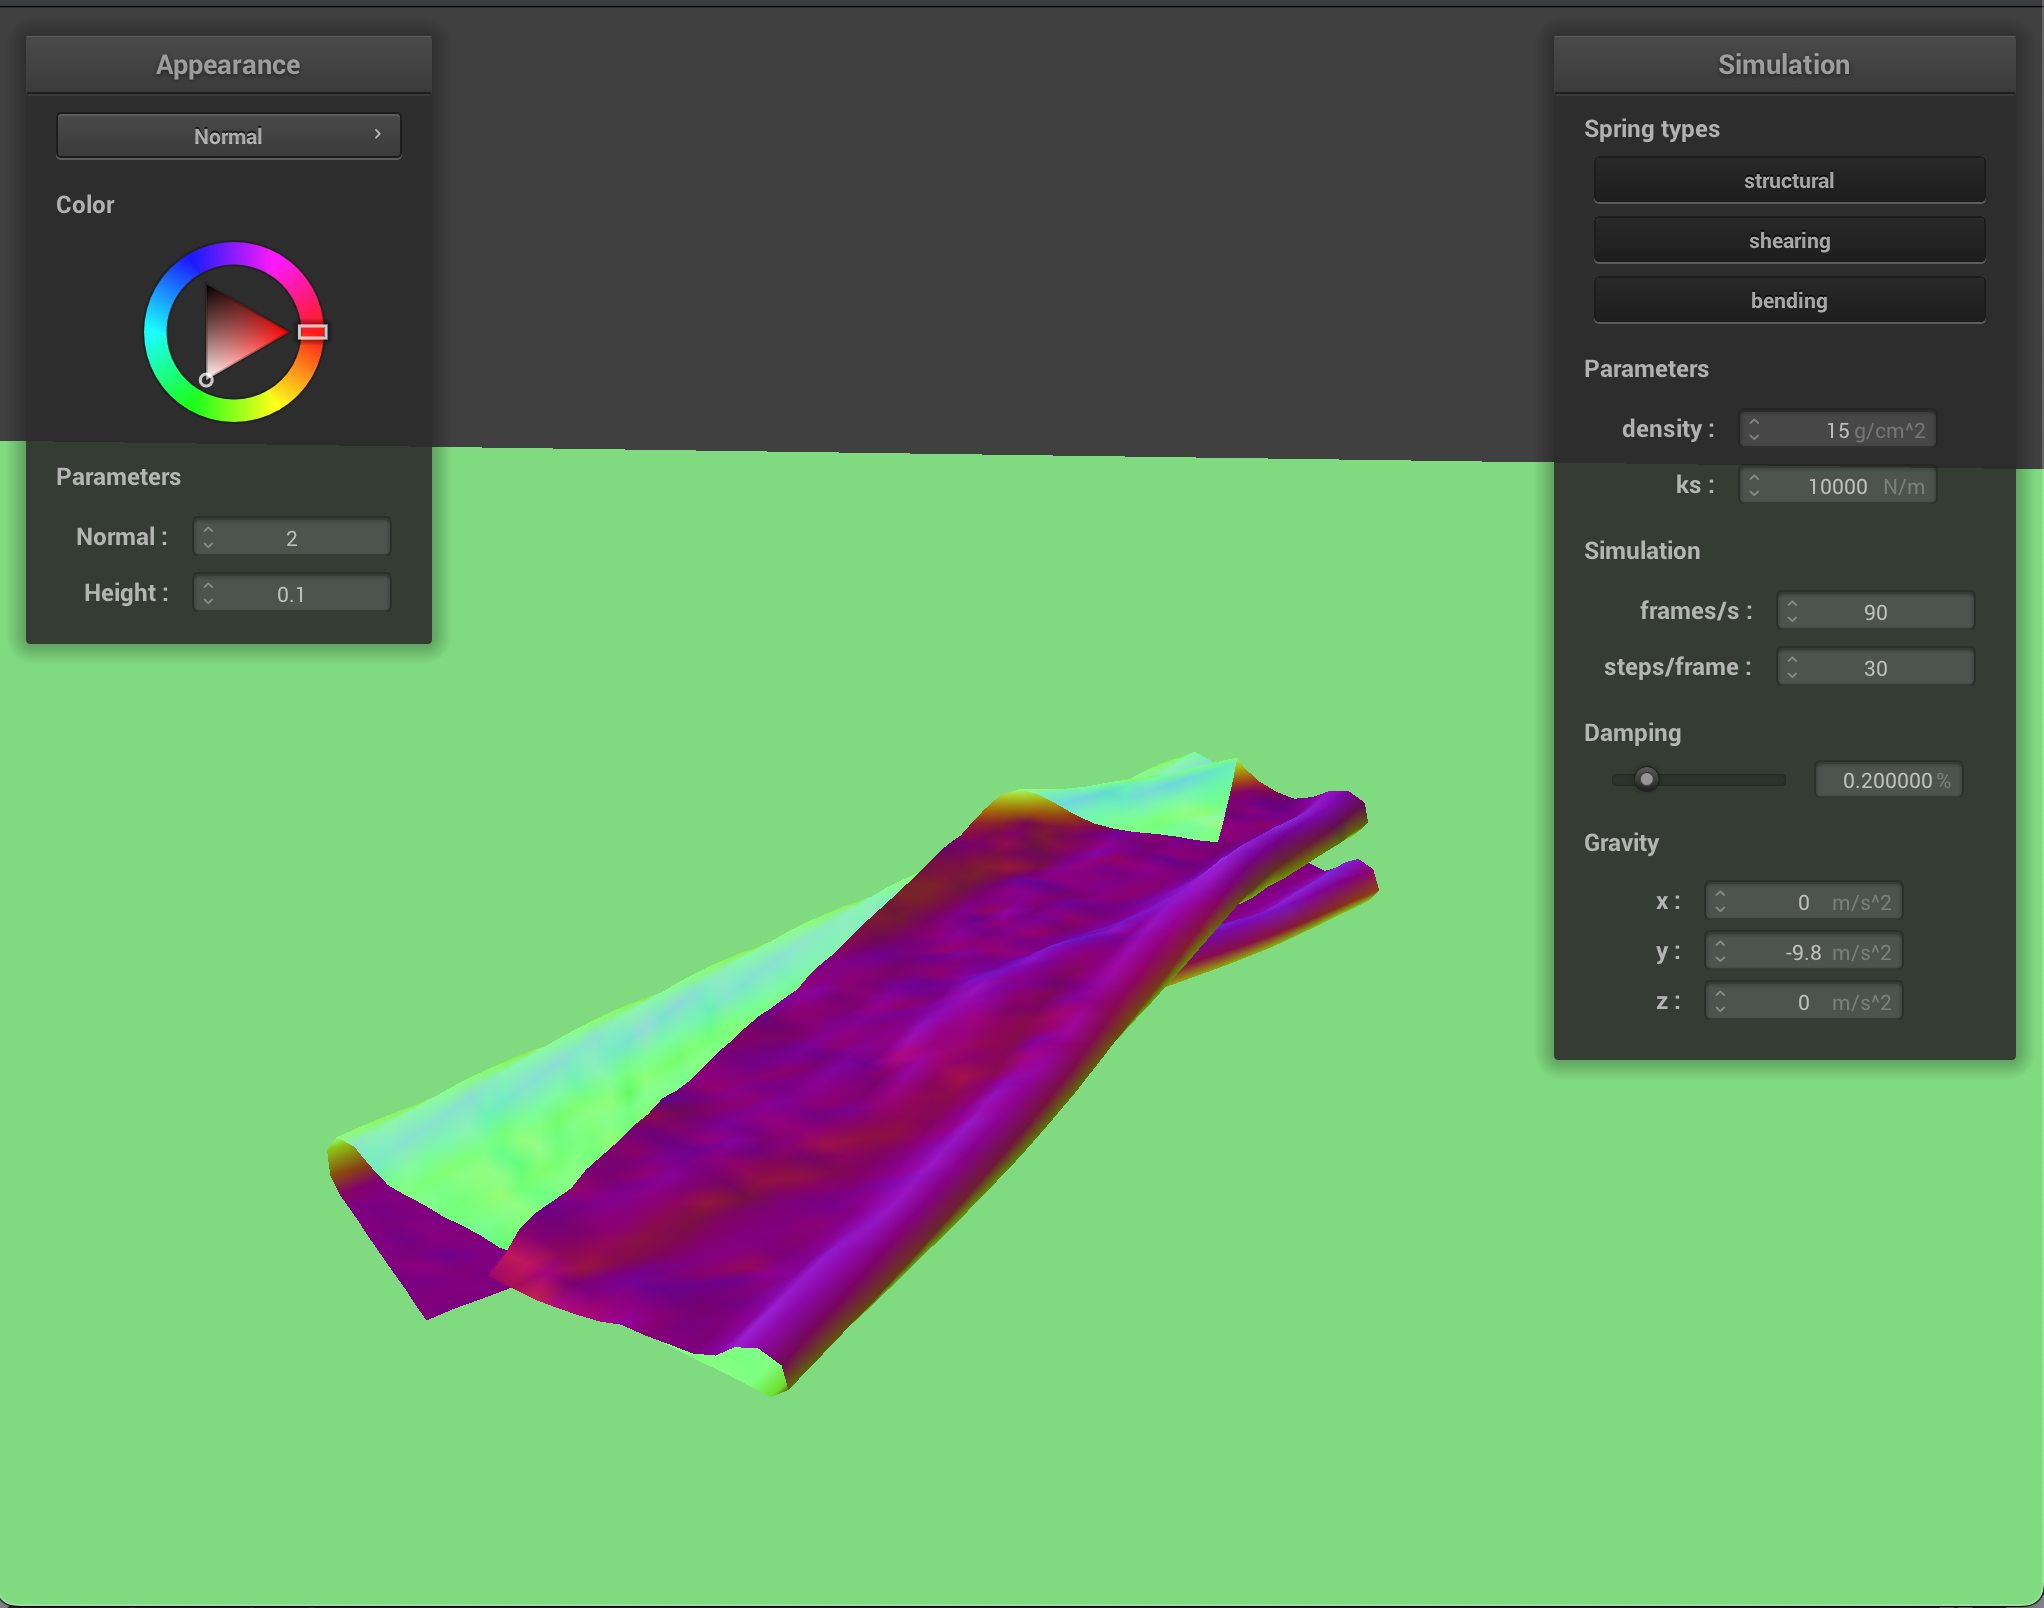
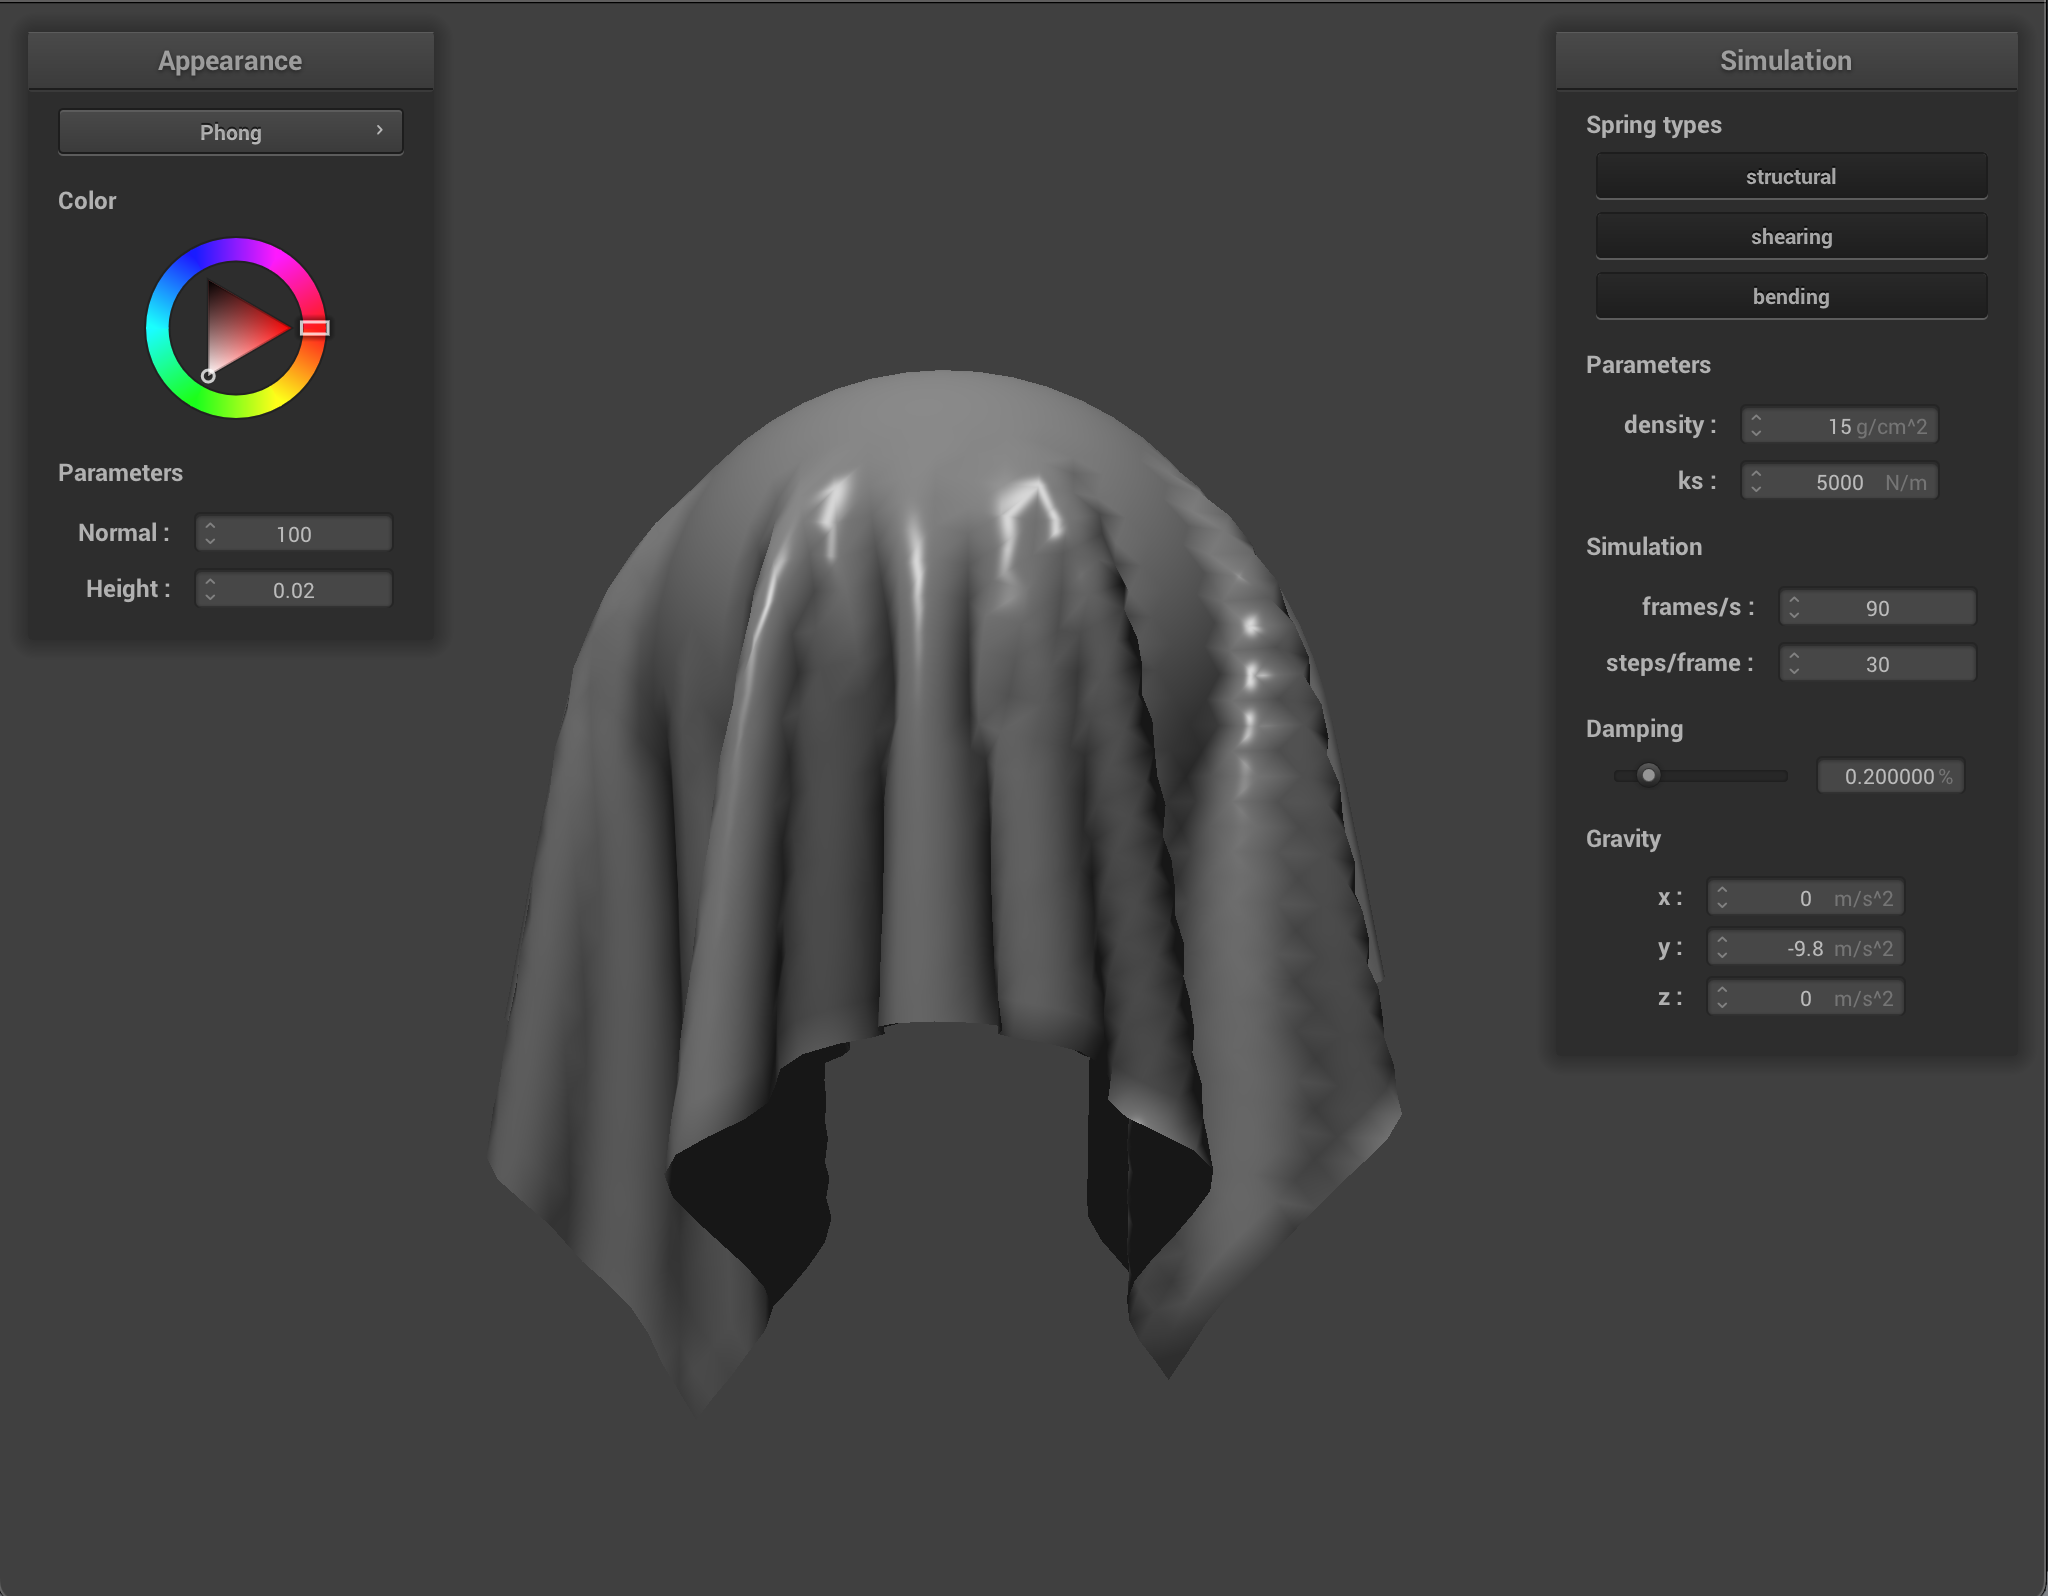
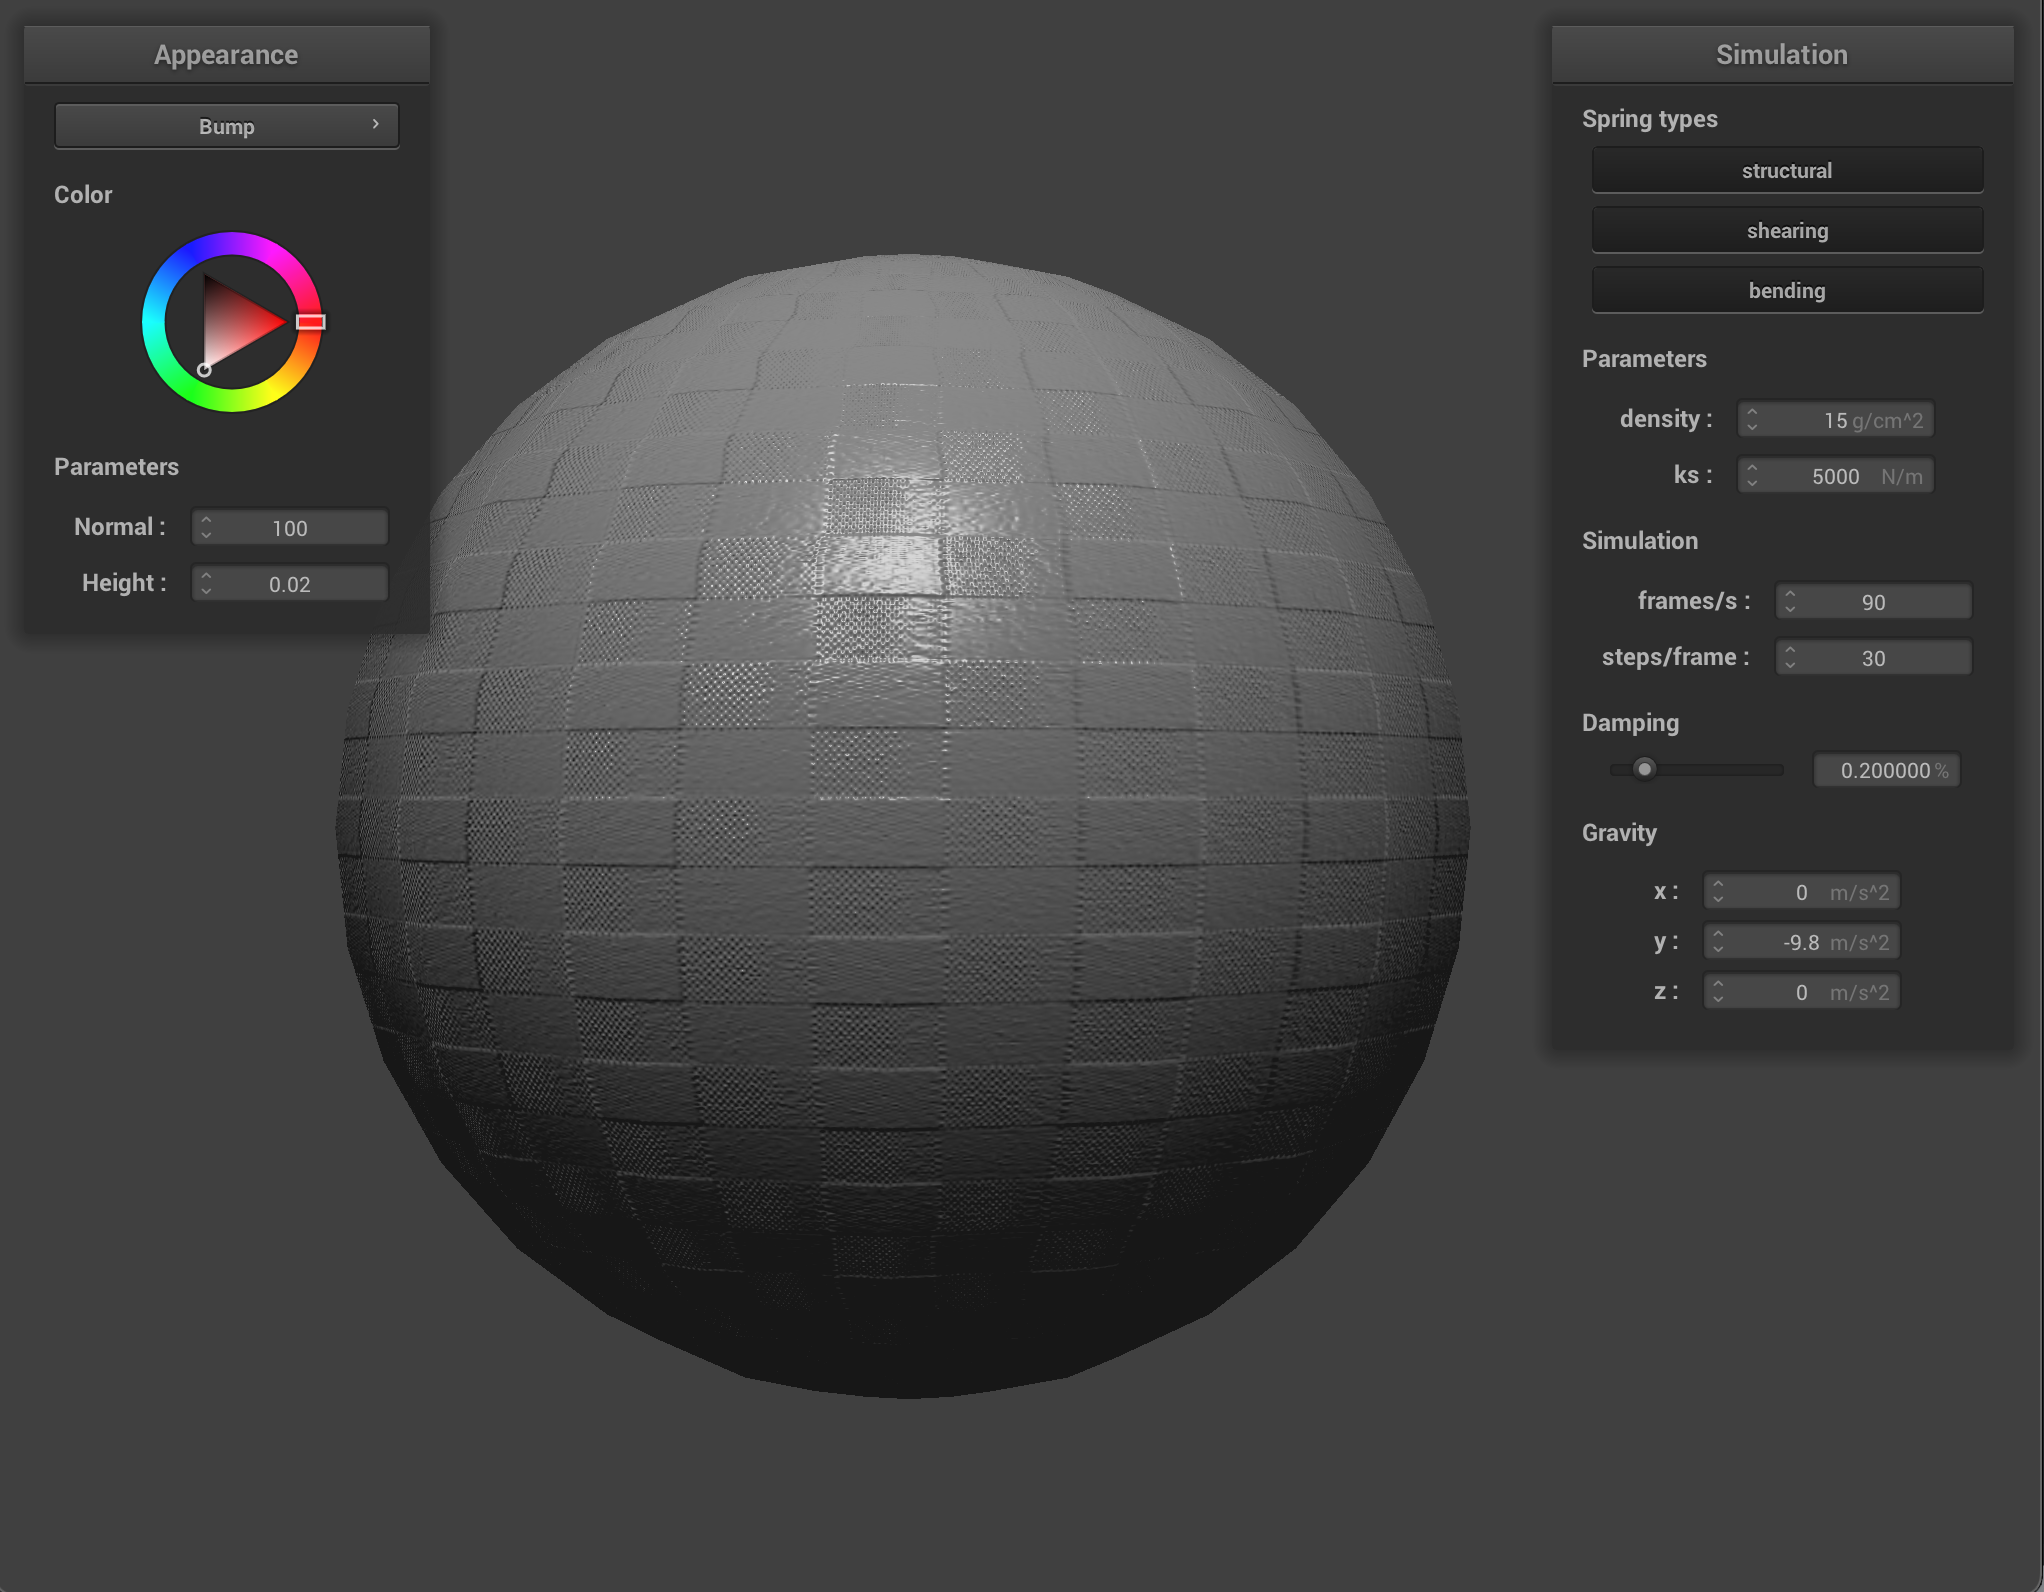
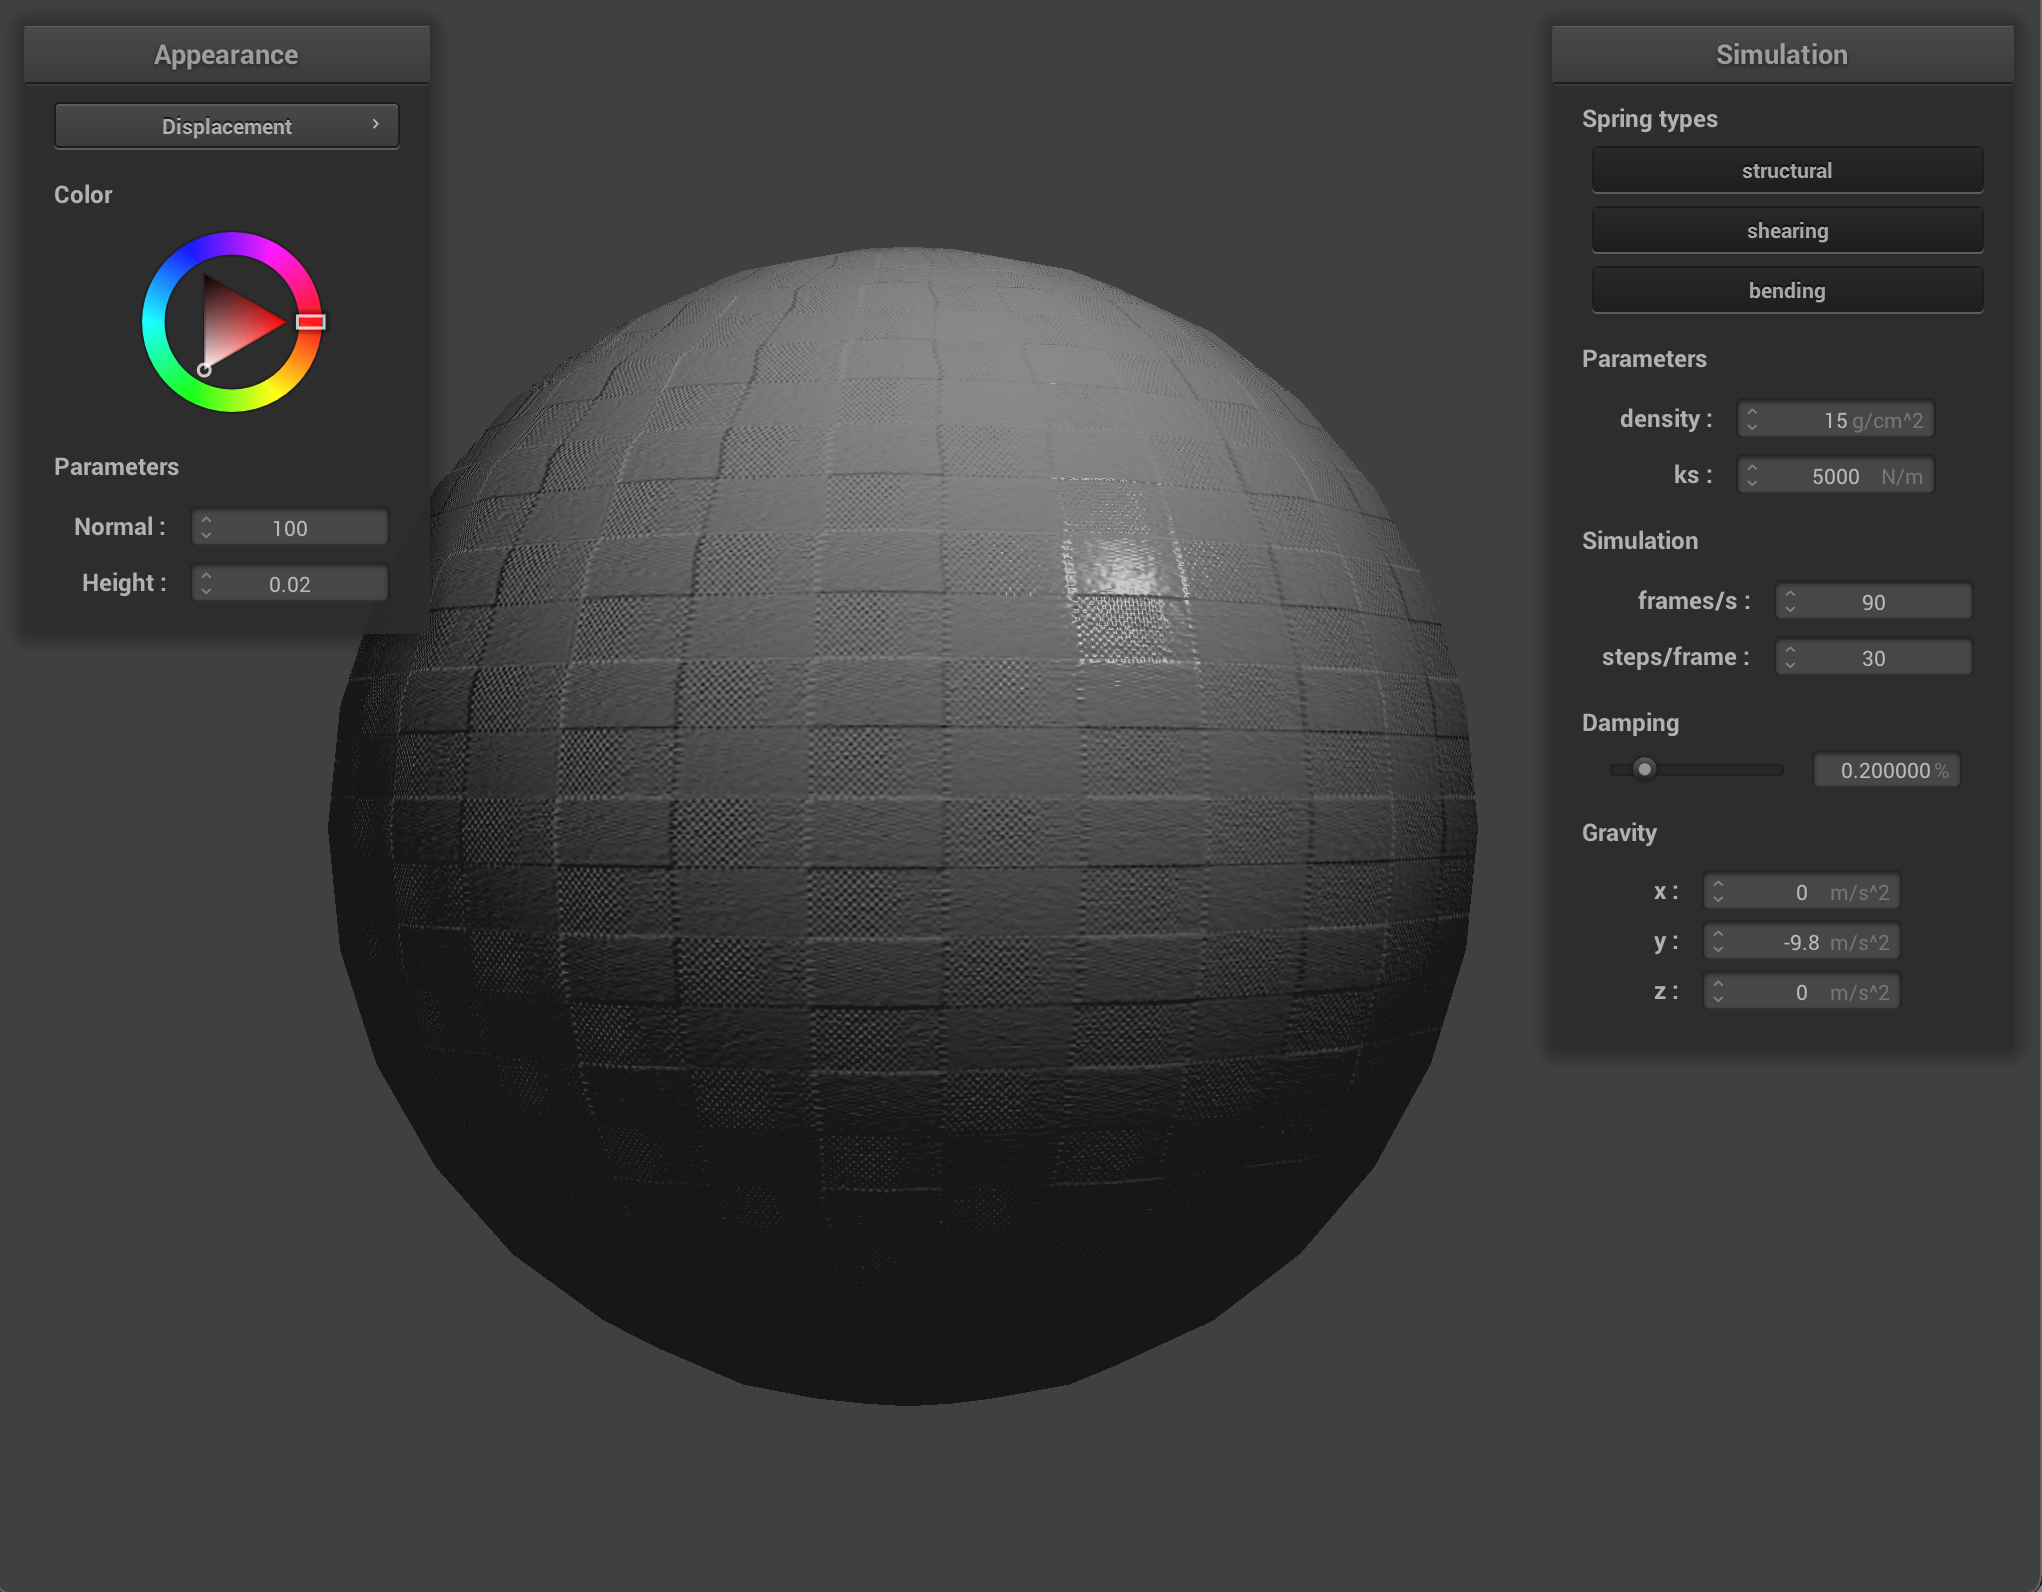
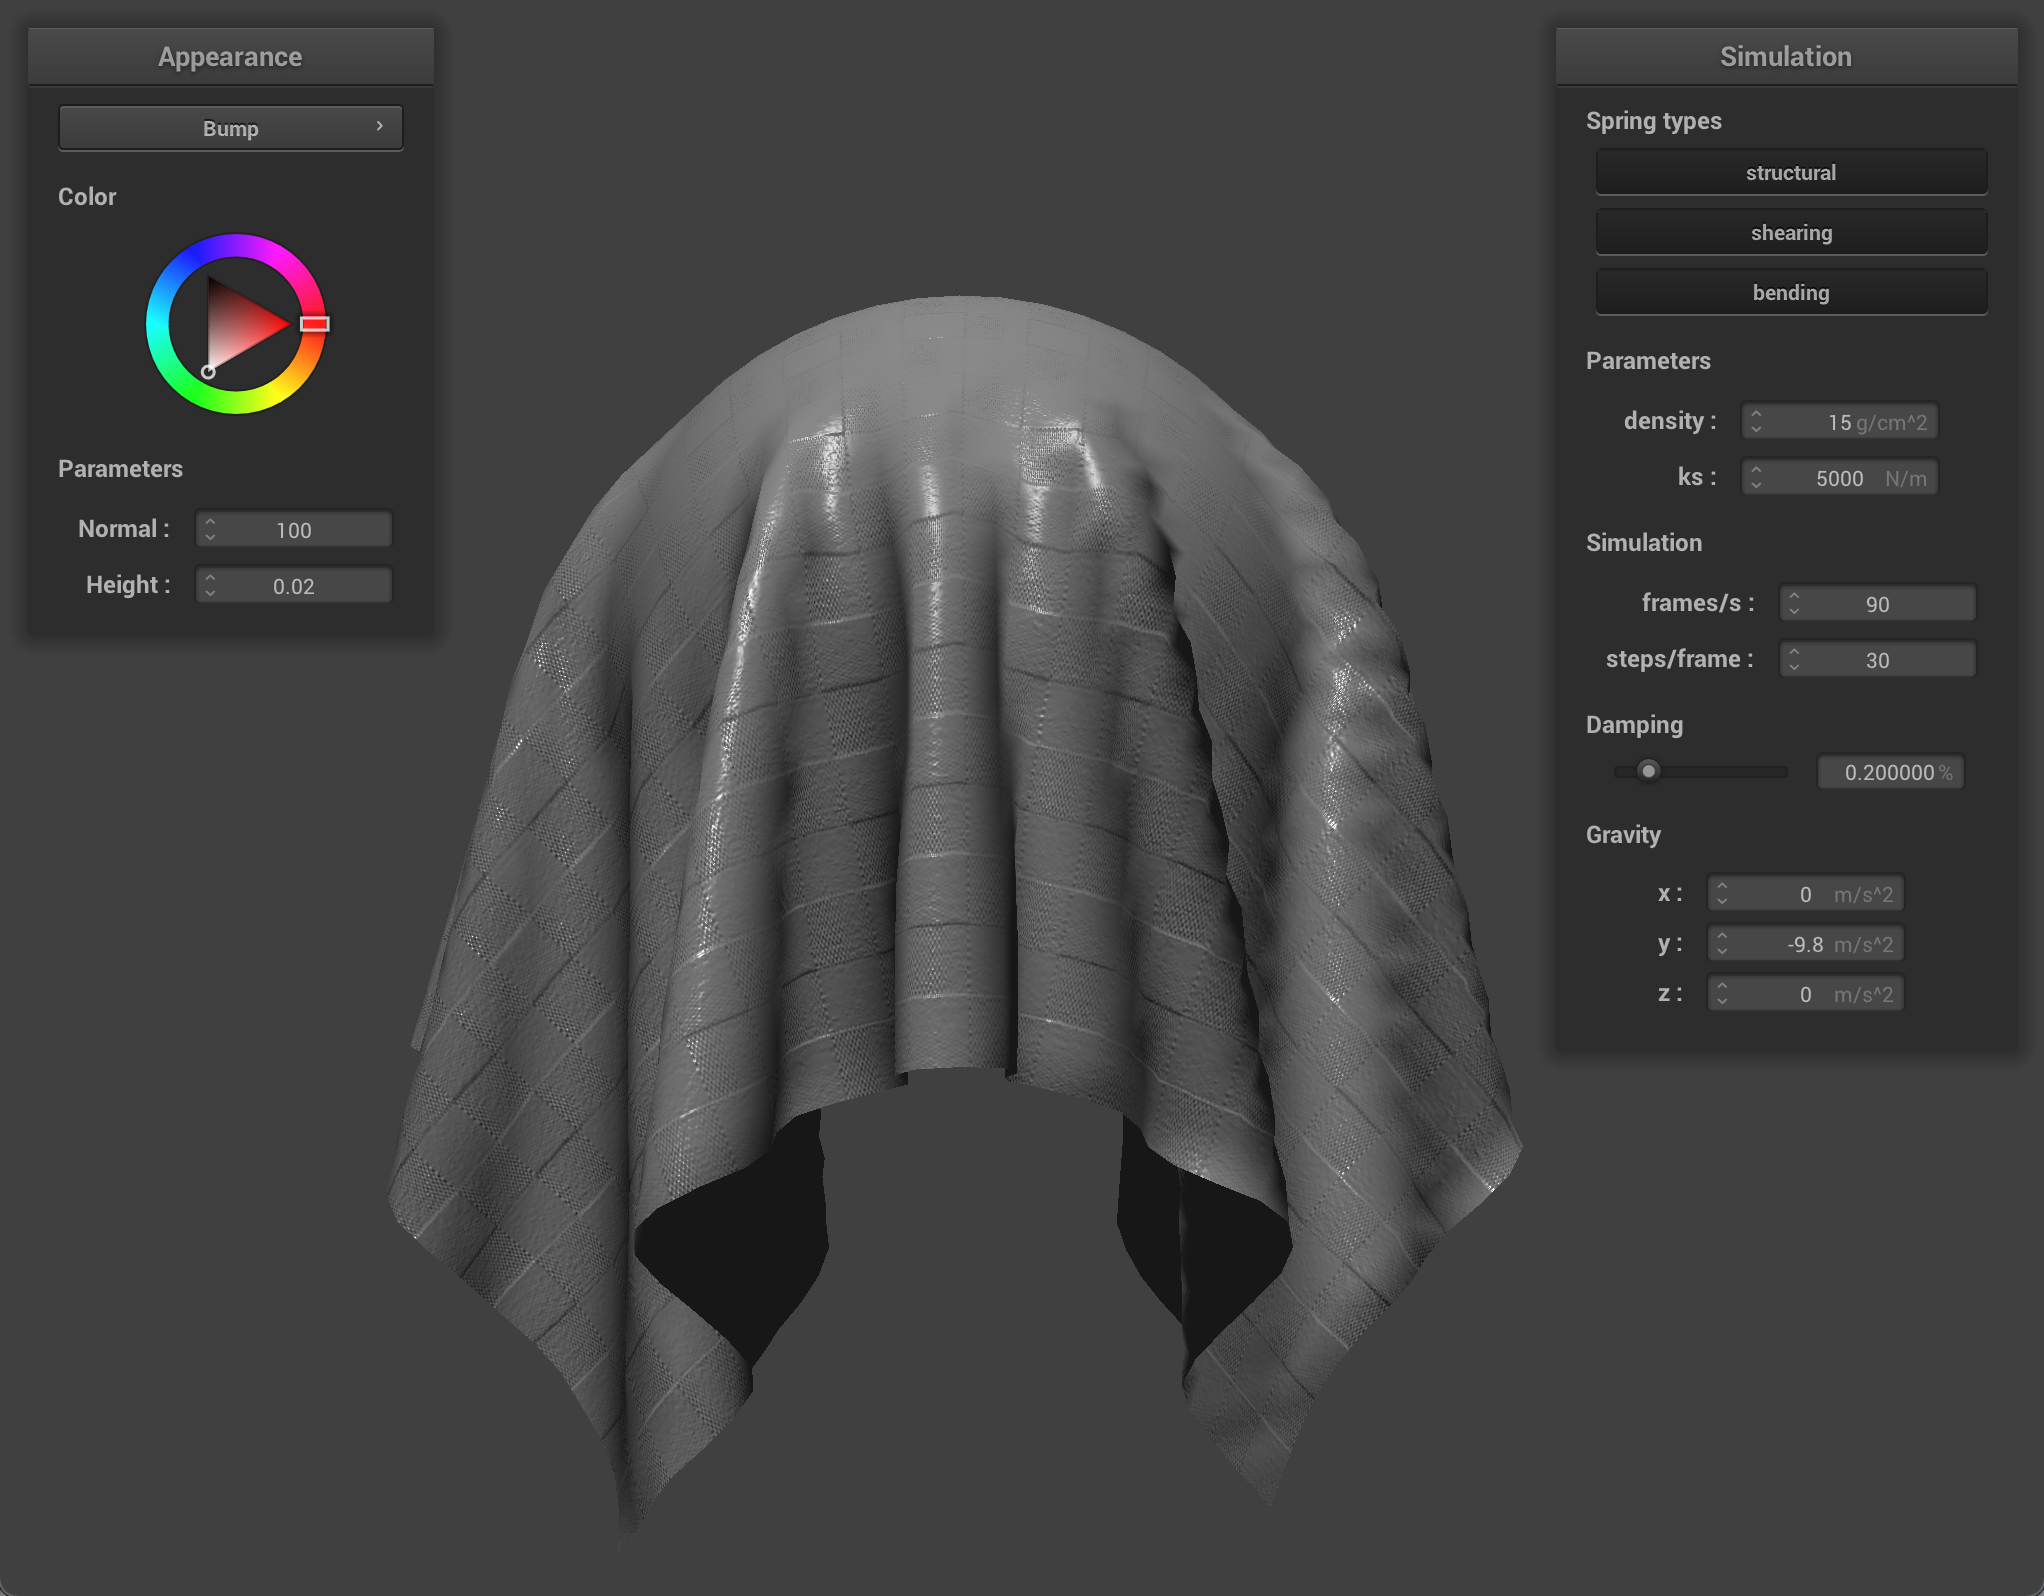
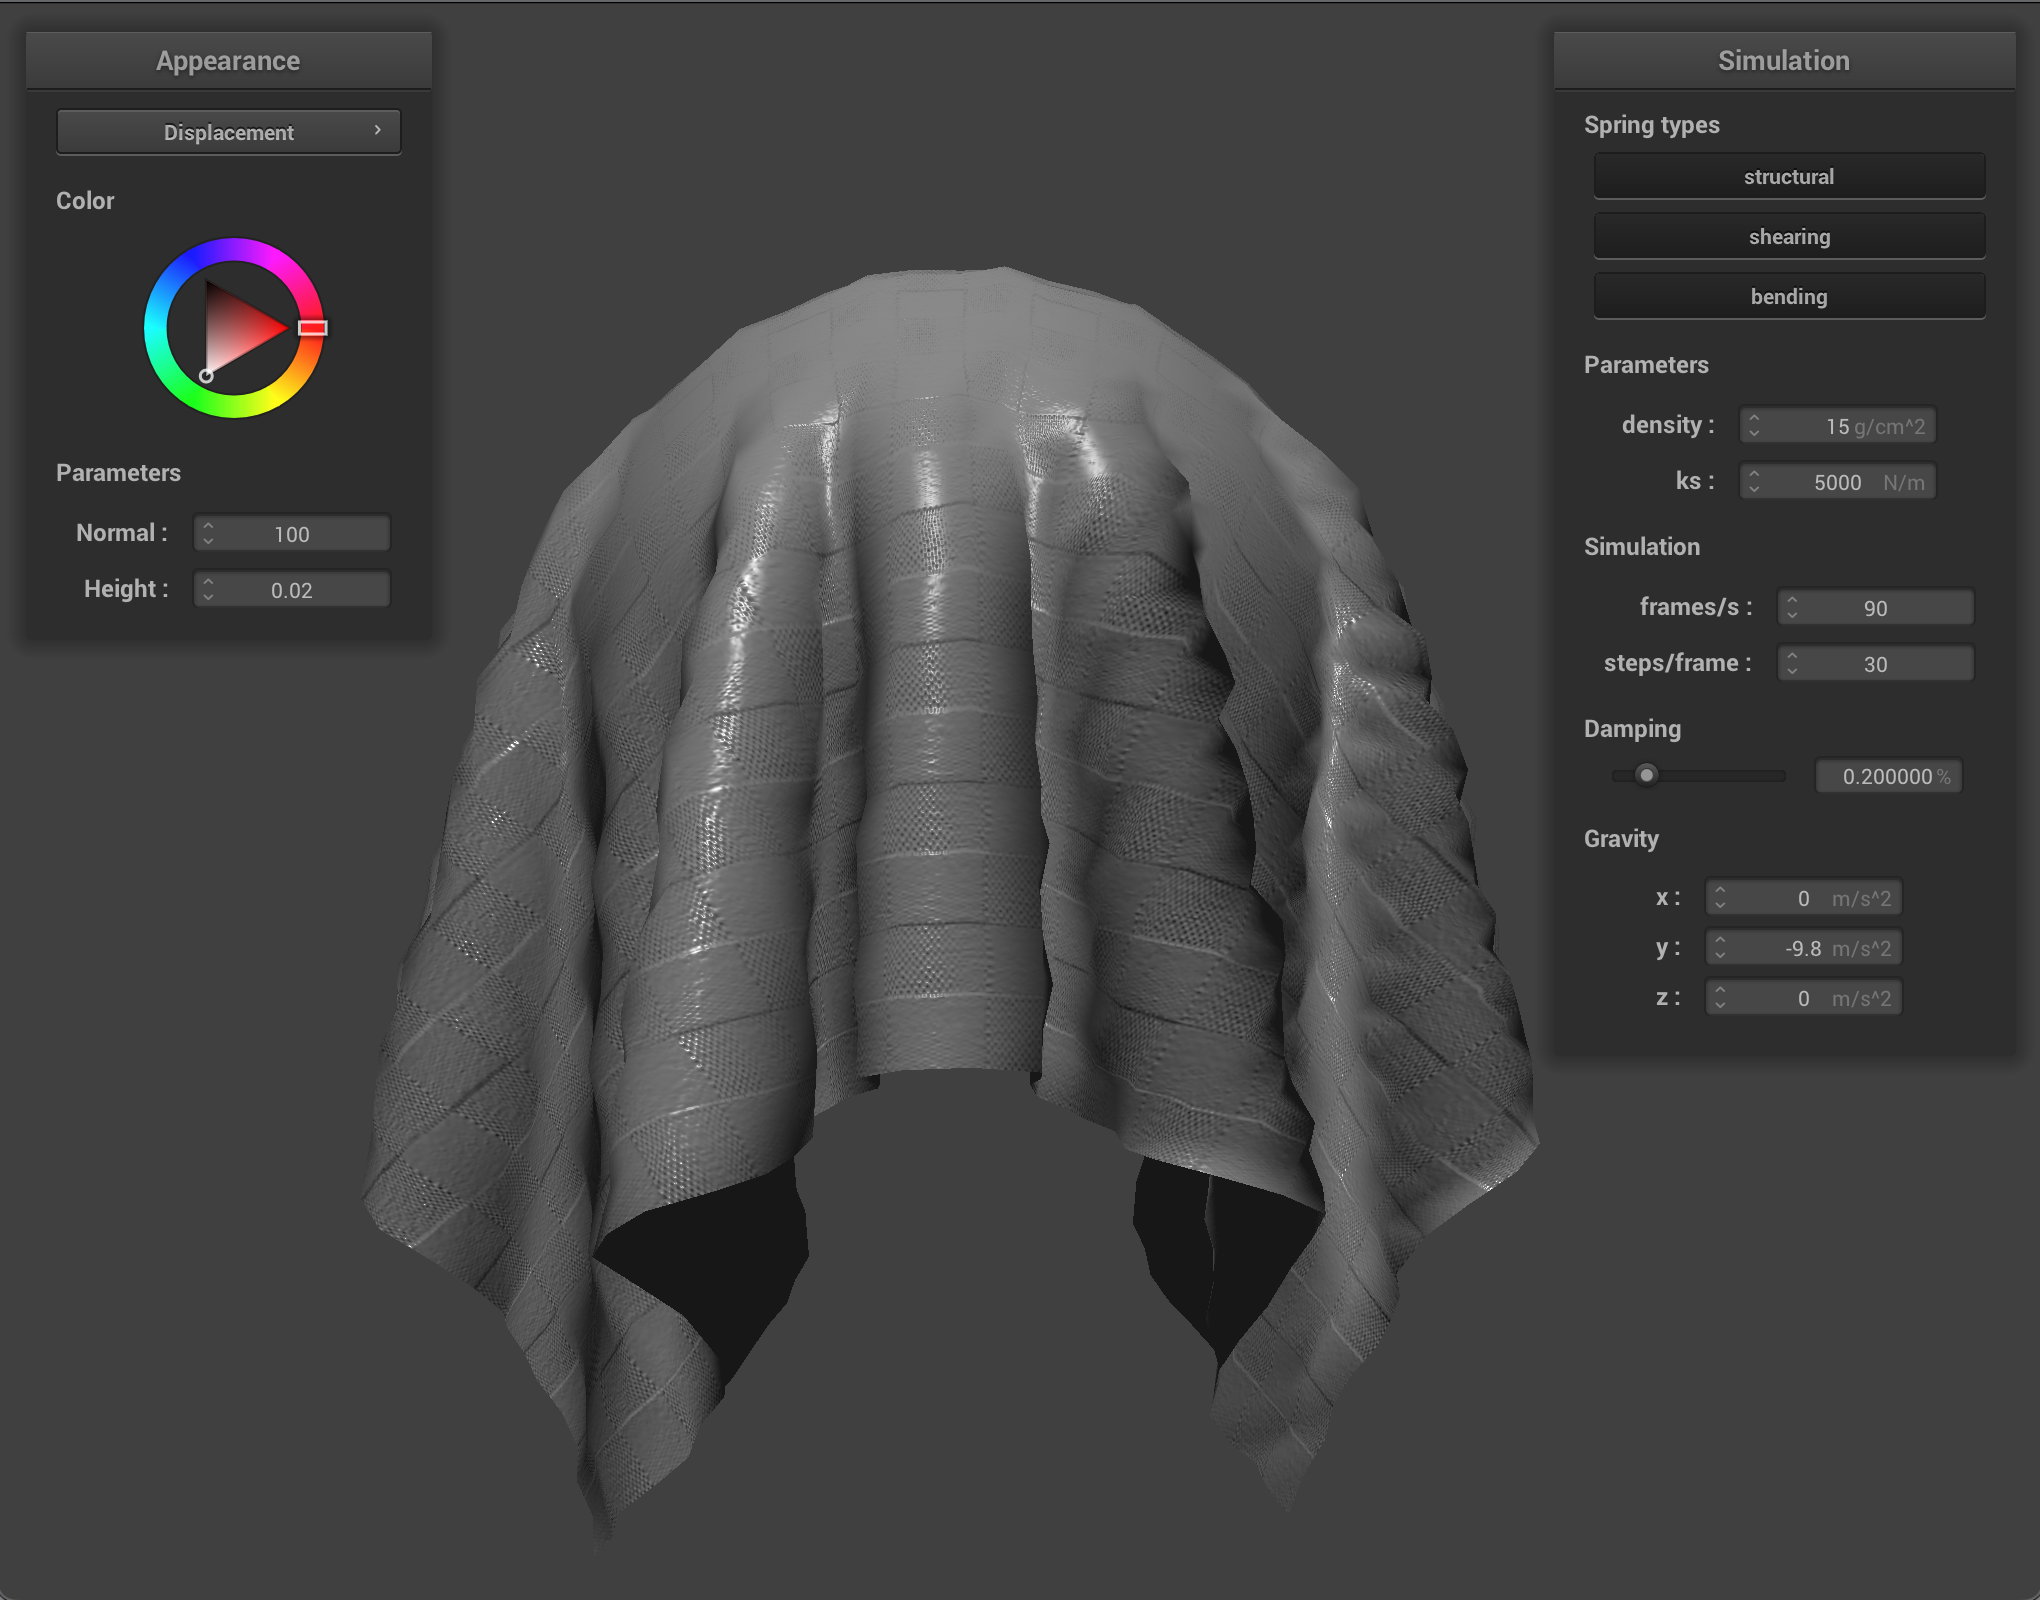
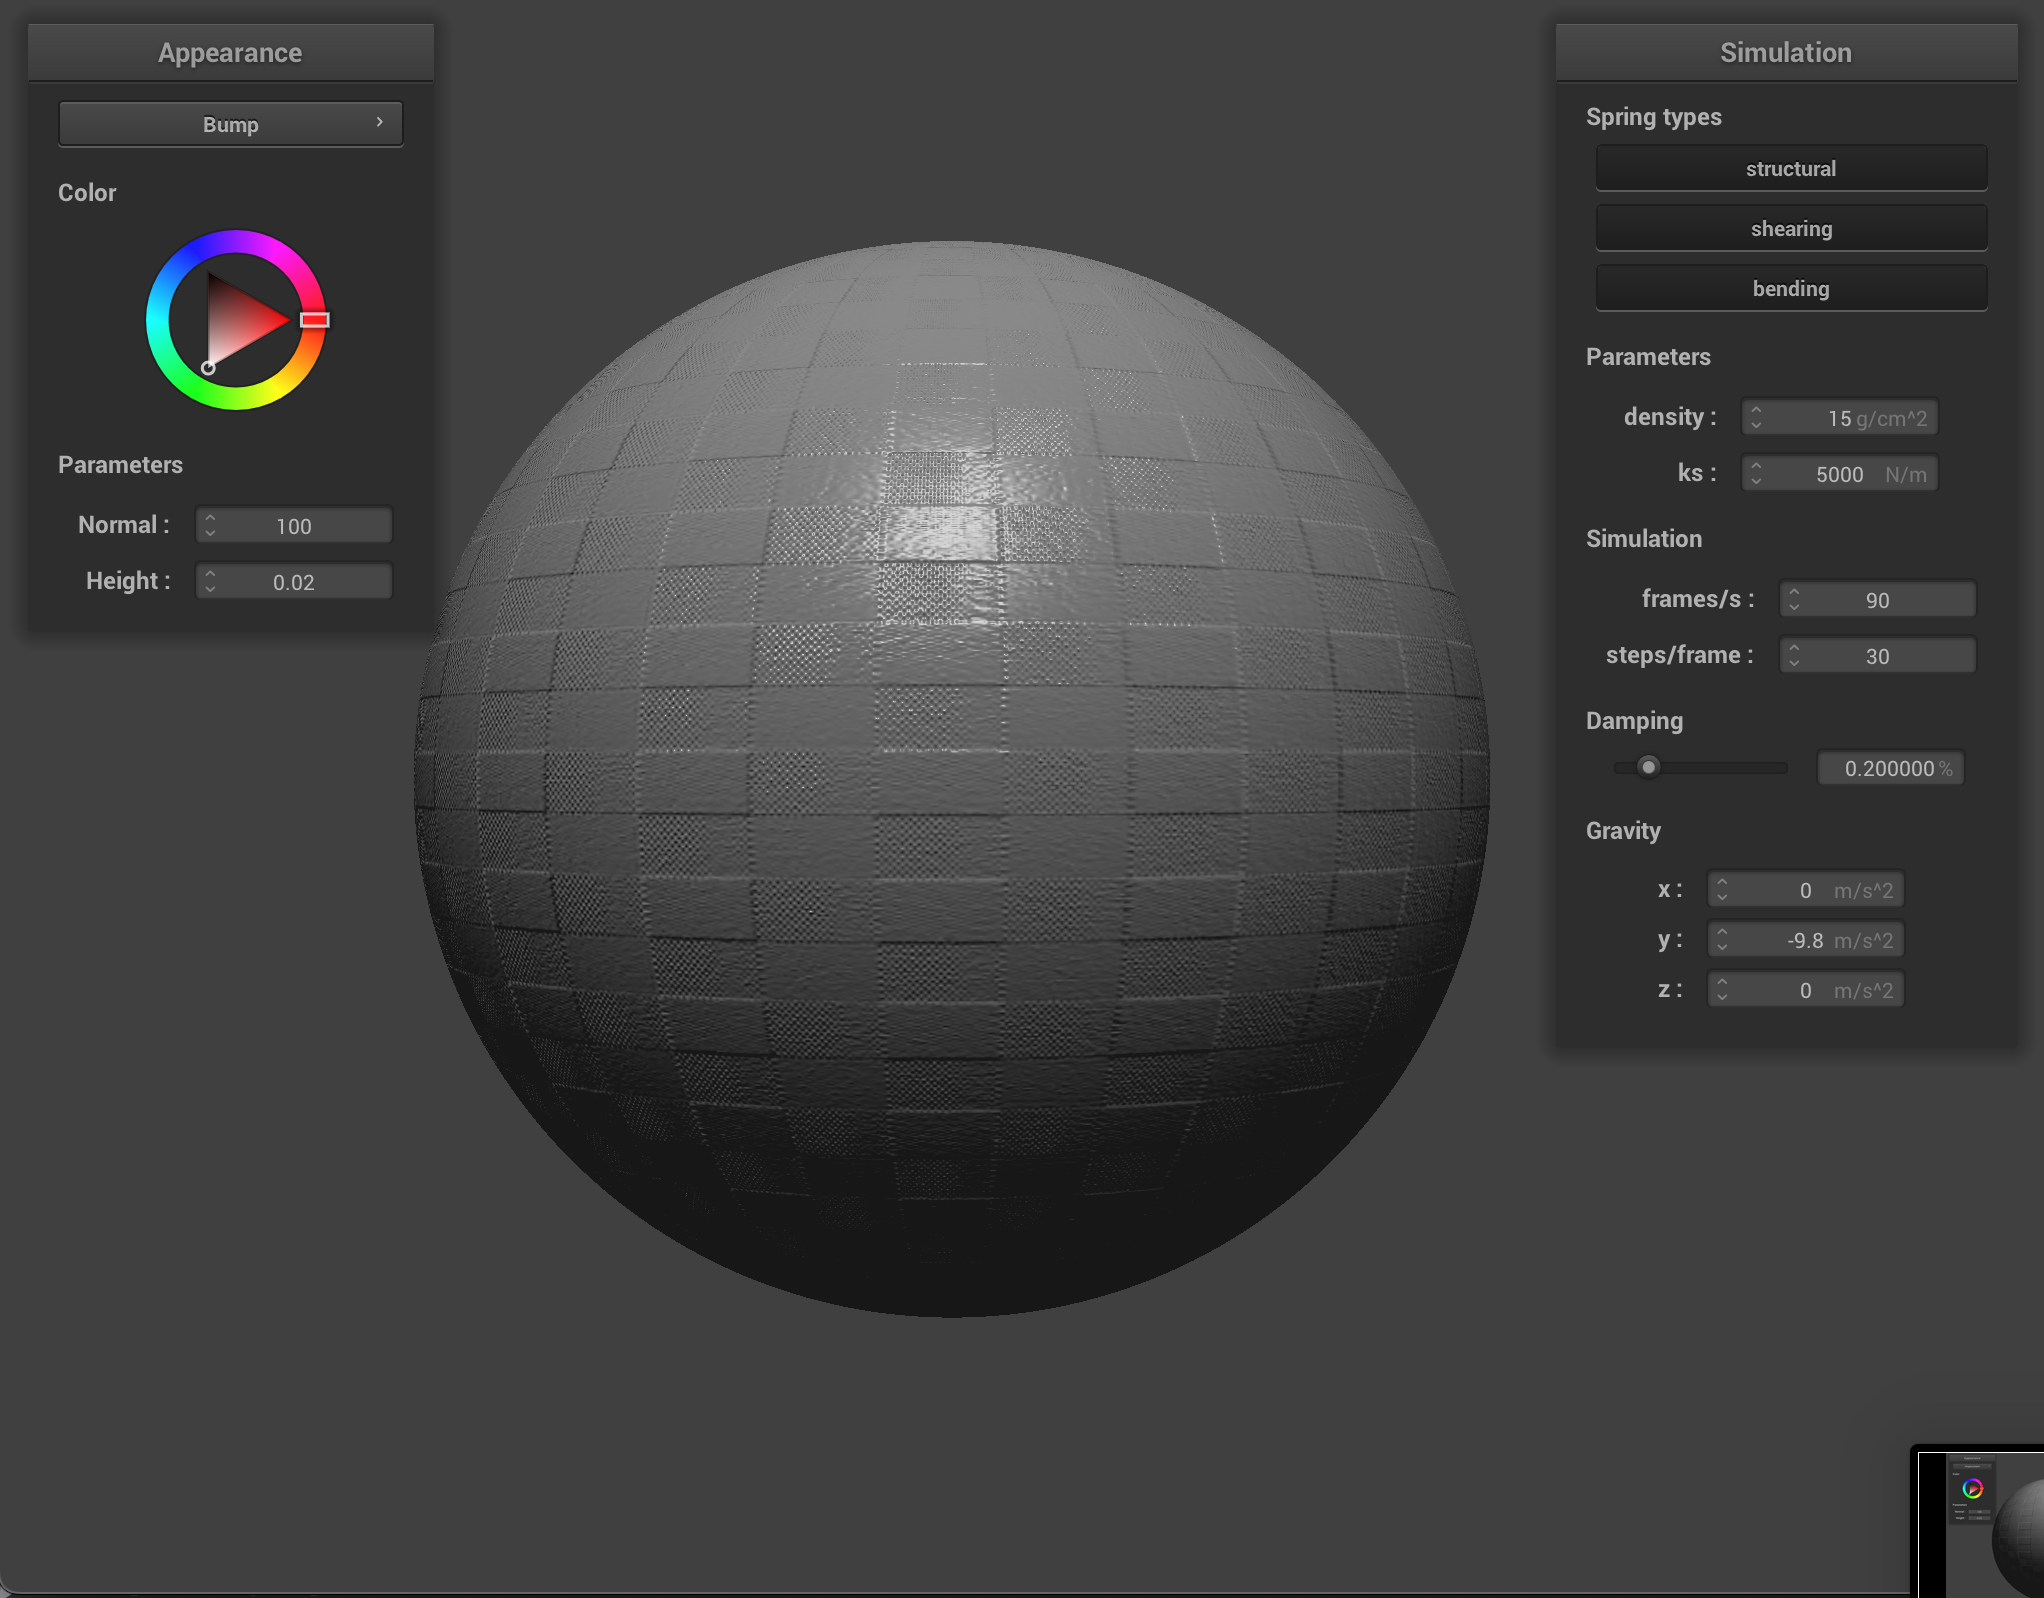
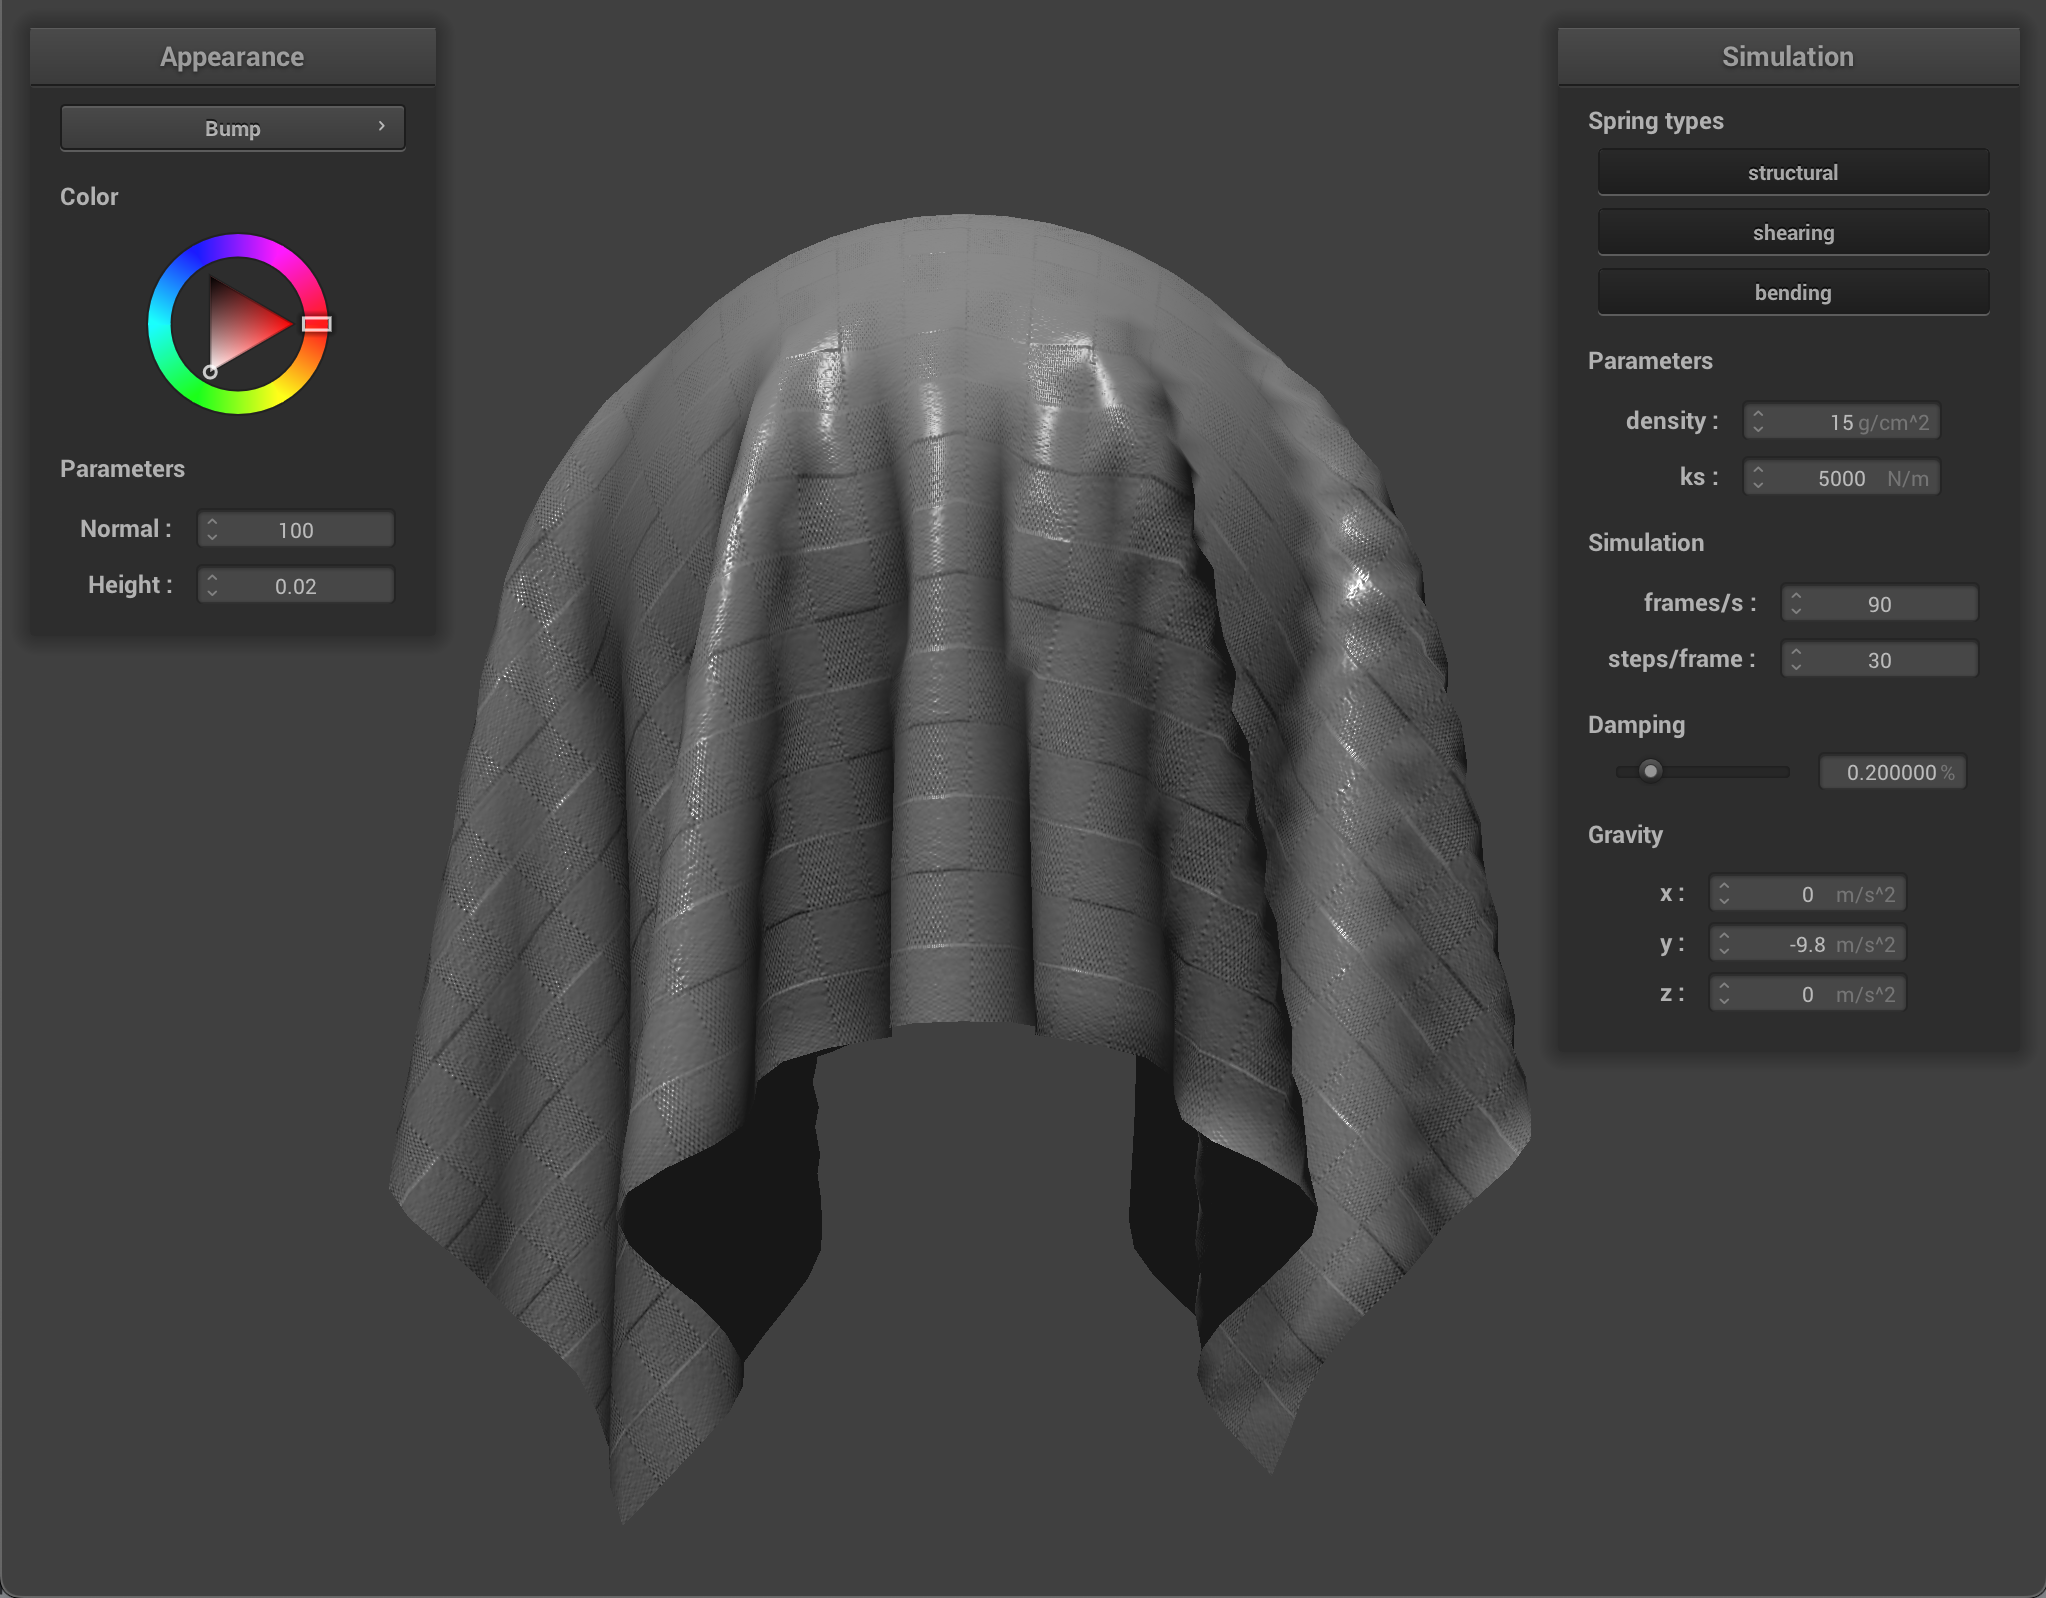
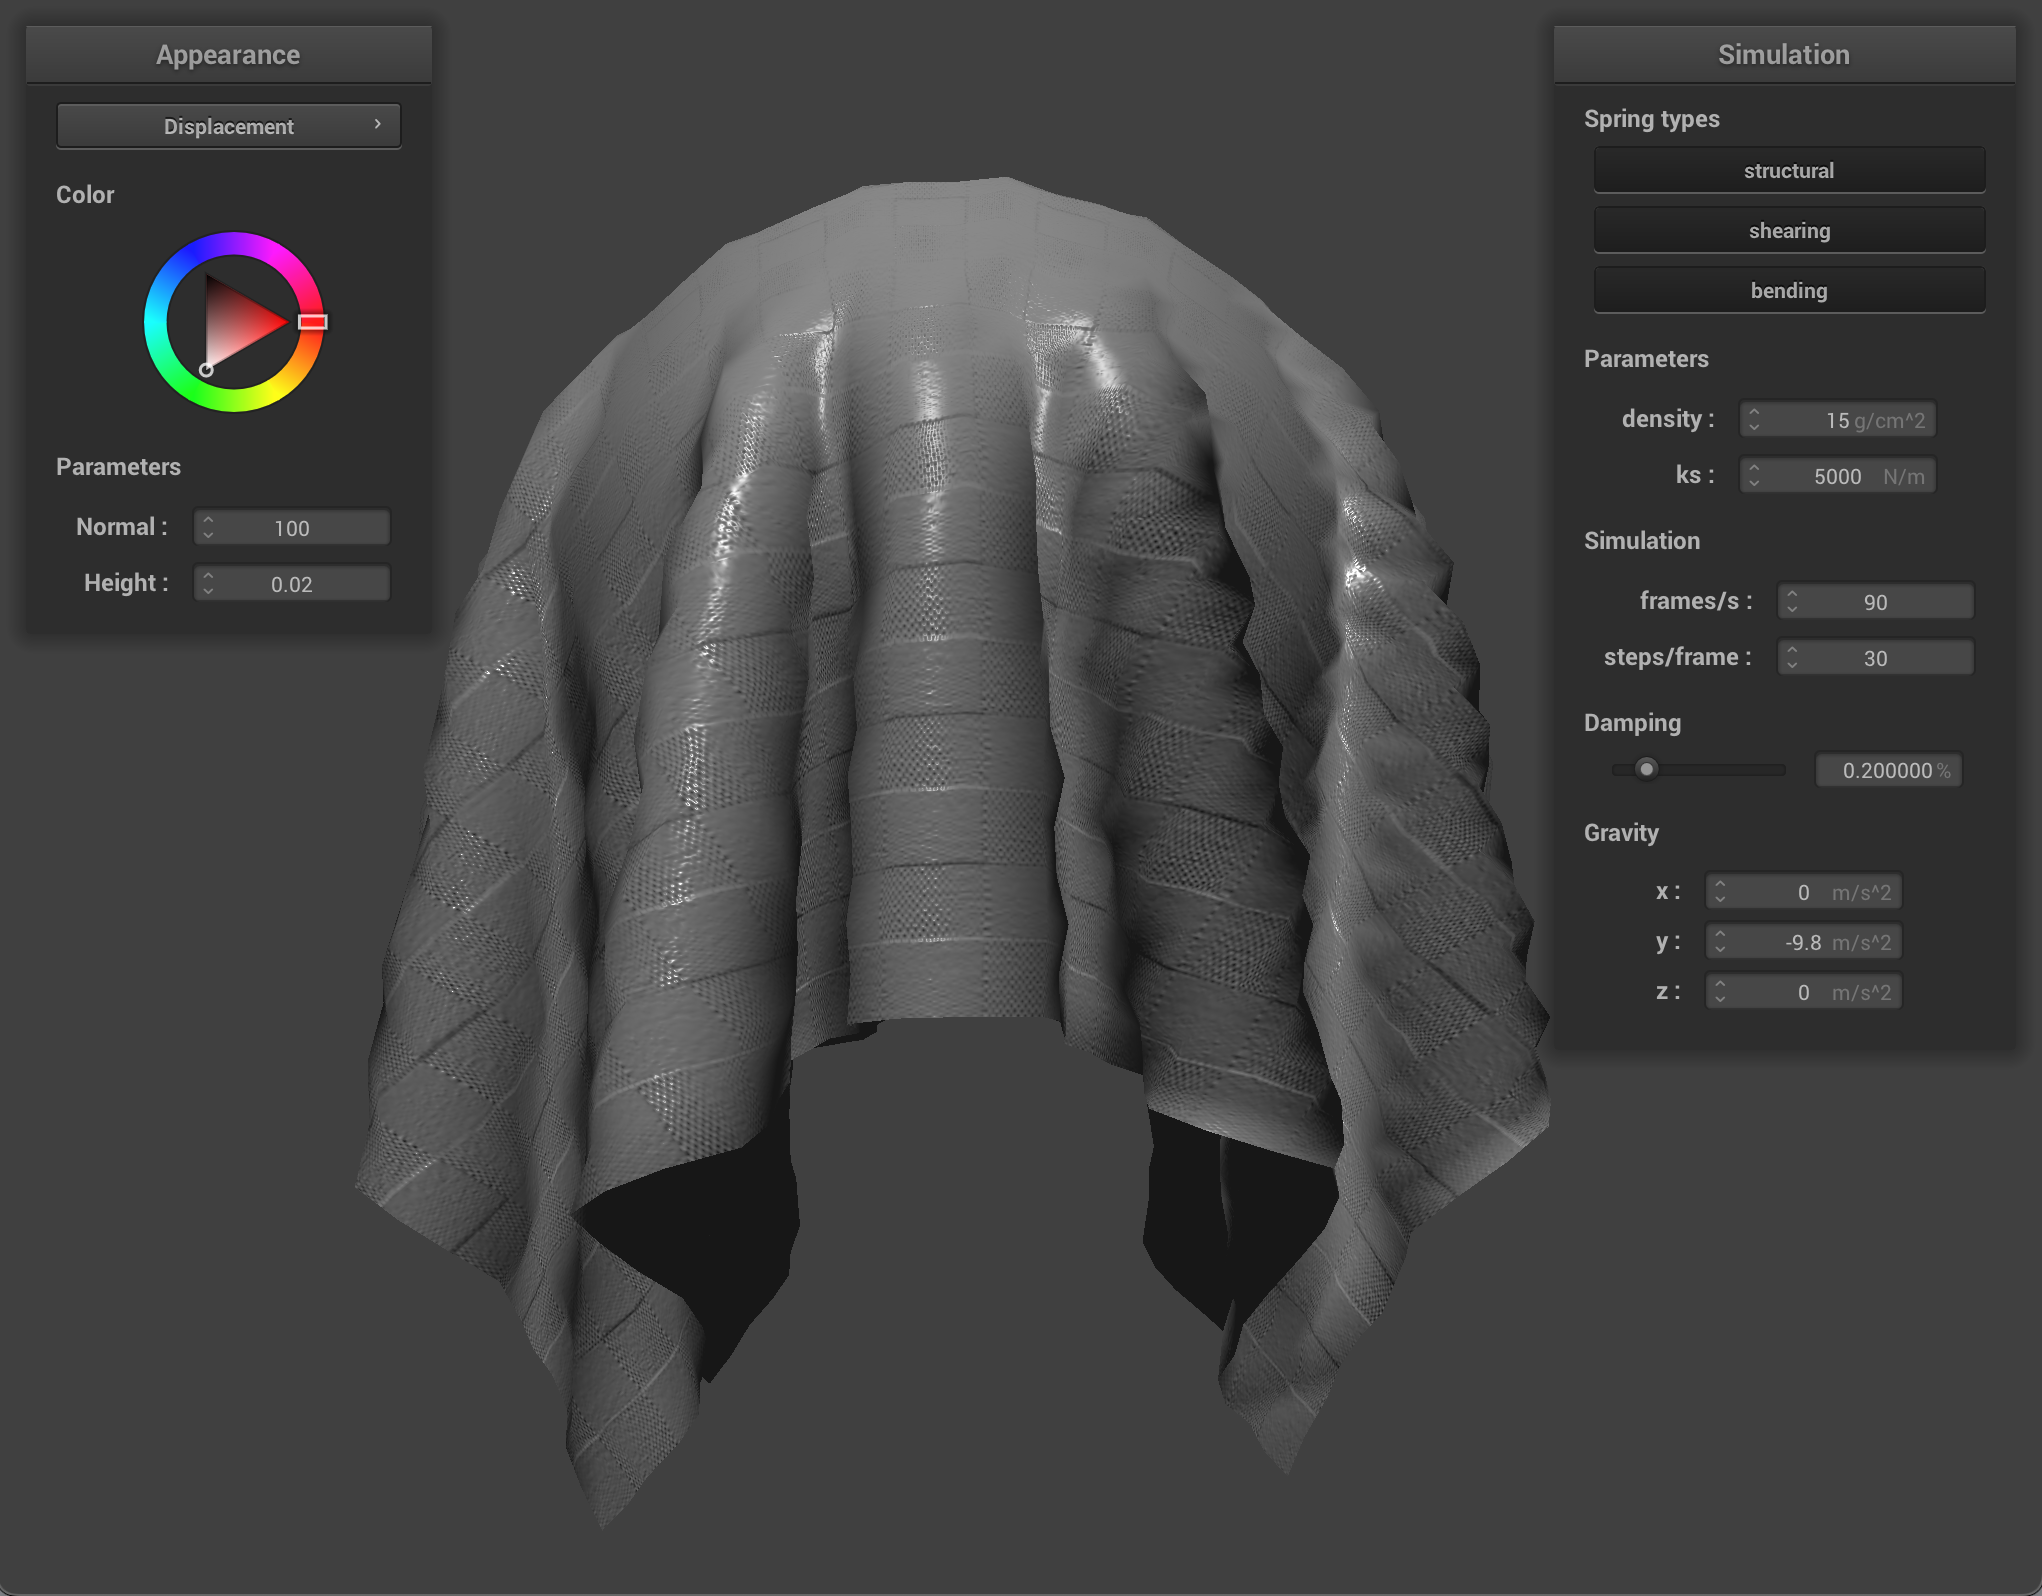
We can also use a texture map to displace the vertices themselves, to give the texture a more realistic appearance and change the actual quality of the cloth itself. I chose to use the picnic table-cloth texture because it it something that we see often in real life, so we can see how changing the values corresponds to what the quality of the material would feel or look like in the real world. Bump mapping just gives the appearance of the cloth taking on the texture, while displacement mapping, as it’s name implies, actually give the cloth texture by displacing vertices according to the given texture.
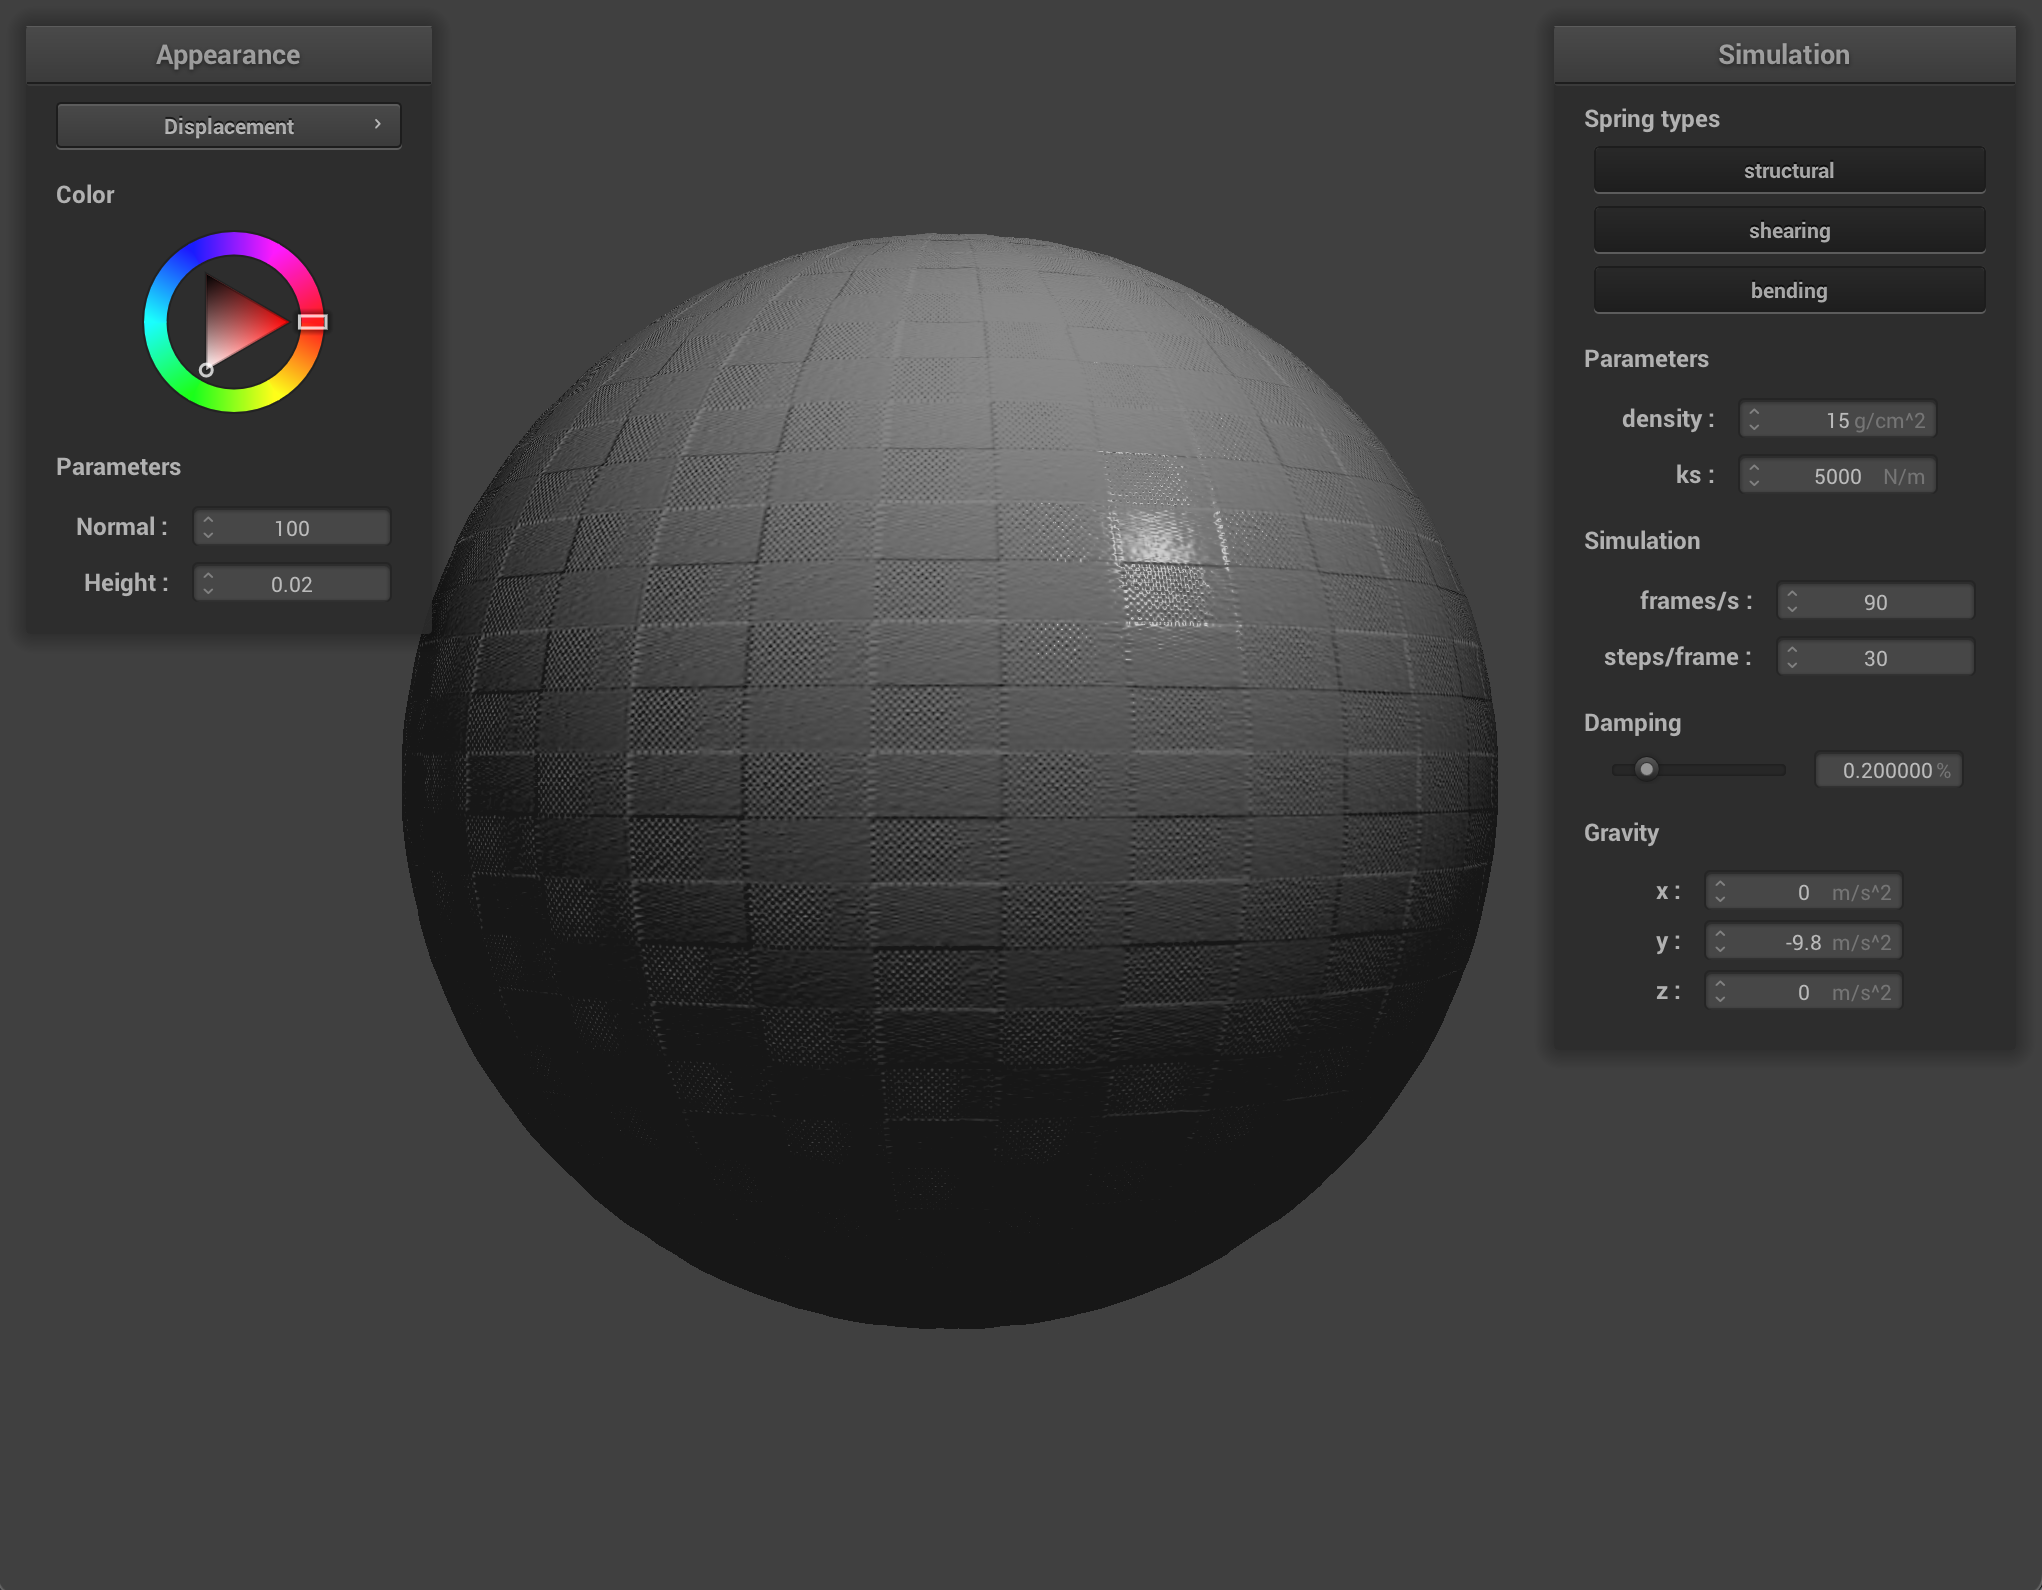
When we compare the following, we can see how displacement mapping causes the object to behave a little differently than bump mapping. The sphere has more surfaces that block incoming light, so it appears darker, and the cloth’s texture causes it to have wider folds and sit more loosely on the sphere.
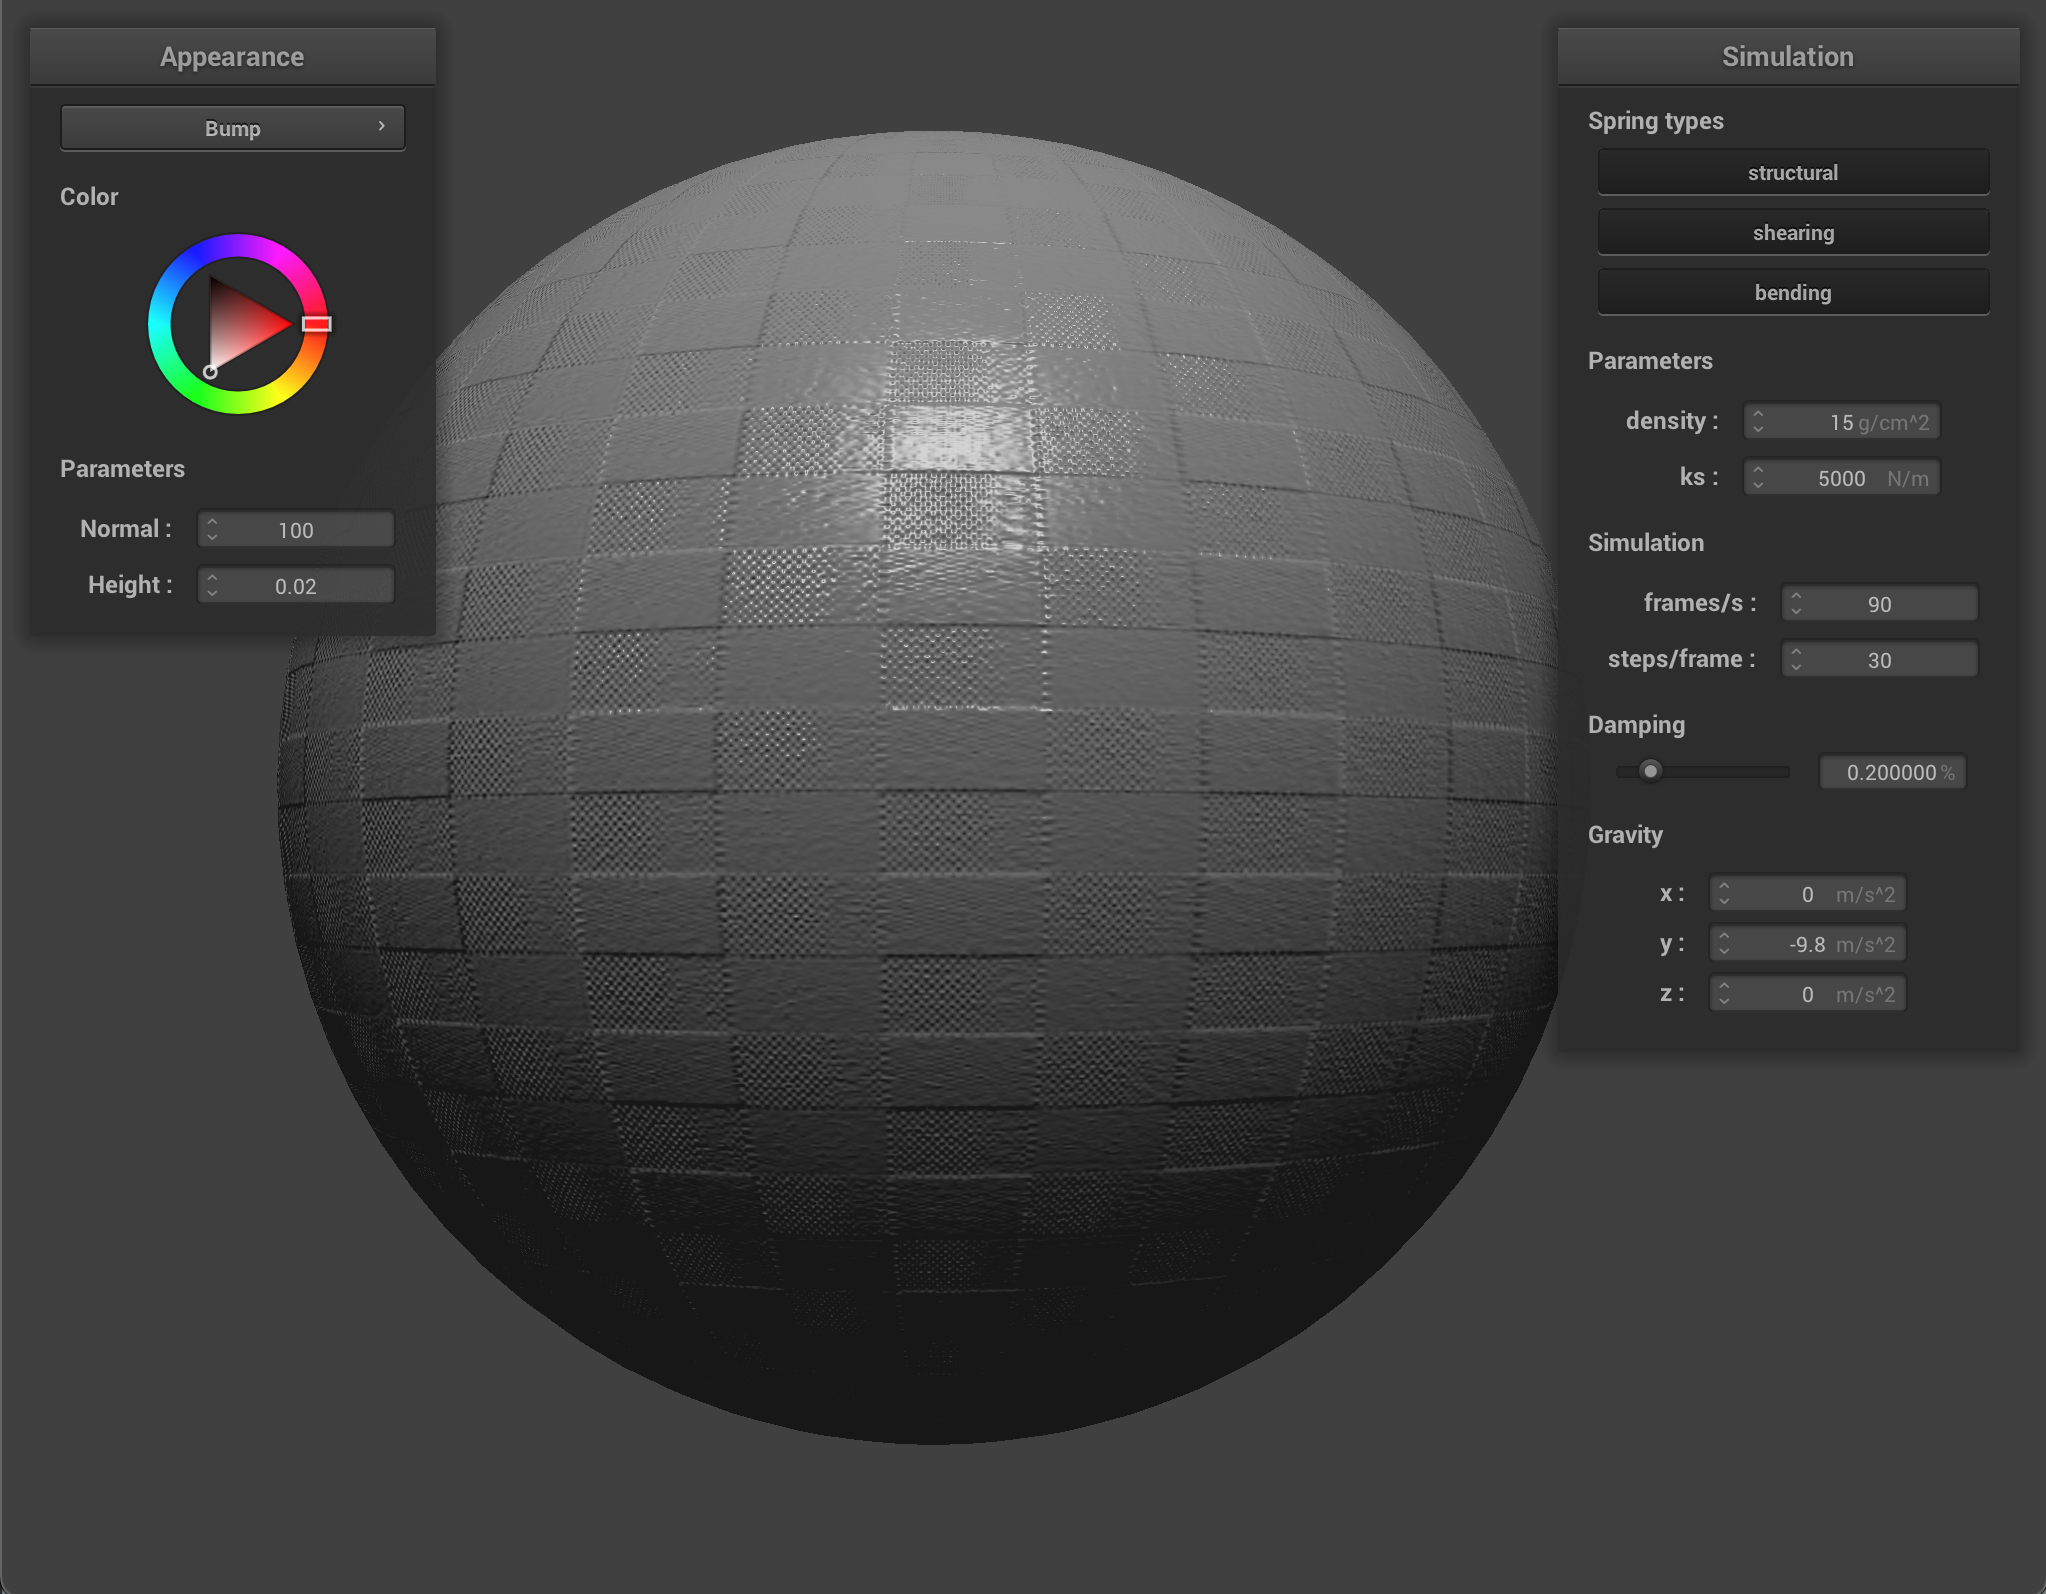
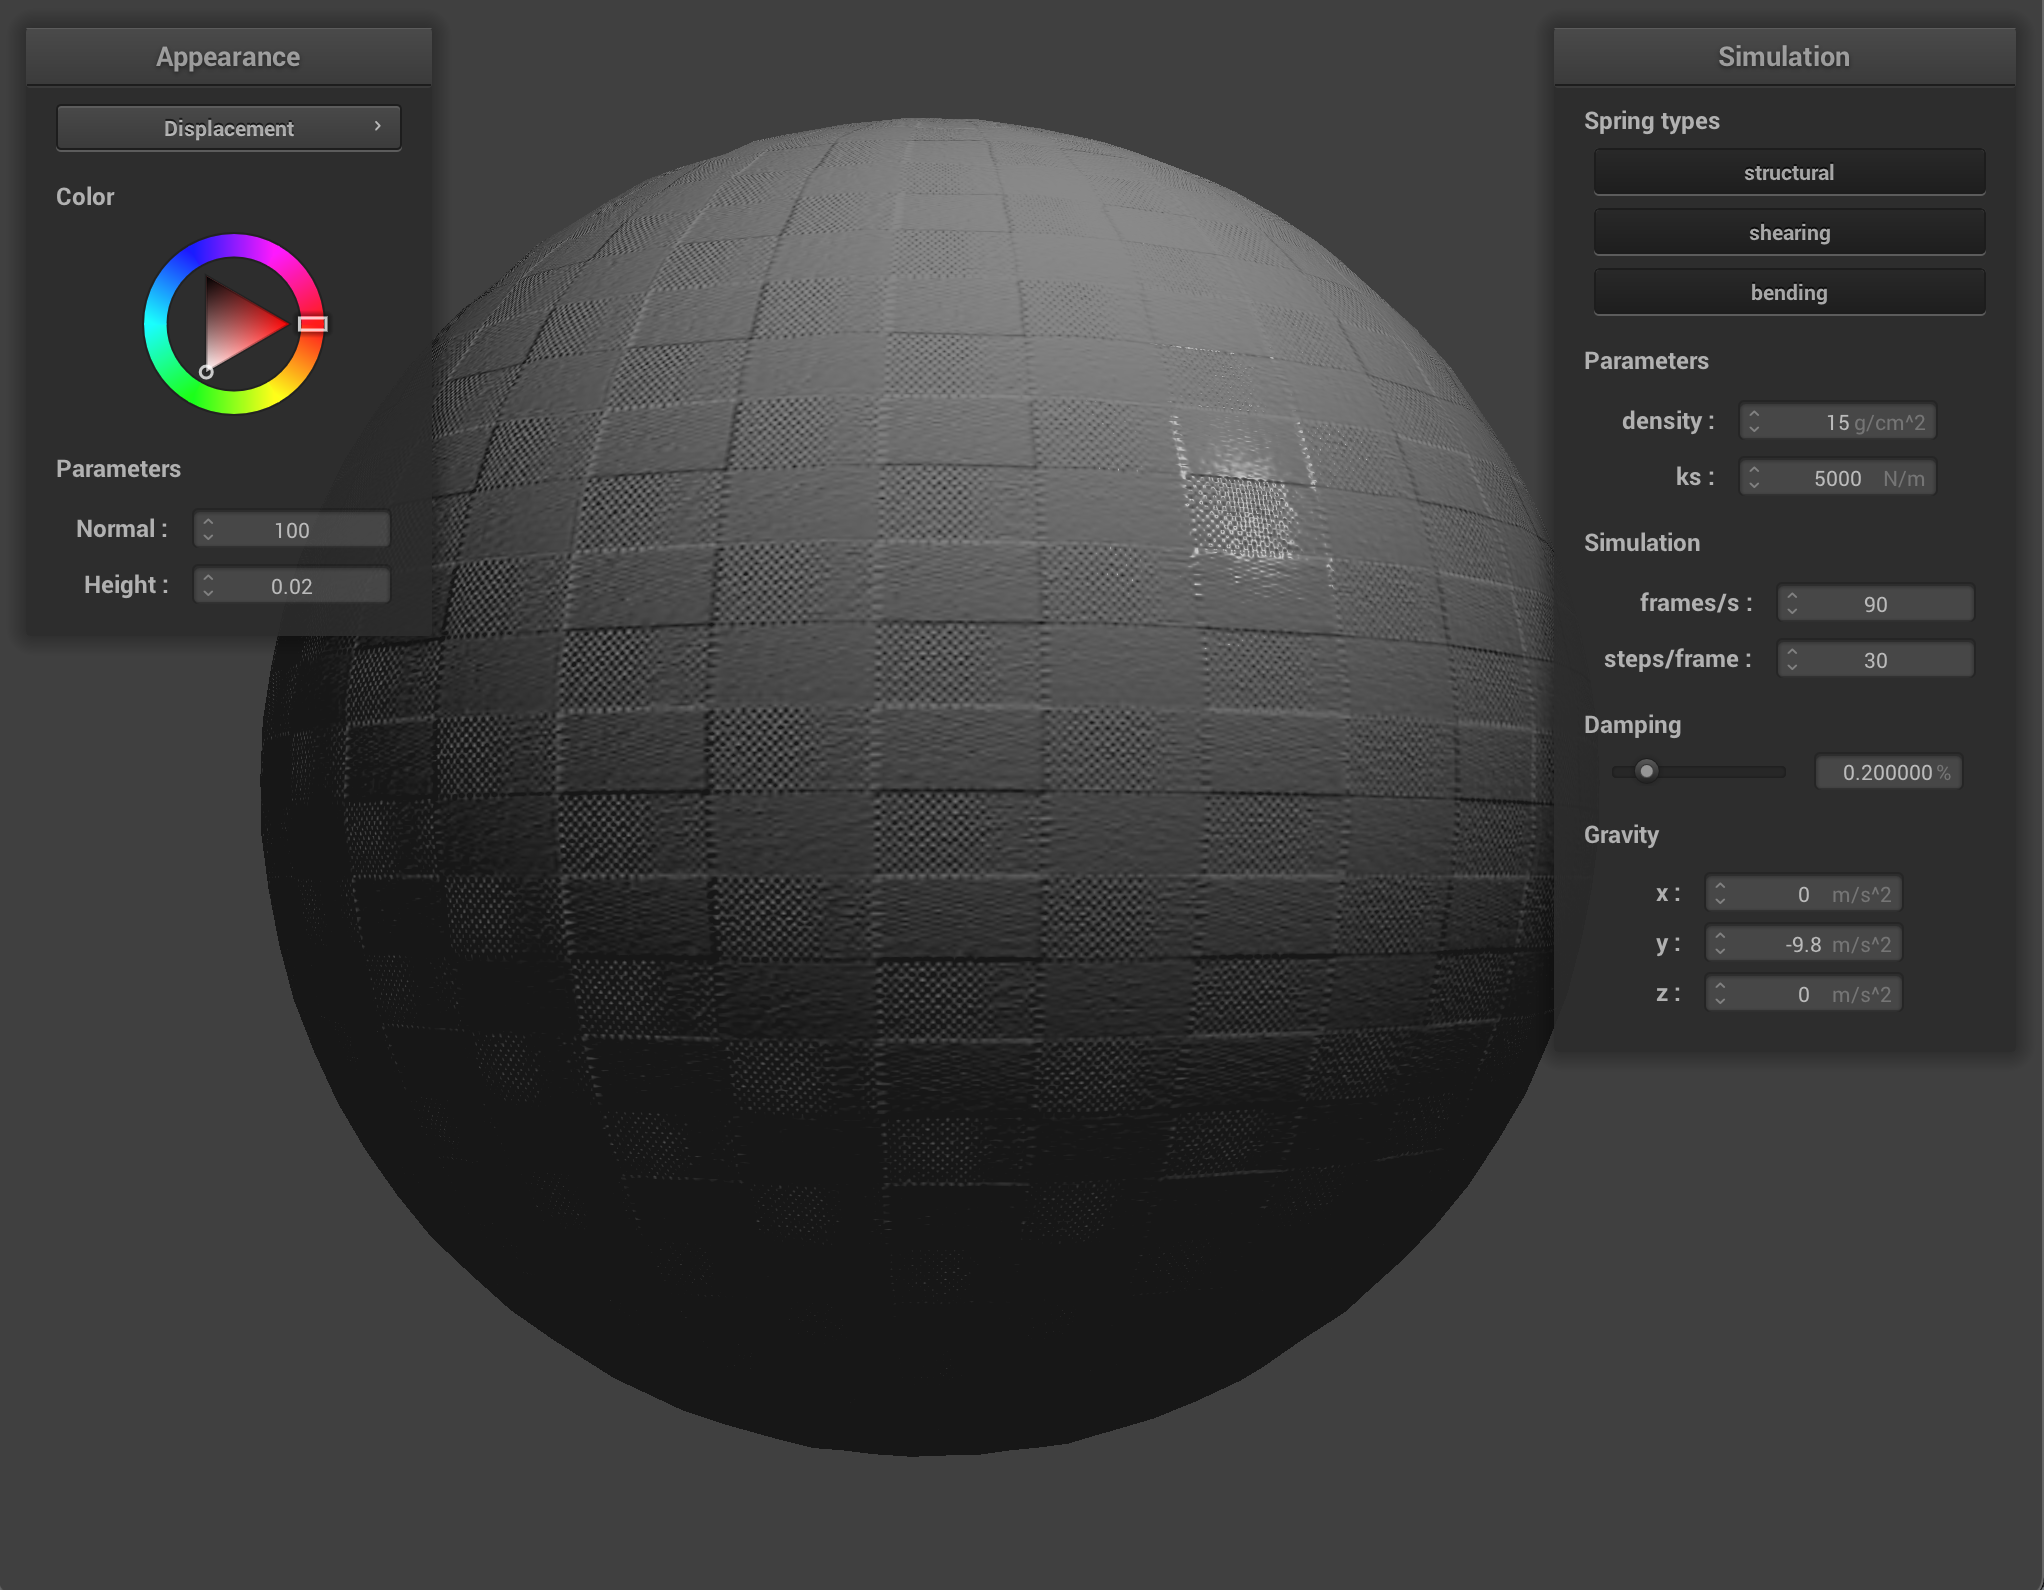
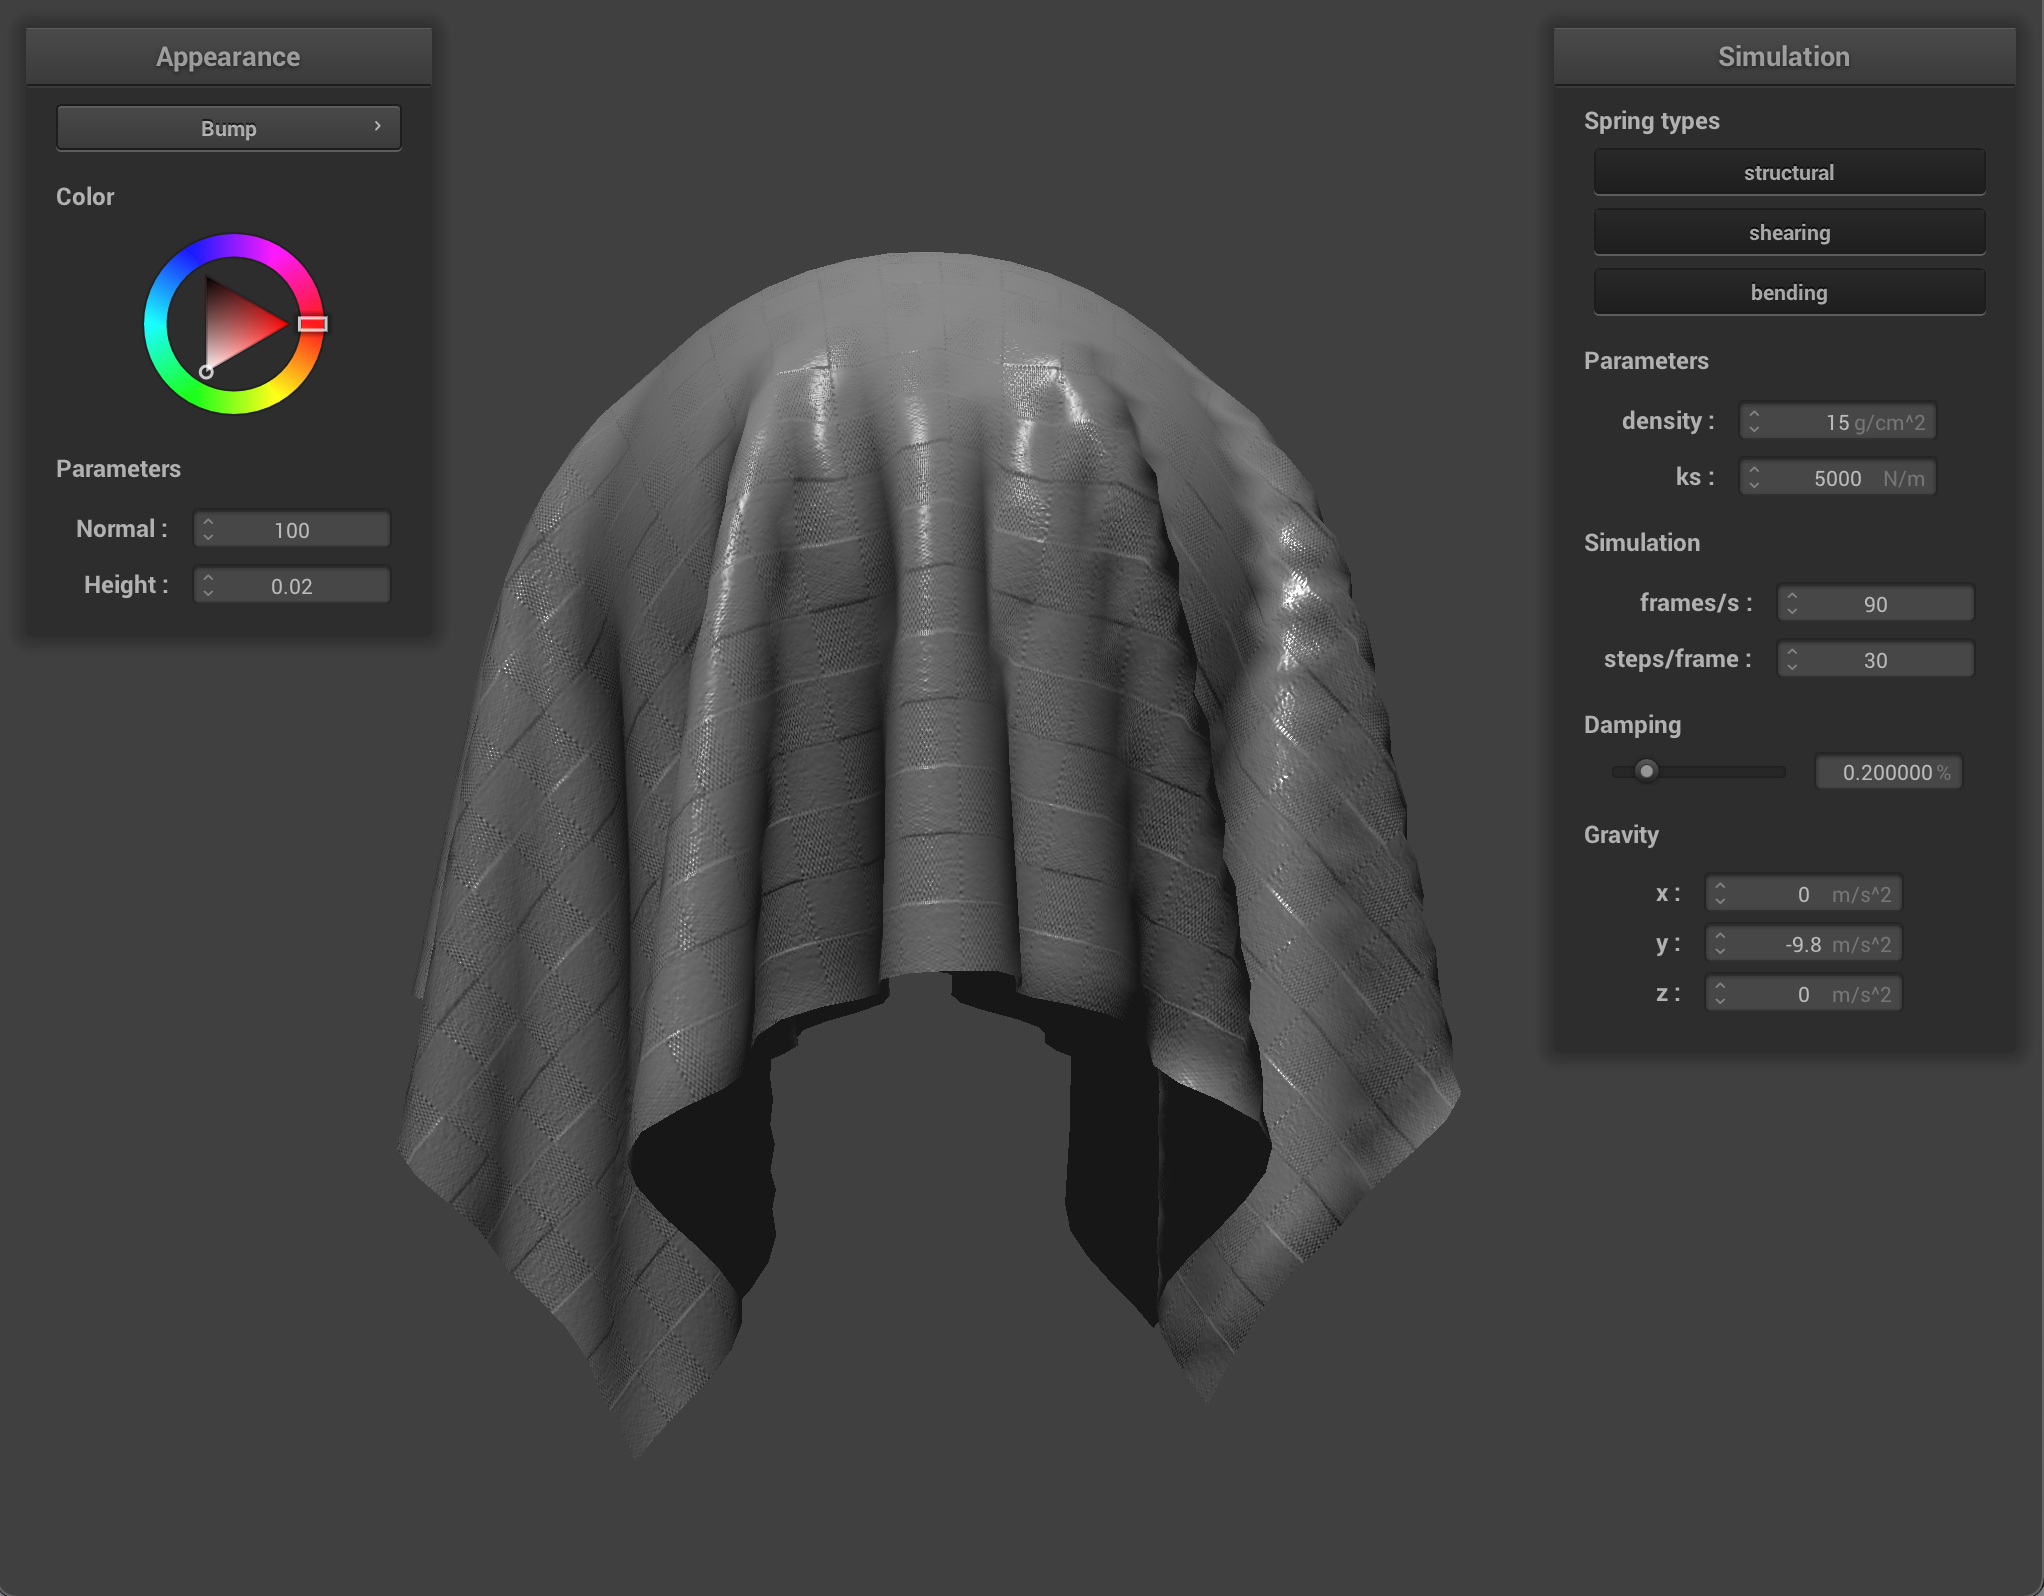
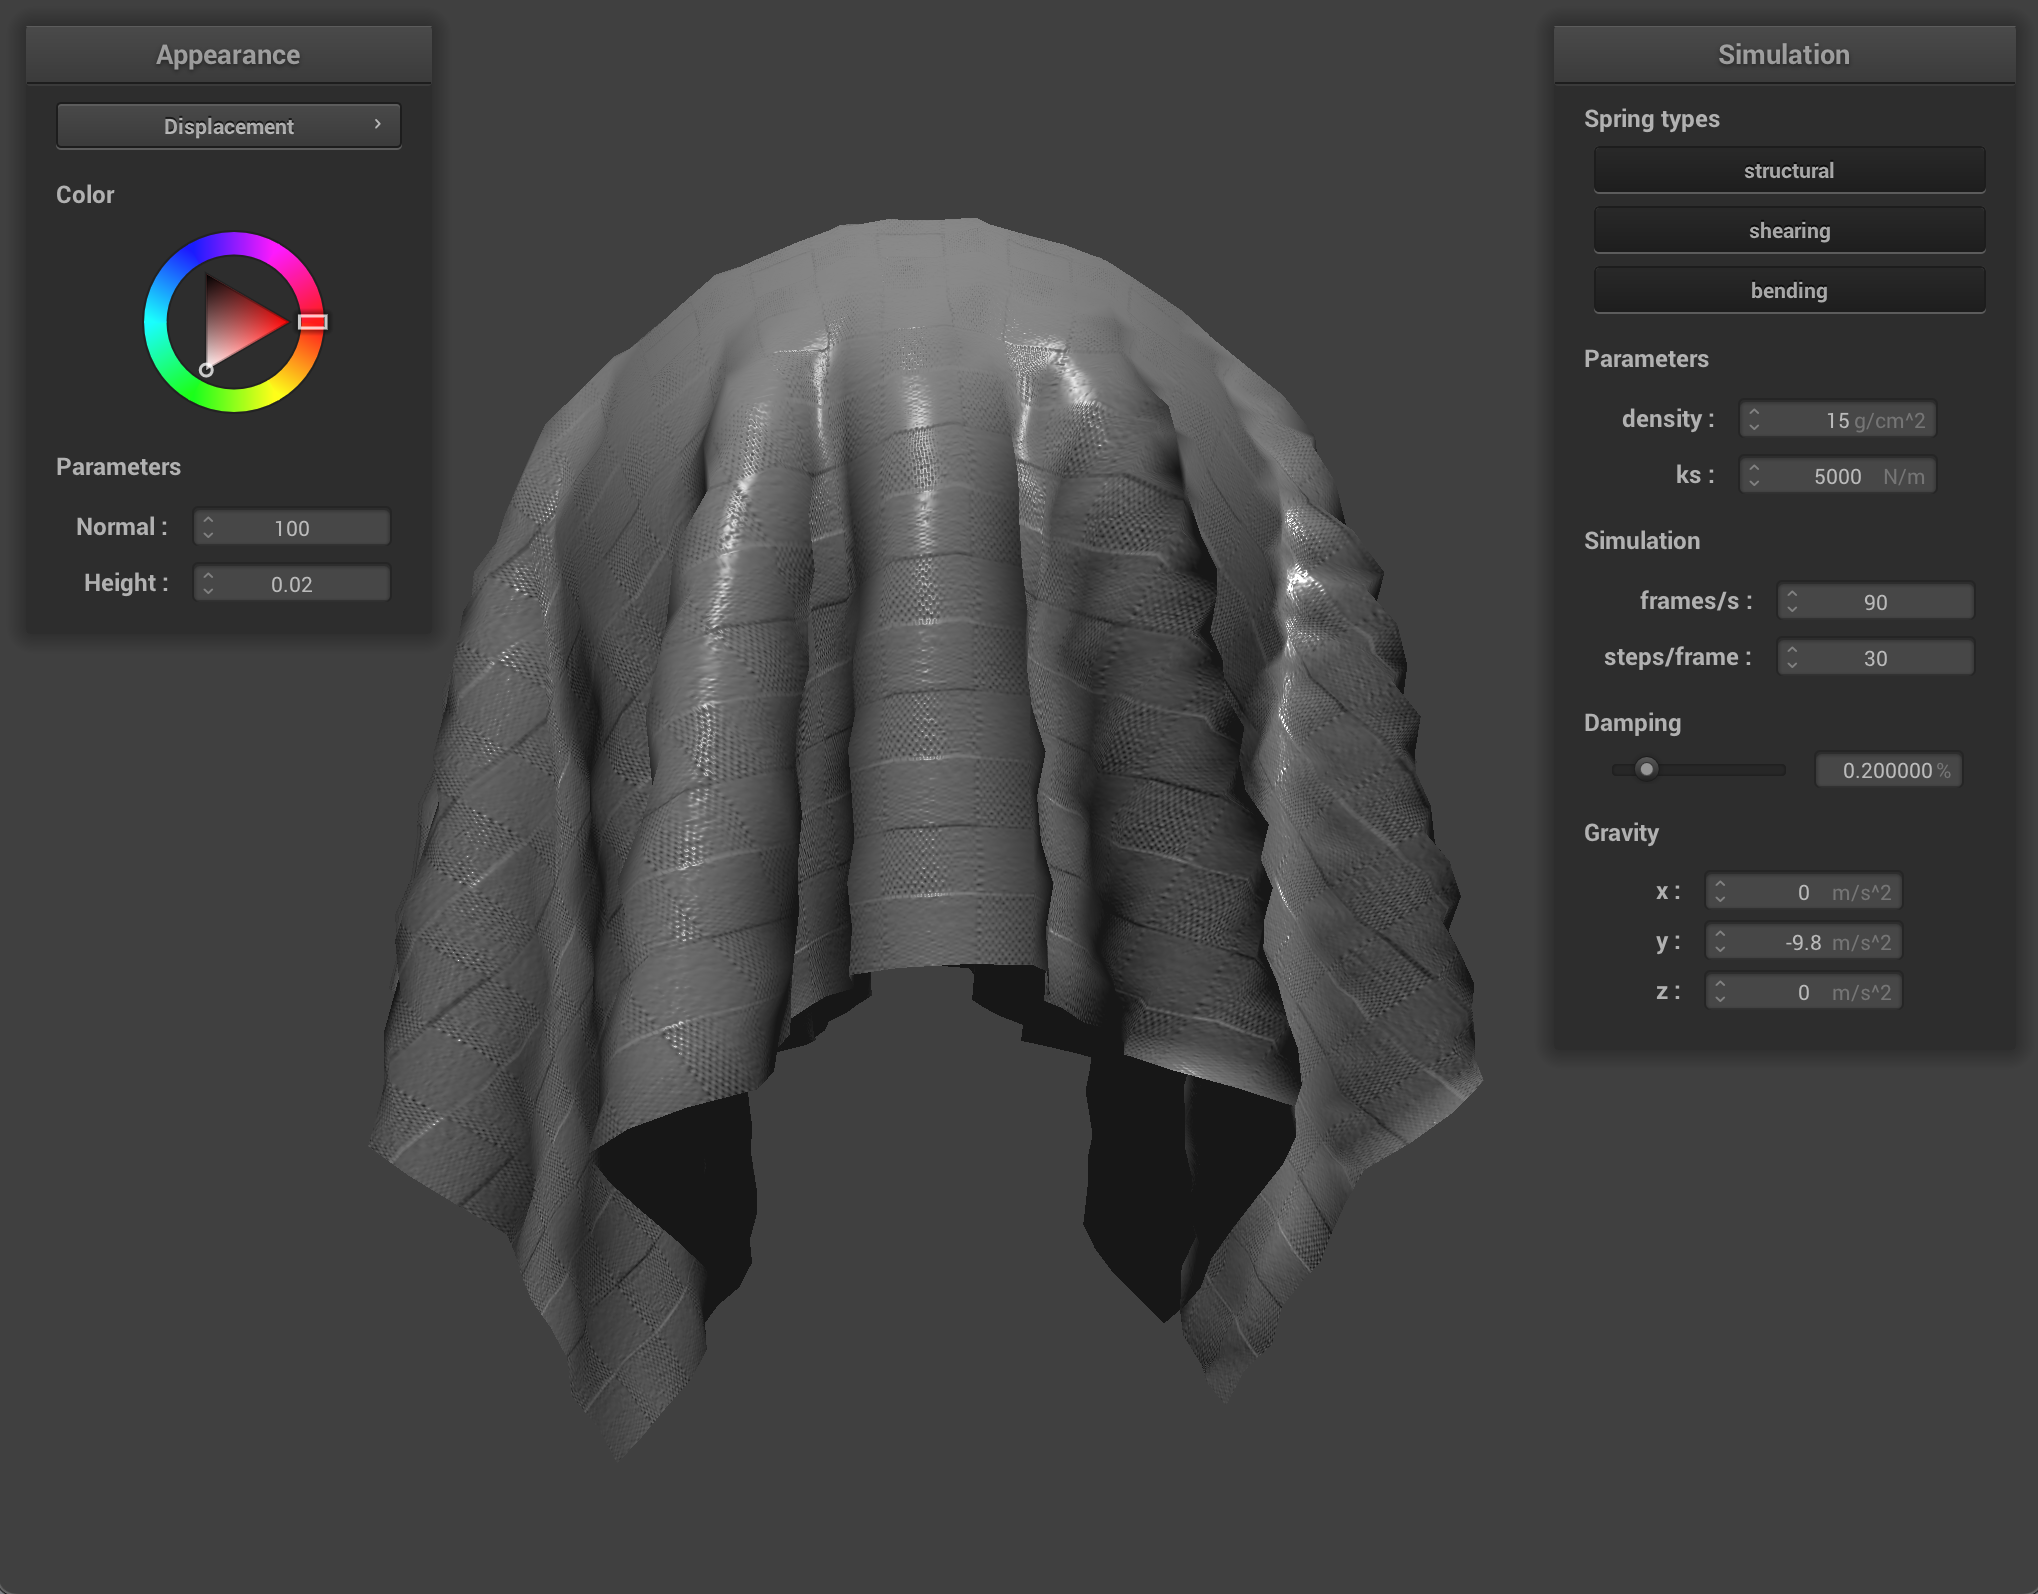
By increasing the coarseness, the texture gets more fine-grained and shows more detail. As we can see, the texture has a noticeably low resolution at default coarseness, which shows especially in bump mapping. By upping the coarseness, it makes the texture mapped on the sphere look more realistic, especially with the bump mapping that doesn’t actually change the surface of the sphere. Displacement mapping doesn’t require a high coarseness in the same way because of how it already realistically reacts to the light due to the change in the vertex positions.
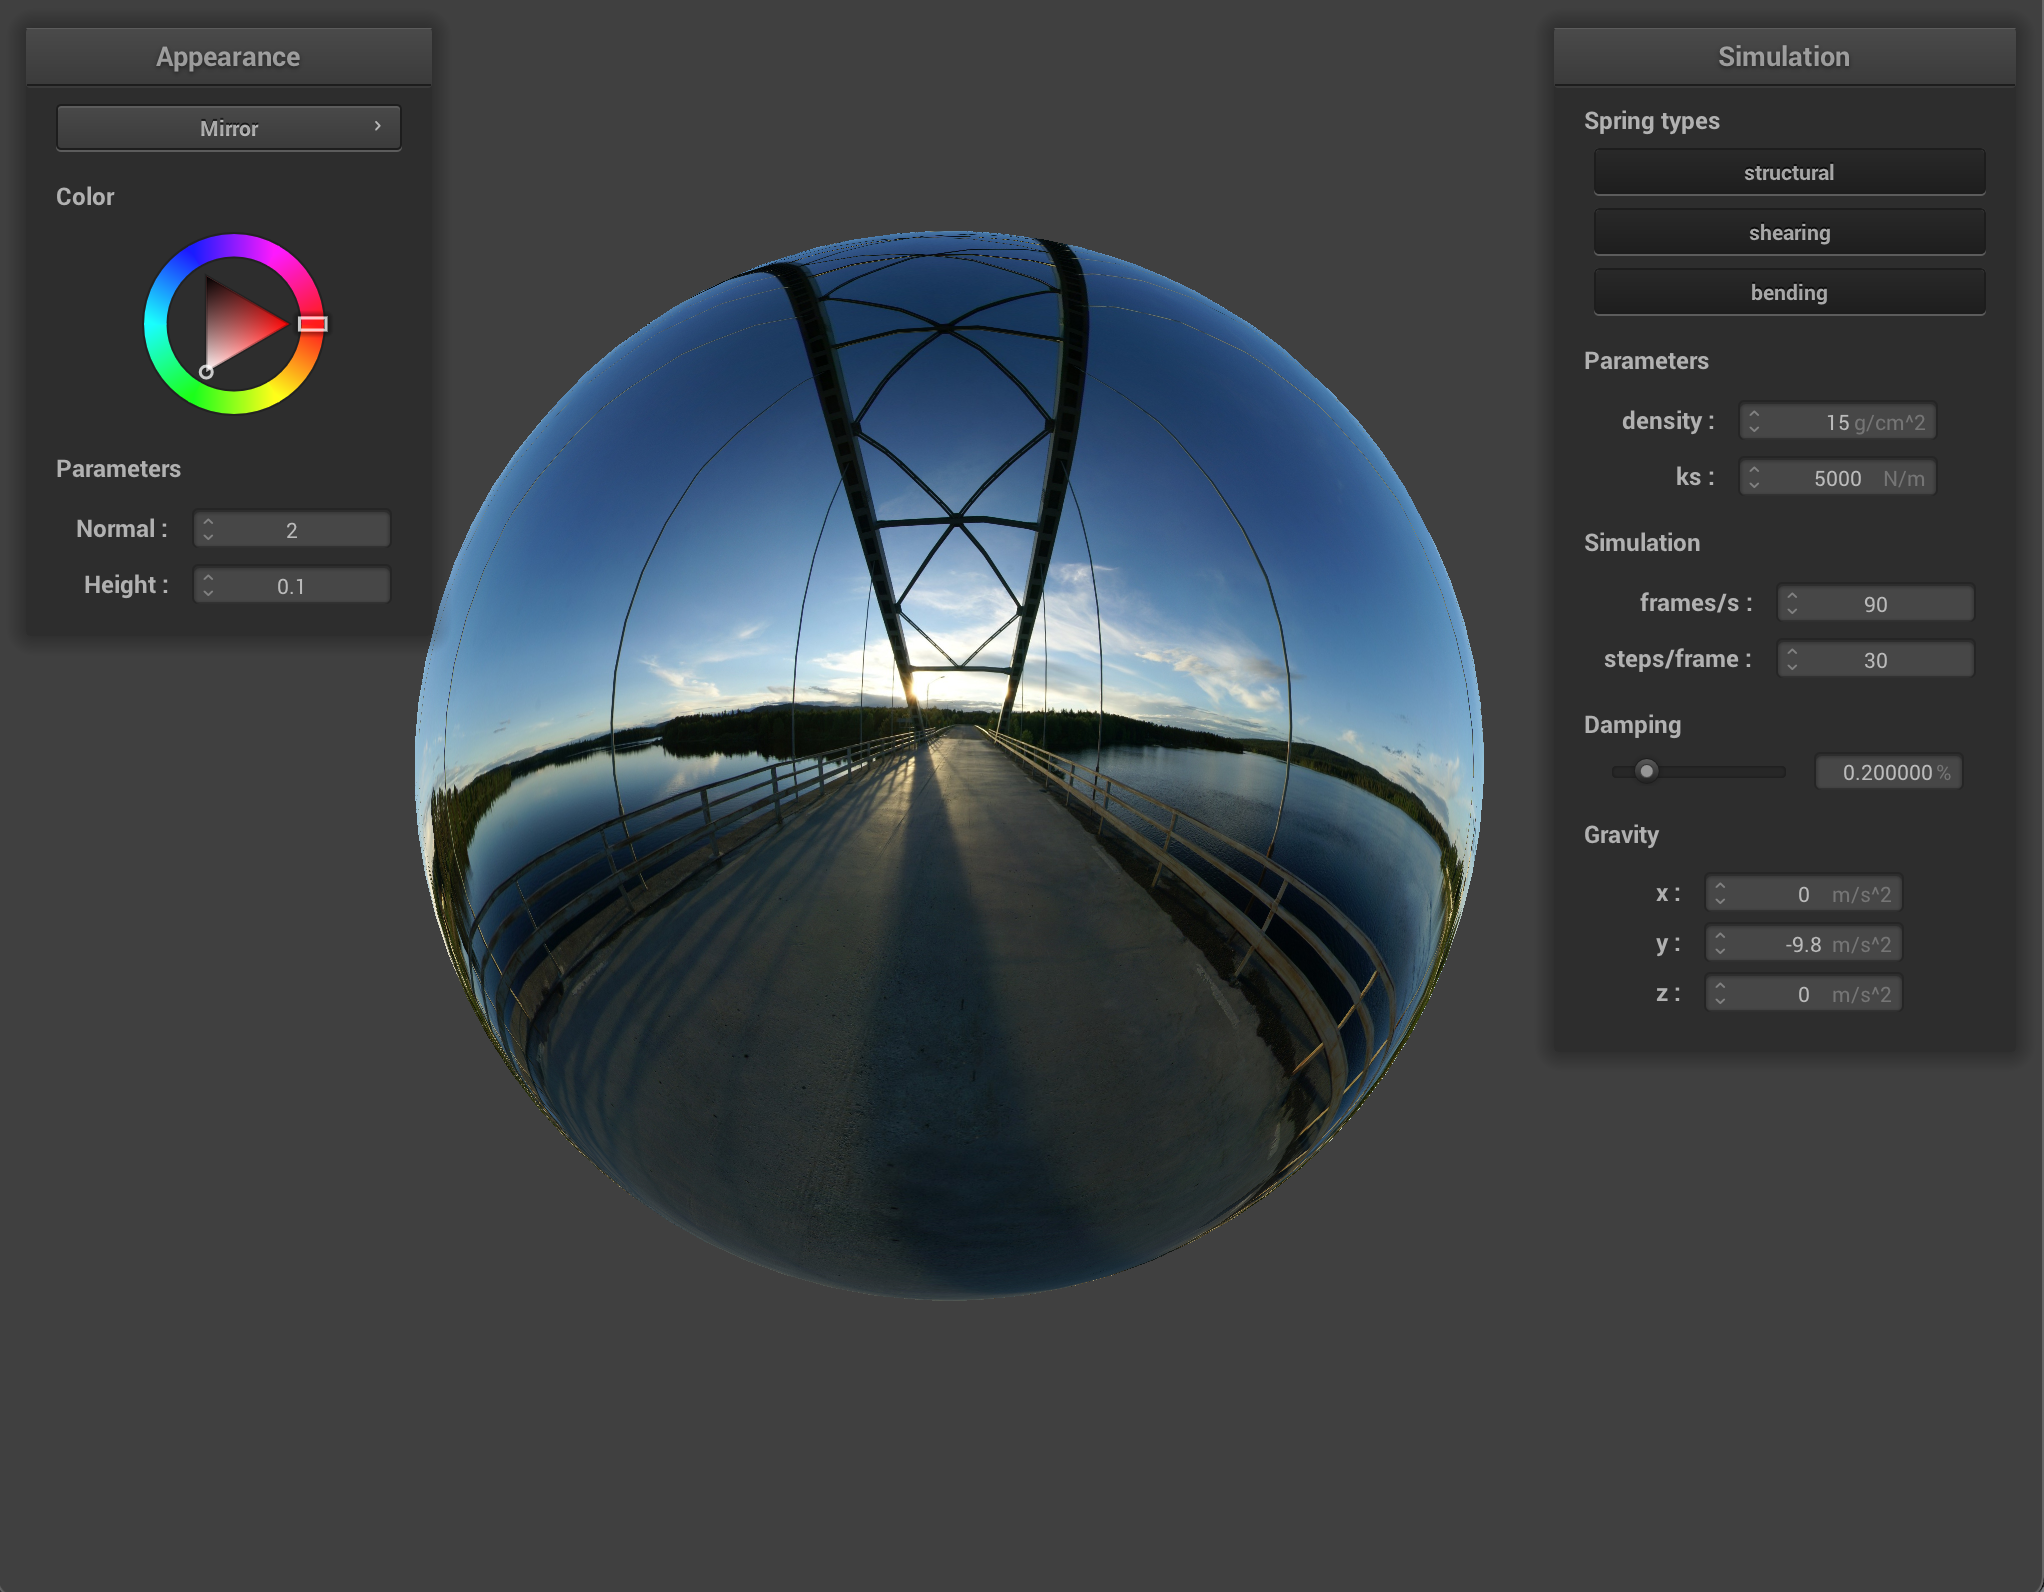
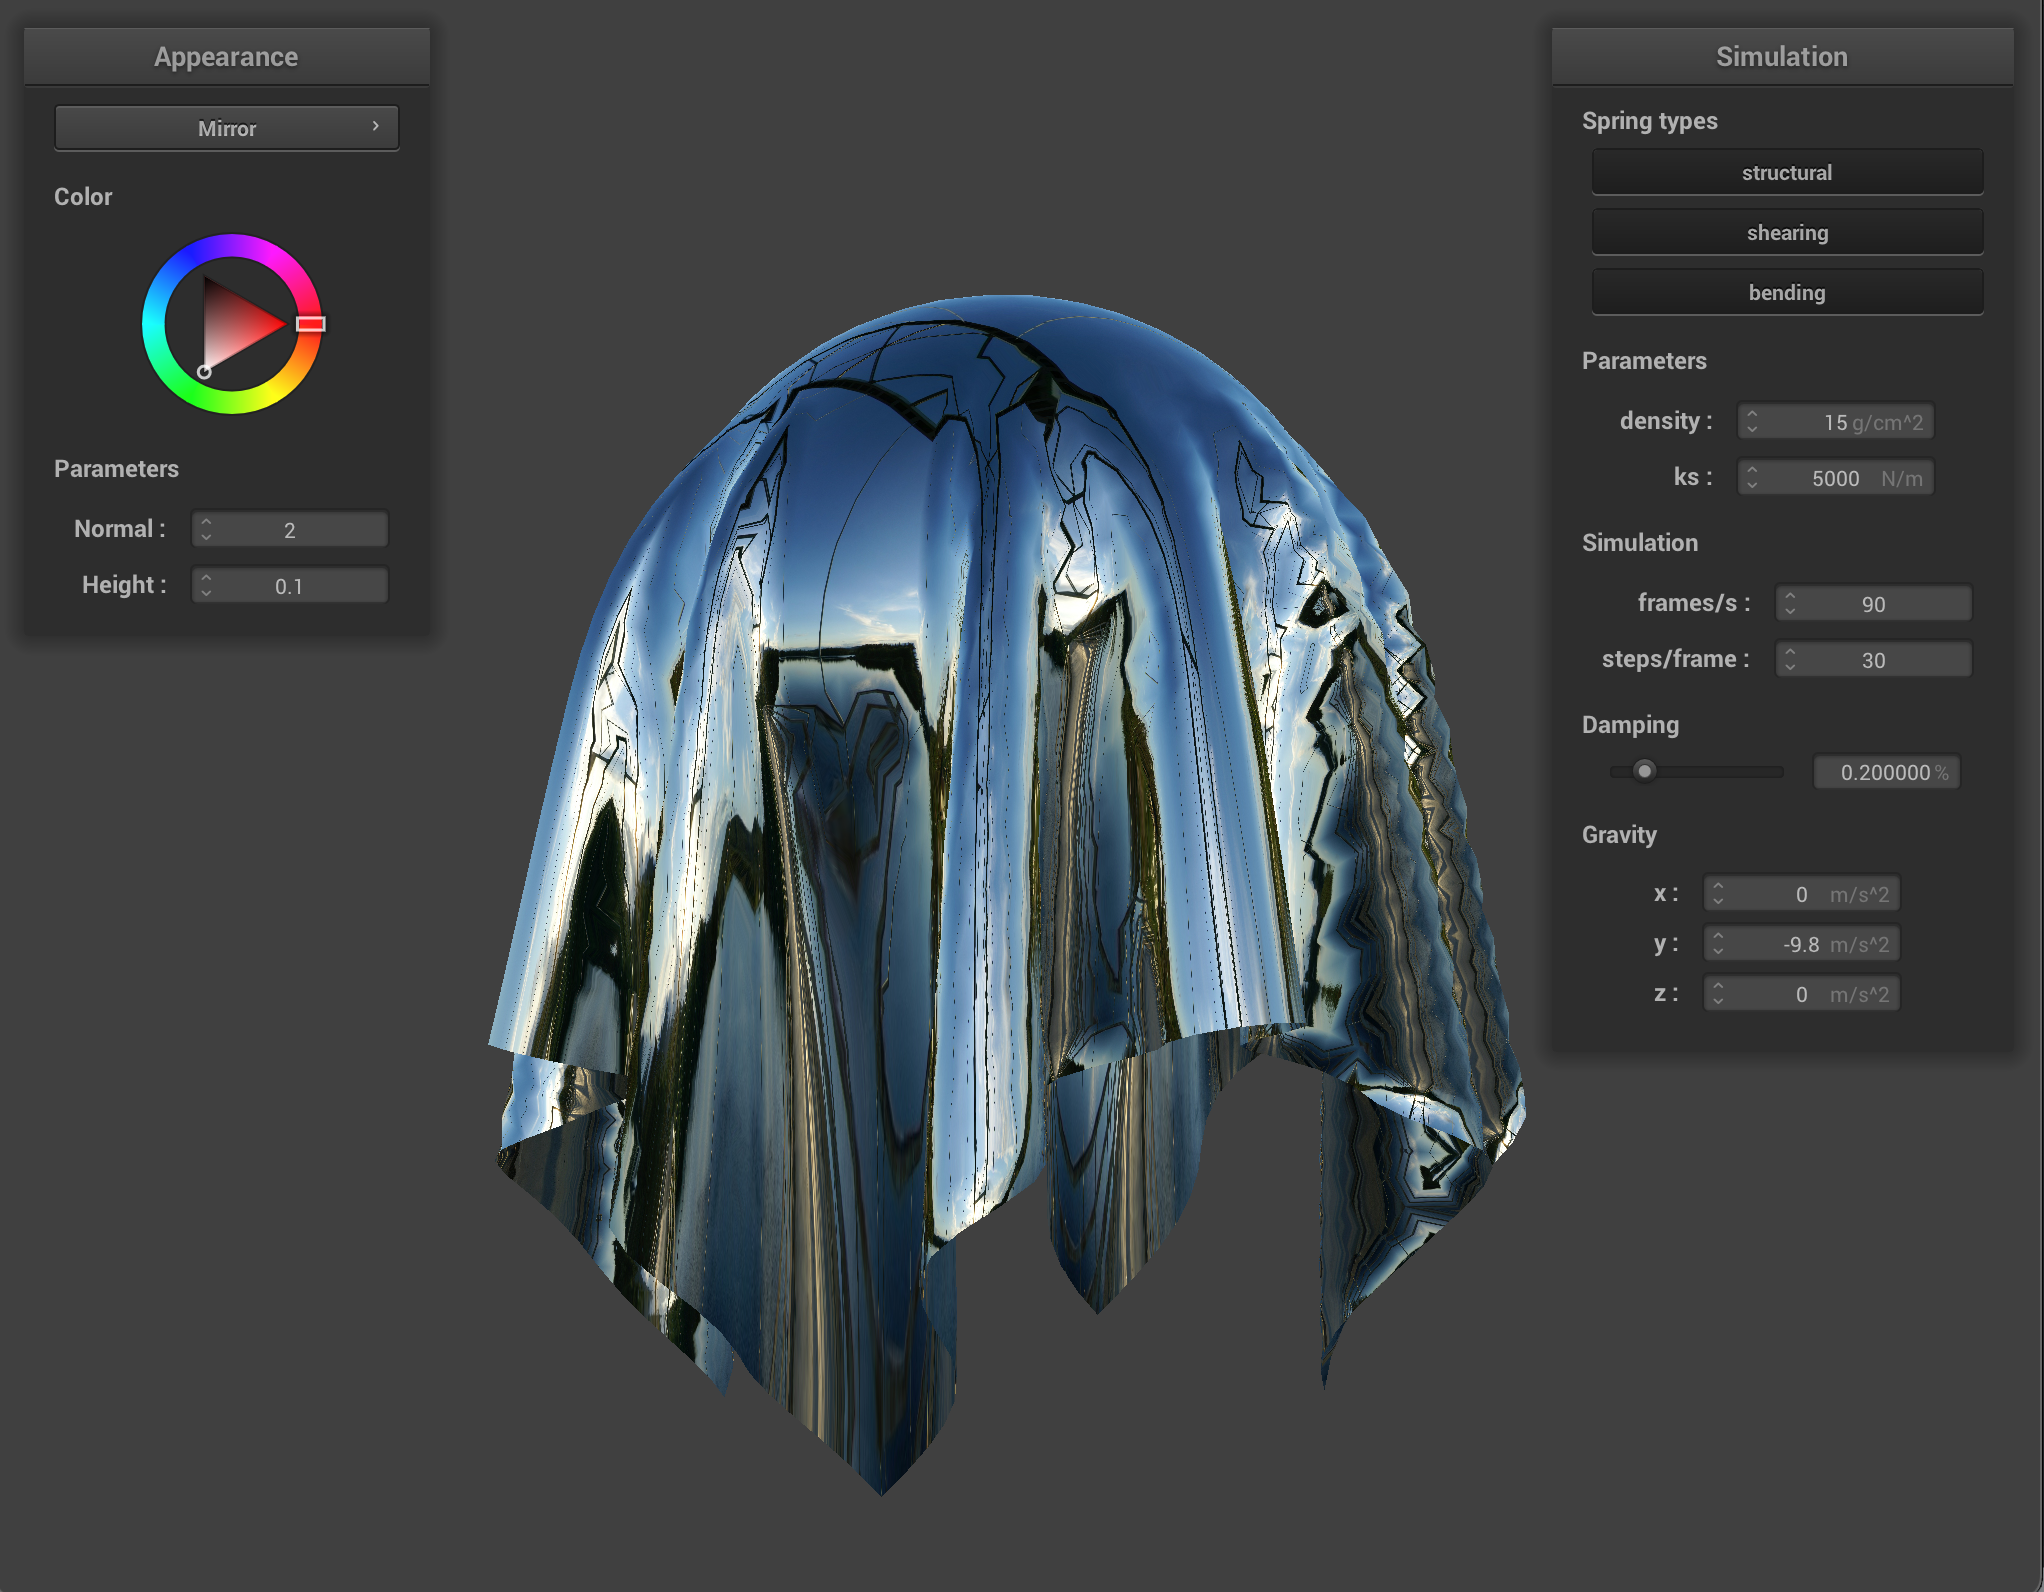
The last shader I implemented was the mirror shader, which was very simple but has a really cool result. The mirror shader works by just reflecting the outgoing eye ray across the surface normal and sampling the environment map.
website link: https://cal-cs184-student.github.io/project-webpages-sp23-cmarie243/proj4/index.html