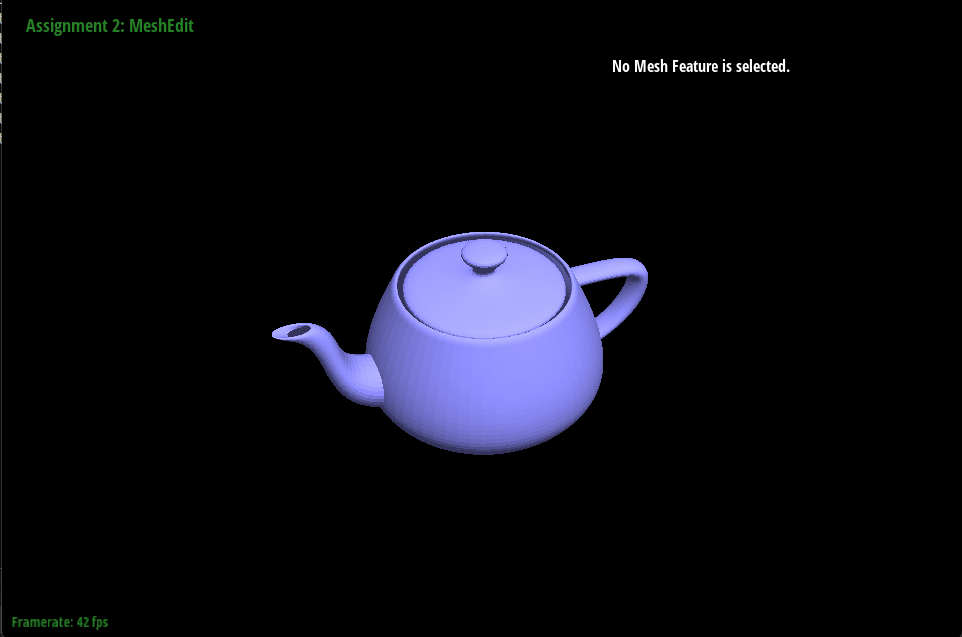
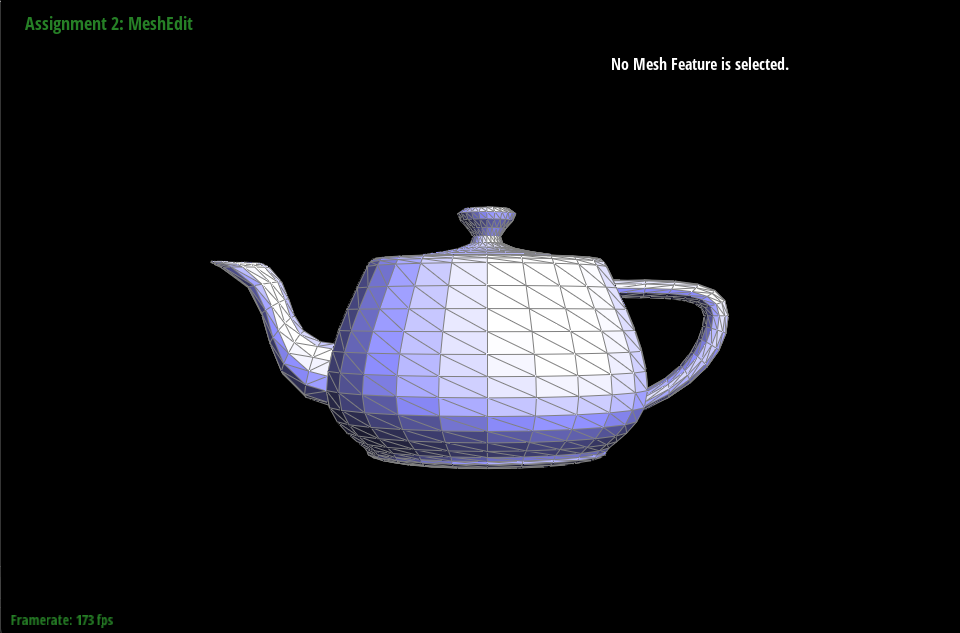
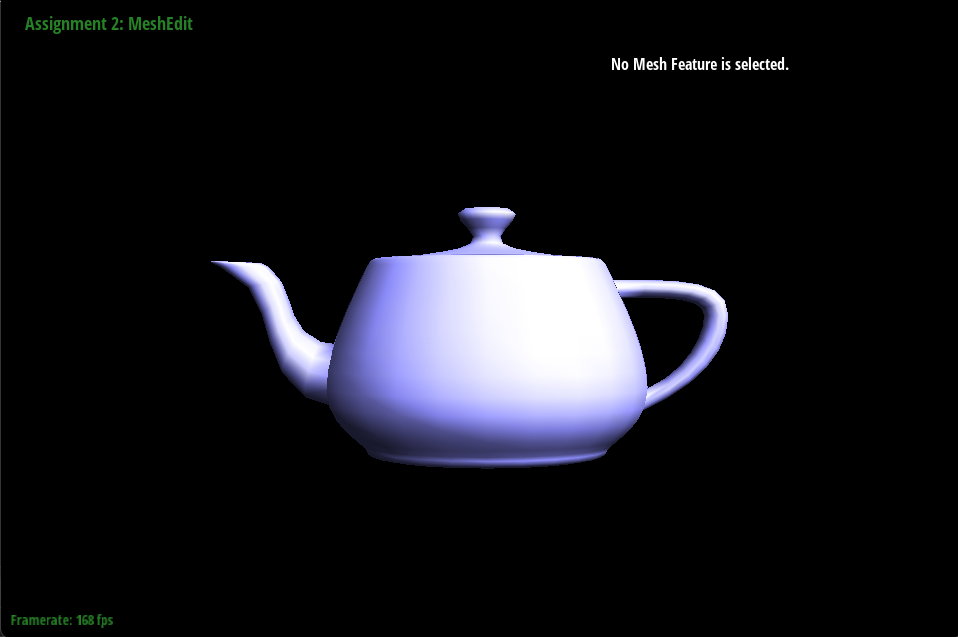
In this project, I added several great additions to a mesh renderer. Bezier curves and surfaces were created for smoothness, and several parts were implemented in order to add upsampling. From the project, I learned a lot about mesh structure and how large tasks can be broken down into much smaller and simpler subparts.
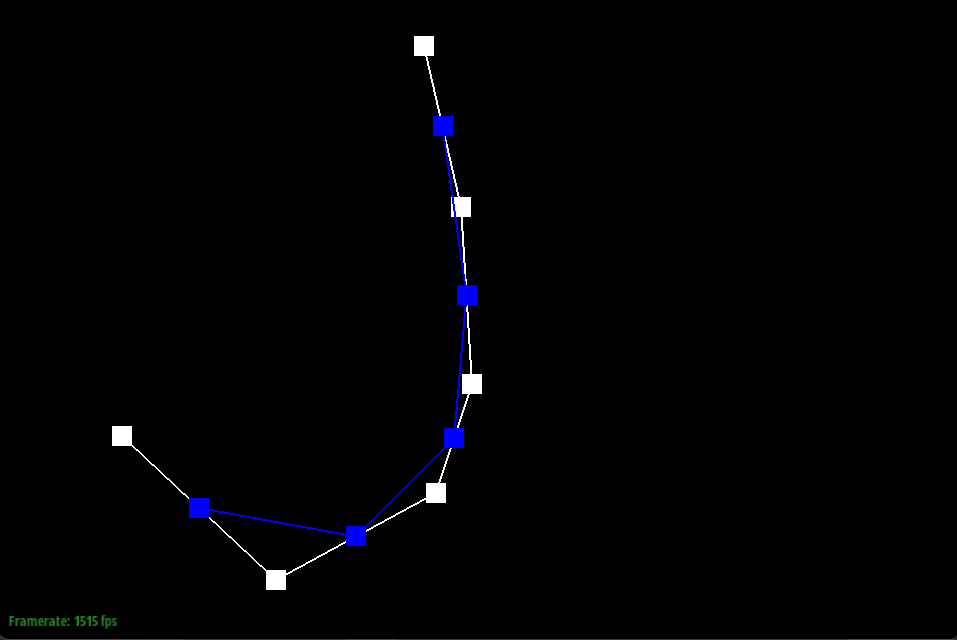
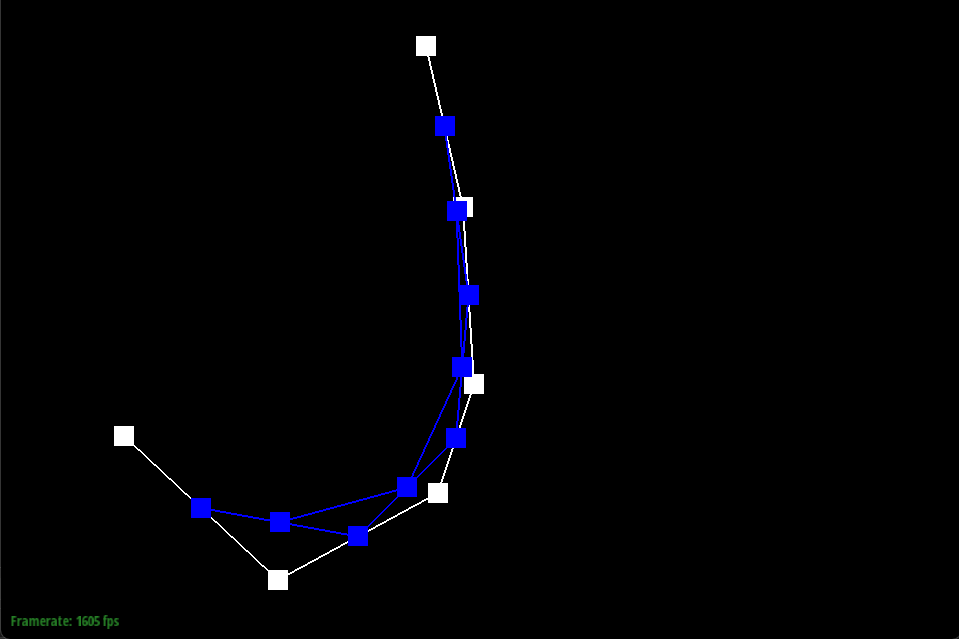
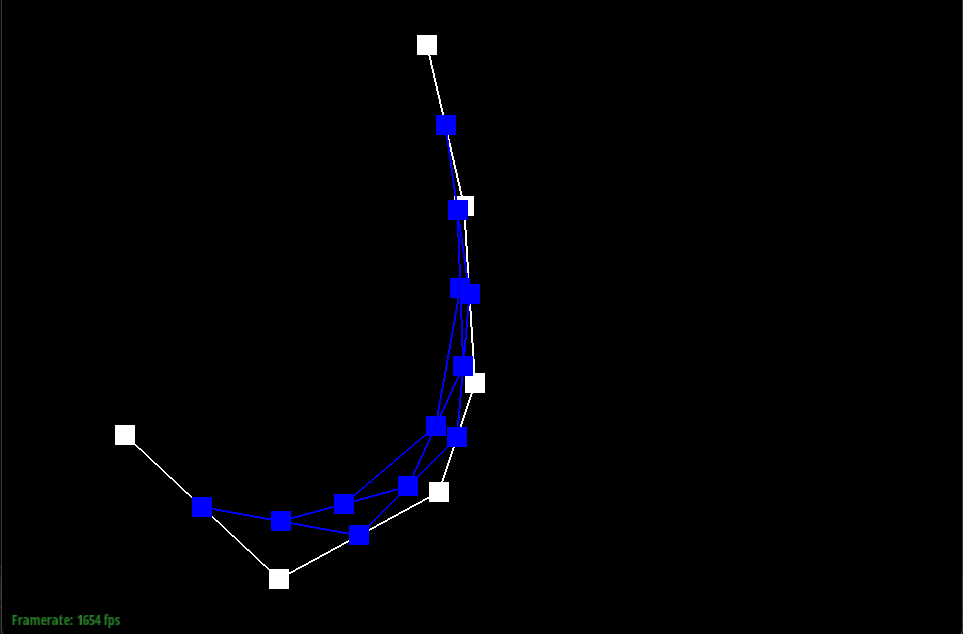
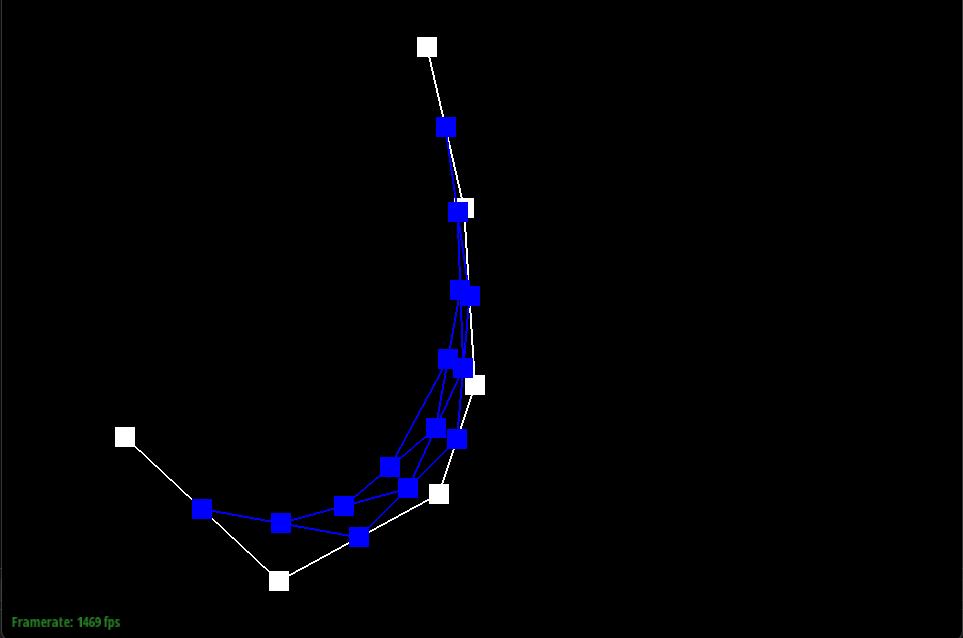
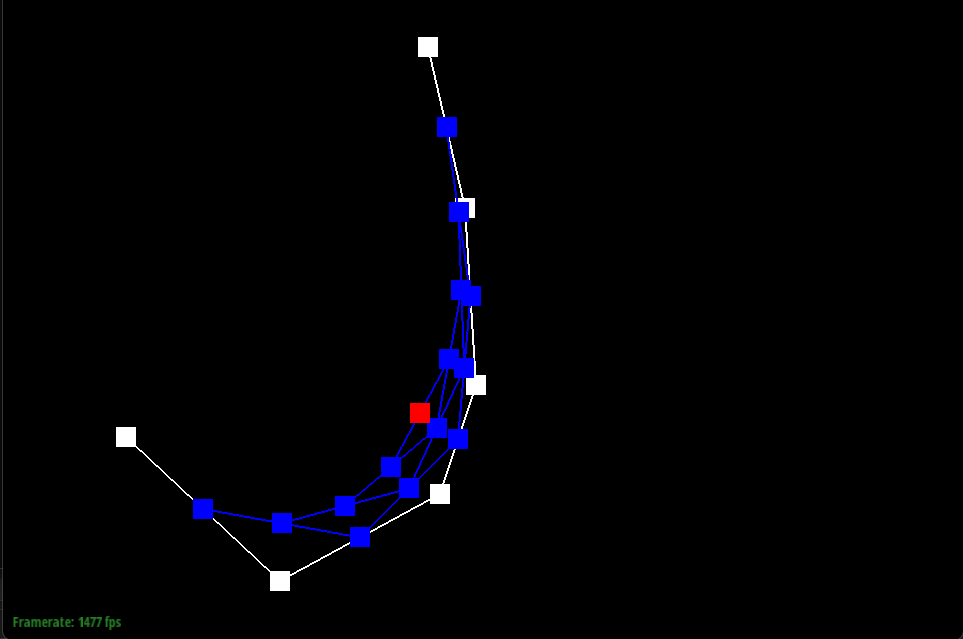
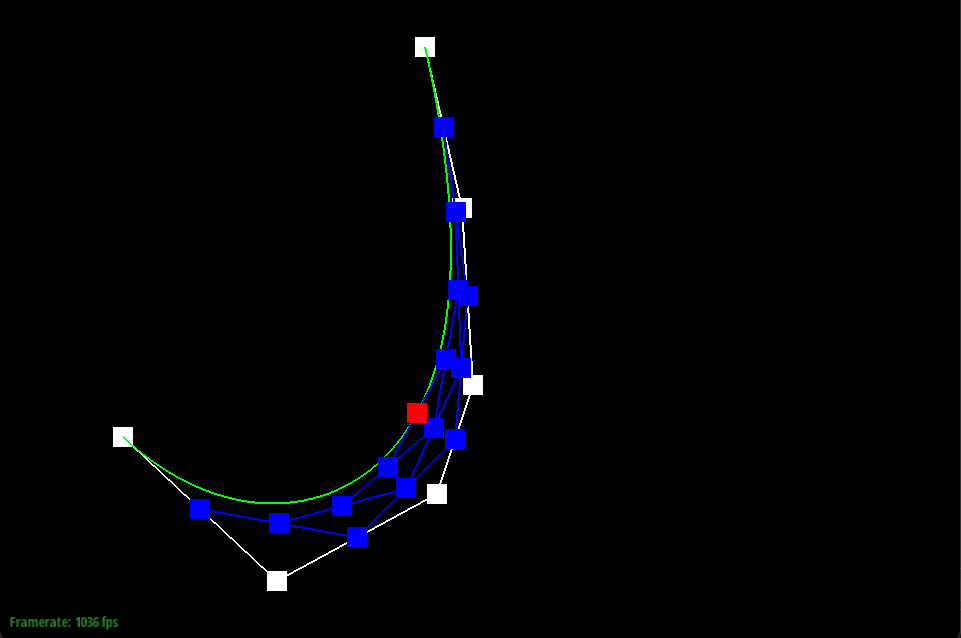
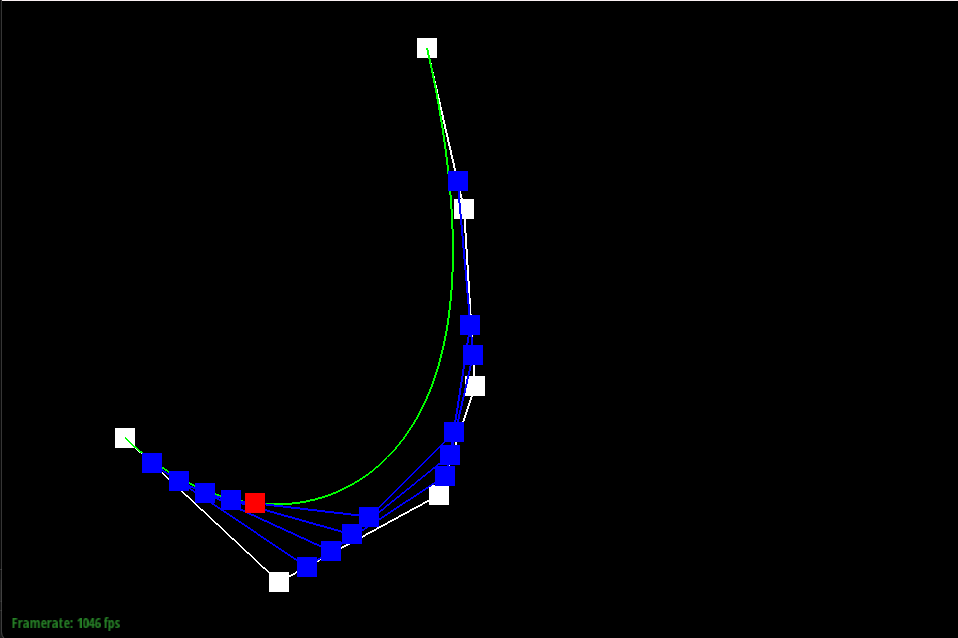
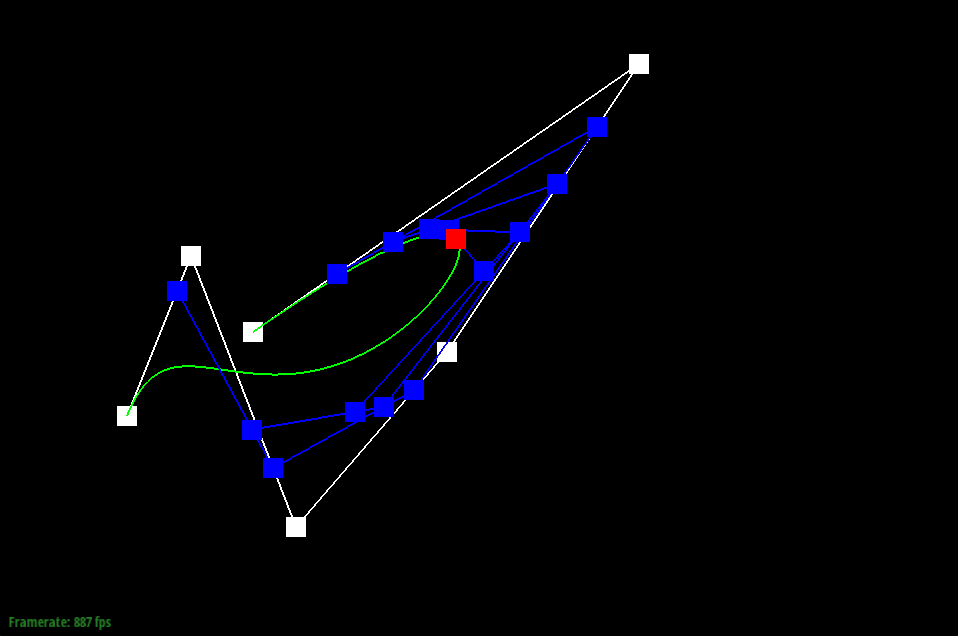
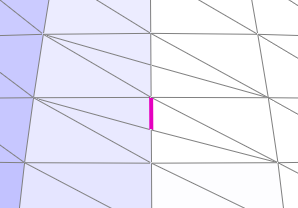
De Casteljau's algorithm is a method to evaluate Bézier curves and surfaces. It iteratively calculates intermediate points by linearly interpolating between control points. This process continues until a single point remains, representing a point on the curve or surface. The algorithm provides a constructive way to generate and visualize Bézier shapes. I implemented this algorithm by implementing one step of the algorithm. On each step, a new list of points is created between every point and its next point, where every new point’s position is a lerp from the two surrounding it.
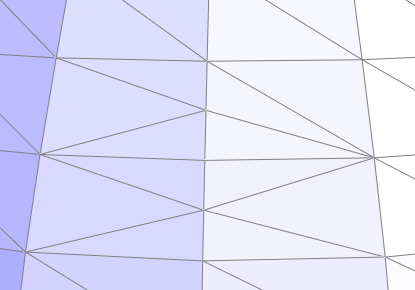
De Casteljau’s algorithm extends to Bezier surfaces by running in both dimensions, one at a time. I implemented it exactly this way. Given a 2d array of points, I ran it on every subarray to get a new list of points, collapsing the 2d set of points into a 1d set of points. I then ran de Casteljau’s algorithm again to get the last point. Each algorithm uses two different “t” parameters so that every point on the surface can be represented.
I implemented area-weighted vertex normals by repeatedly whining to ChatGPT. It always gave the wrong code, but had some right ideas. The algorithm we jointly ended up with loops through all of the vertex’s surrounding faces, then creates an weighted average of each of their normal vectors weighted by their area.
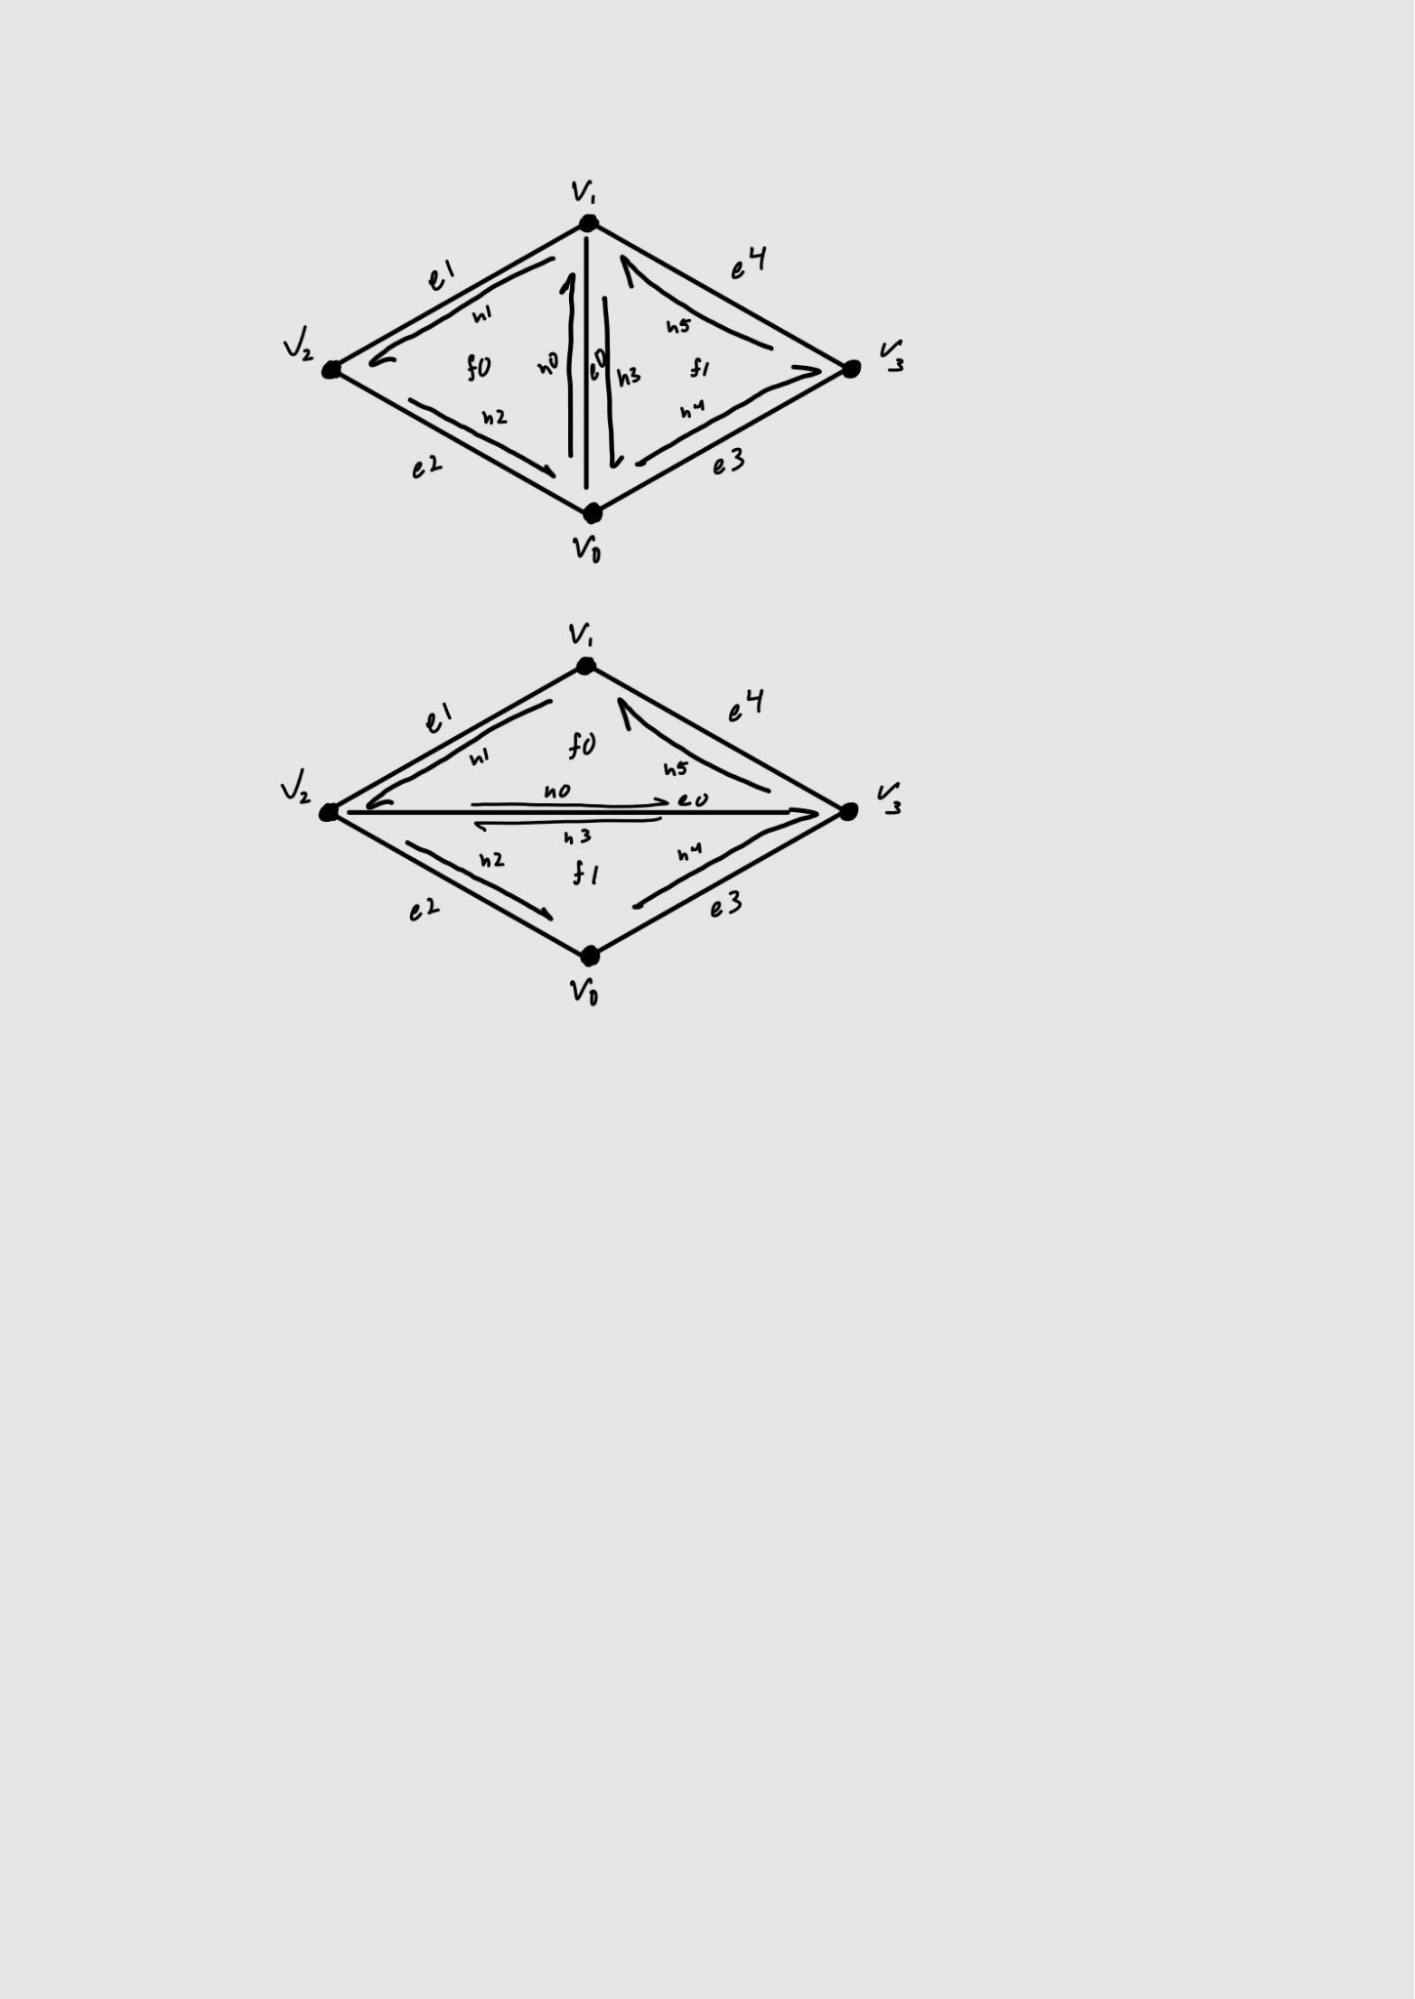
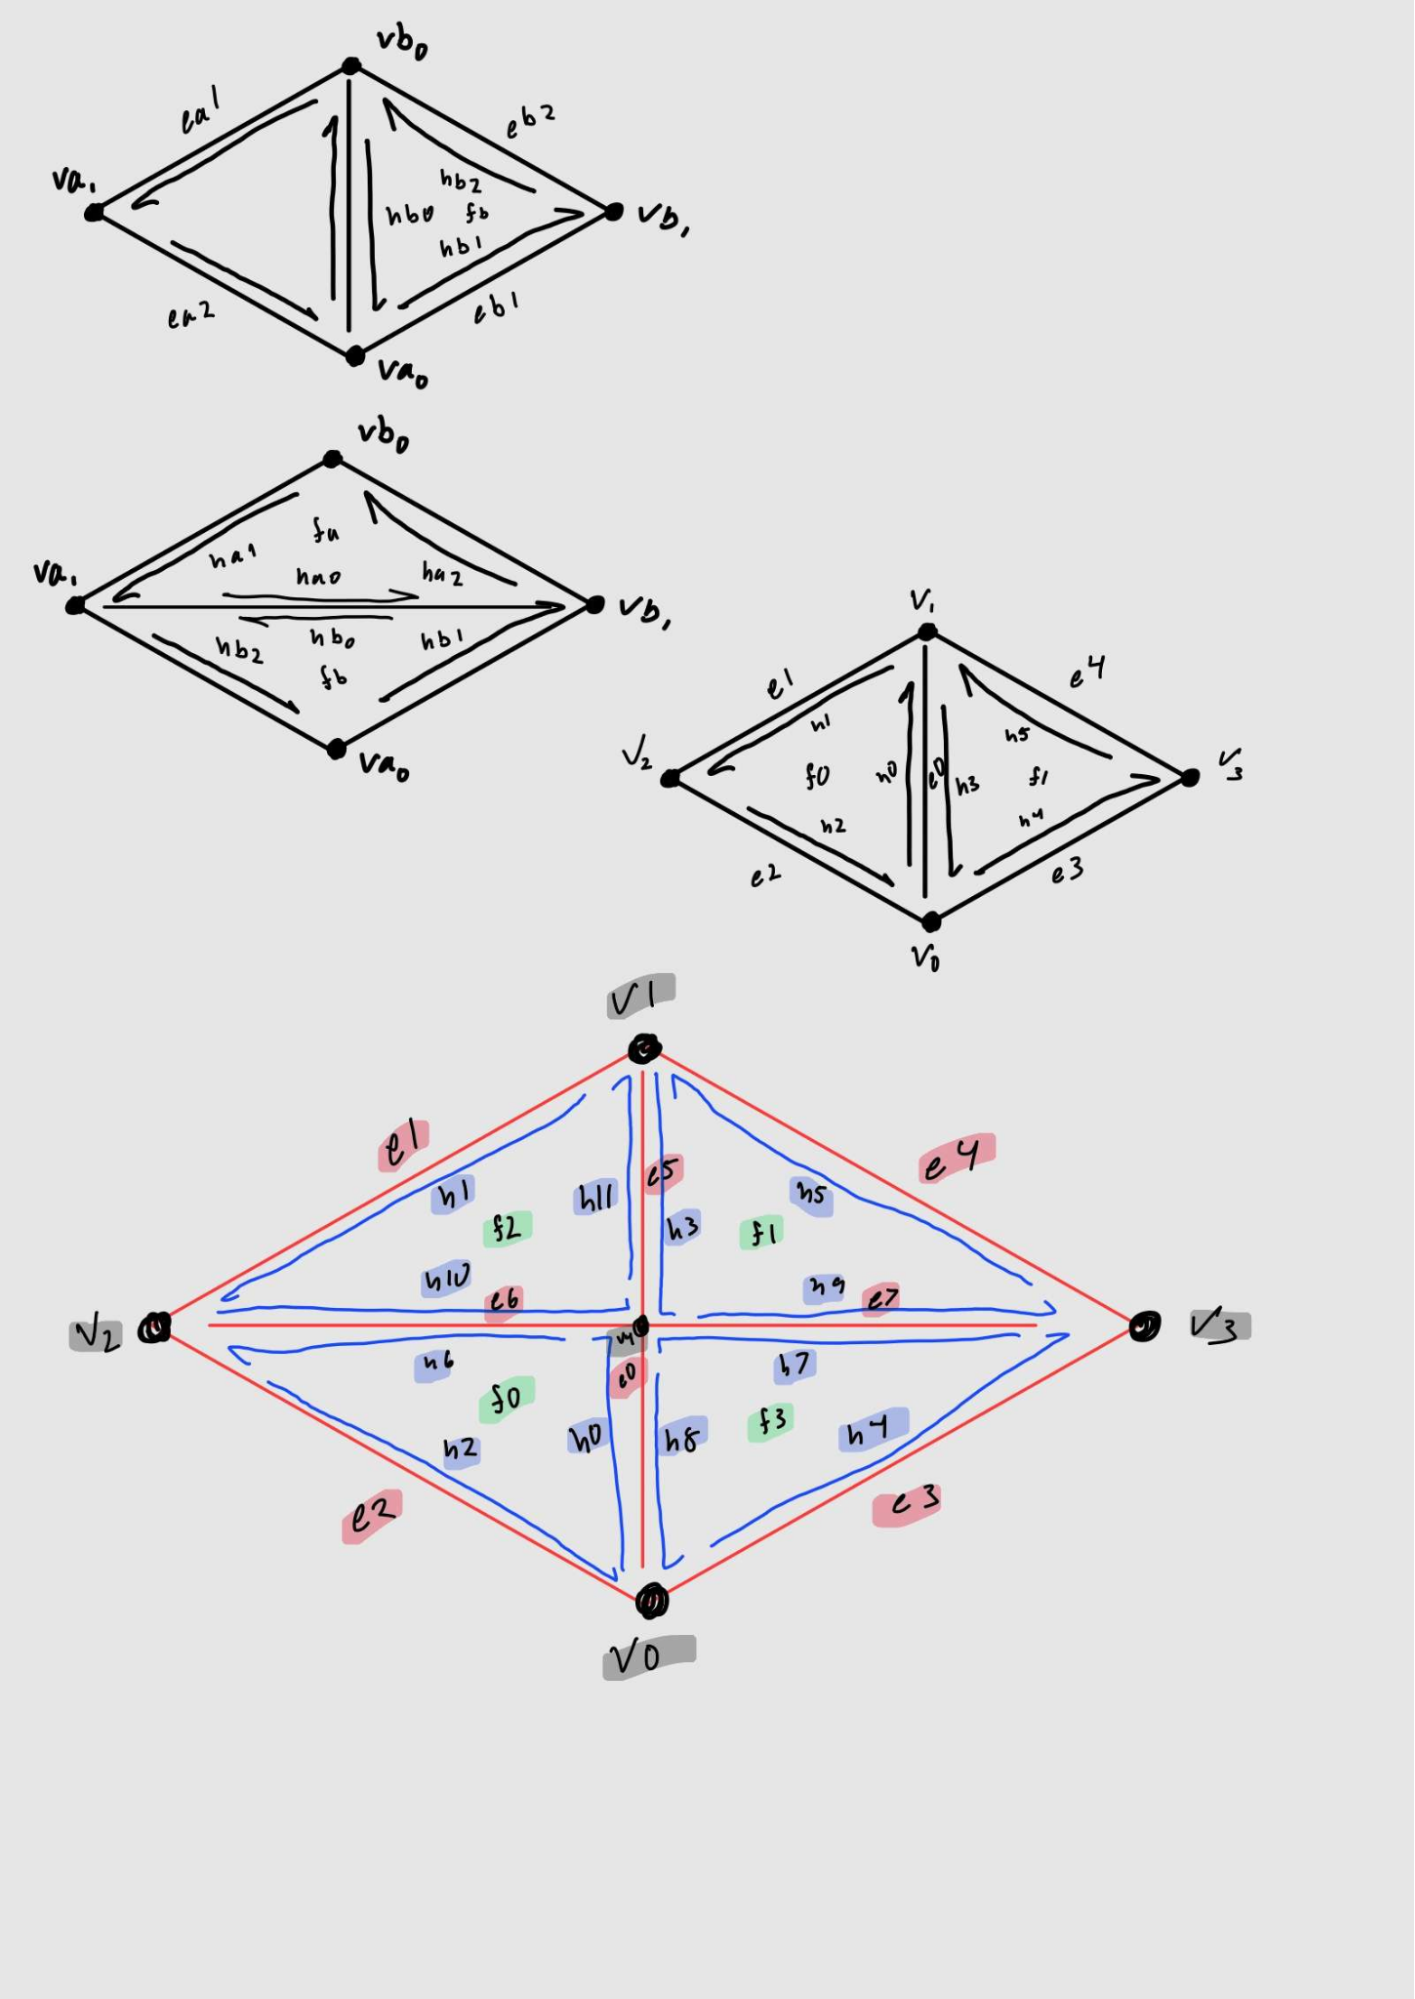
I implemented the edge flip operation in 5 simple steps.
The interesting implementation tricks I used were deleting and rewriting the entire algorithm several times.
My eventful debugging journey began like any other, believing that I knew what I was doing. I did not. I spent an hour trying to get ChatGPT to do everything for me, but quickly realized its shortcomings. I then tried to skim the data structure given and fix ChatGPT’s code. It didn’t work and I had no idea what was wrong. Finally, I read the entire data structure and relevant lecture to fully understand what I needed to do. I deleted the code I had I wrote out the before and after of labels, and wrote everything hyper-explicitly. I ended up with a semi-buggy implementation I thought was good enough. It was not, but I only learned this during Part 6. Part 6 was buggy, and ChatGPT suggested I look into the function I had previously written that it said was perfect in the past. I had wrong logic, which I fixed, and wasn’t setting everything, which I did. Now it works.
I wrote out the before and after of the section of the mesh, labeling every part. I then went through everything setting it to what I had drawn. Once again, my debugging tricks for this was restarting several times.
This debugging journey went very similar to the first. The only difference was that I banged my head against my desk 3 extra times.
Task 6 was actually completed in 5 simple steps.
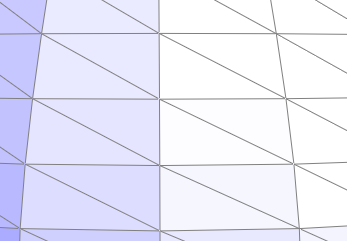
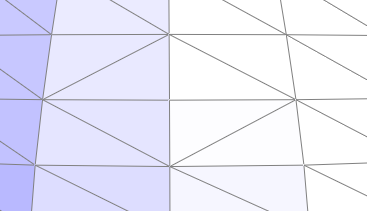
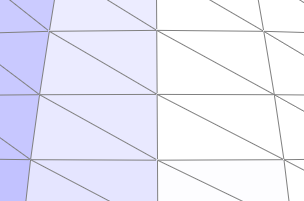
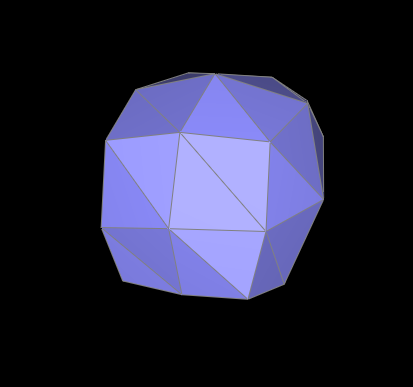
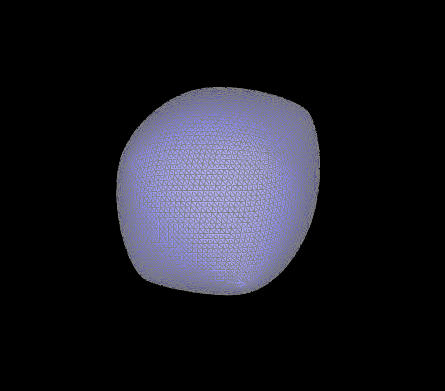
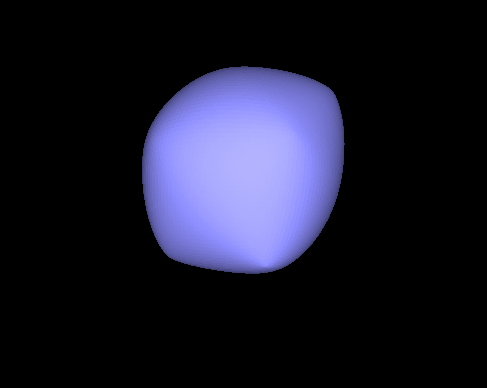
Meshes smooth out their sharp edges and other extreme features are lessened. You can somewhat reduce the effect by adding more vertices and edges surrounding the sharpness. This was created by splitting the edges near a corner several times.
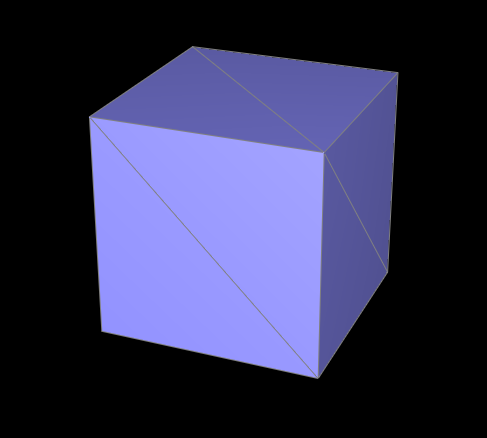
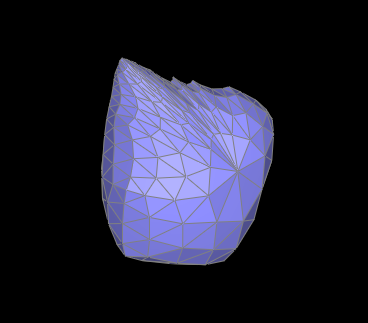
You can split the edges on the cube’s faces before and this fixes the asymmetry as it occurs because the edges that make up the cube are asymmetric. The pre-process removes the asymmetry in the cube’s mesh before being processed.